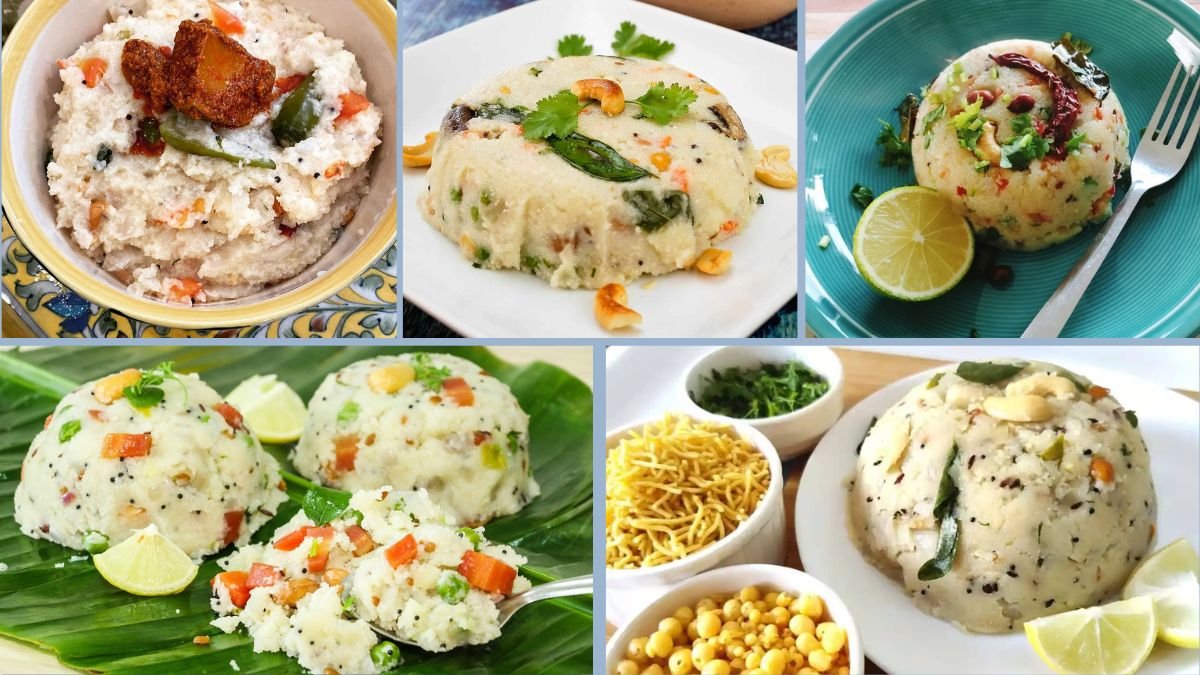
Upma, a popular South Indian breakfast staple, is celebrated for being simple, nutritious, and satisfying. Traditionally made with semolina (rava or sooji), it’s light on the stomach yet hearty enough to keep you energized throughout the morning. Vegetable Upma adds fiber, vitamins, and texture, elevating the dish from plain to colorful and flavorful. In this article, we explore six easy steps to cook a vegetable upma that strikes the perfect balance between lightness and satiety—ideal for health‑conscious eaters, students, professionals, or anyone who values wholesome meals.
Step 1: Selecting and Preparing the Ingredients
a. Choosing the right semolina (sooji or rava):
- Use fine or medium semolina for upma. Fine semolina gives a smoother texture; medium semolina yields a slightly coarse, more rustic upma.
- Ensure it’s fresh—stale semolina can smell rancid and affect taste.
b. Picking vegetables:
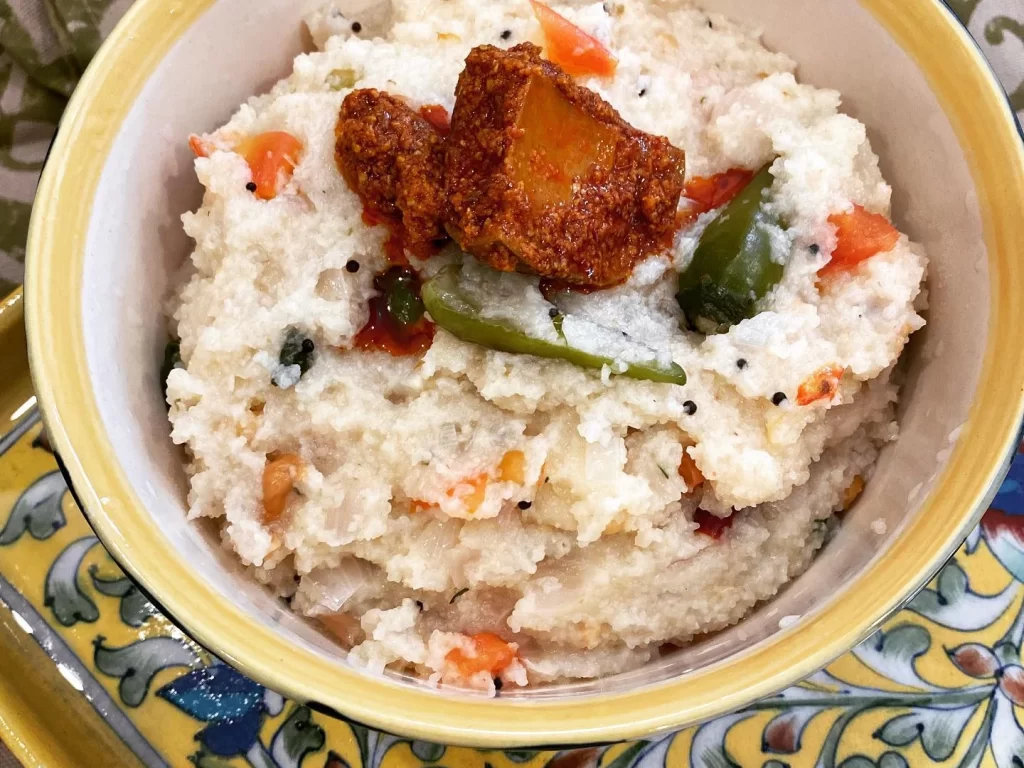
- For color, texture, and nutrition, include varieties like carrots, green beans, peas, bell peppers (capsicum), onions, and tomatoes.
- These supply vitamins A, C, fiber, and antioxidants.
c. Aromatic ingredients and spices:
- Mustard seeds, urad dal, chana dal for that typical South Indian tempering.
- Green chilies (mild to moderate, per taste), ginger, curry leaves—and optionally, a little black pepper.
- Salt to taste.
d. Optional garnishes and add‑ons:
- Fresh coriander (cilantro), grated coconut, lemon juice. These add freshness and brightness without heaviness.
- Roasted cashews or peanuts for crunch—though use sparingly so as to maintain the “light” quality.
Preparation work:
- Wash, peel, and chop vegetables uniformly—small dice ensures quick, even cooking.
- Measure semolina and water in correct proportions: commonly, 1 part semolina : 2–2.5 parts water (volume) works well, though variation may depend on the coarseness of semolina and desired consistency.
- Keep all ingredients within reach (“mise en place”)—once cooking begins, the process moves fast.
Step 2: Roasting the Semolina
The roasting step is crucial. It improves the aroma, prevents lumping, and enhances flavor.
- Heat a heavy‑bottomed pan or kadai over medium heat.
- Add dry semolina and roast, stirring continuously. Observe as it changes color slightly—just a shade or two darker than raw, without browning heavily.
- Once the raw smell disappears and a pleasant nutty aroma rises (about 3‑5 minutes), remove from heat and set aside. This prevents over‑cooking once liquids are added.
Tip: Don’t rush—if the flame is too high, semolina can burn at the edges before the center roasts properly. A medium heat and constant stirring yield the best result.
Step 3: Preparing the Tempering (Tadka) and Vegetables
Temperings are small additions that make a big difference in taste and fragrance.
- In the same pan (wipe clean if semolina roasted in it), heat a tablespoon of oil (vegetable, sunflower, or any neutral oil) or use a mix of oil and a small amount of ghee if you prefer a slightly richer flavor.
- Add mustard seeds; when they begin to pop, add urad dal and chana dal. Fry until the dals turn golden‑brown.
- Add finely chopped ginger, green chilies, and curry leaves. Sauté for a few seconds until fragrant.
- Add chopped onions; sauté until translucent. Then add other vegetables: carrots, beans, peas, bell peppers. Cook for a few minutes till vegetables are just tender but still slightly crisp—this preserves texture and nutrients.
- If using tomatoes, add them toward the end of vegetable cooking, to prevent the dish from becoming too watery.
Step 4: Adding Liquids and Seasoning
This step combines tempering, vegetables, and water (or broth), which is what truly transforms semolina into upma.
- Add water (or light vegetable broth for extra flavor) to the vegetables. Use the measured amount. You may also add salt at this point, stir well.
- Let the water come to a rolling boil. Boiling helps ensure the semolina mixes smoothly without lump formation.
- Optionally add a pinch of turmeric for subtle color and health benefits—it gives a gentle yellow hue. Also black pepper or a dash of garam masala if desired (but use lightly so it doesn’t overpower).
- Once water is boiling, reduce heat to low. Gradually pour in the roasted semolina in a steady stream, while stirring constantly with a wooden spatula or ladle. This helps prevent lumps. Stir as you add, making sure semolina disperses evenly.
Step 5: Cooking and Achieving the Right Texture
The goal is upma that’s moist, fluffy, and light—not dry or mushy.
- After the semolina is fully added and stirred, cover the pan with a lid. Reduce heat to the lowest setting.
- Let it cook for about 3‑5 minutes, during which the semolina swells as it absorbs liquid. Avoid opening lid often—it loses steam.
- After the resting time, open lid, stir gently to fluff up the upma. If you find it too dry, sprinkle a little hot water, cover again for a minute. If too wet and sticky, cook uncovered briefly on low heat to evaporate excess moisture, stirring gently to prevent sticking.
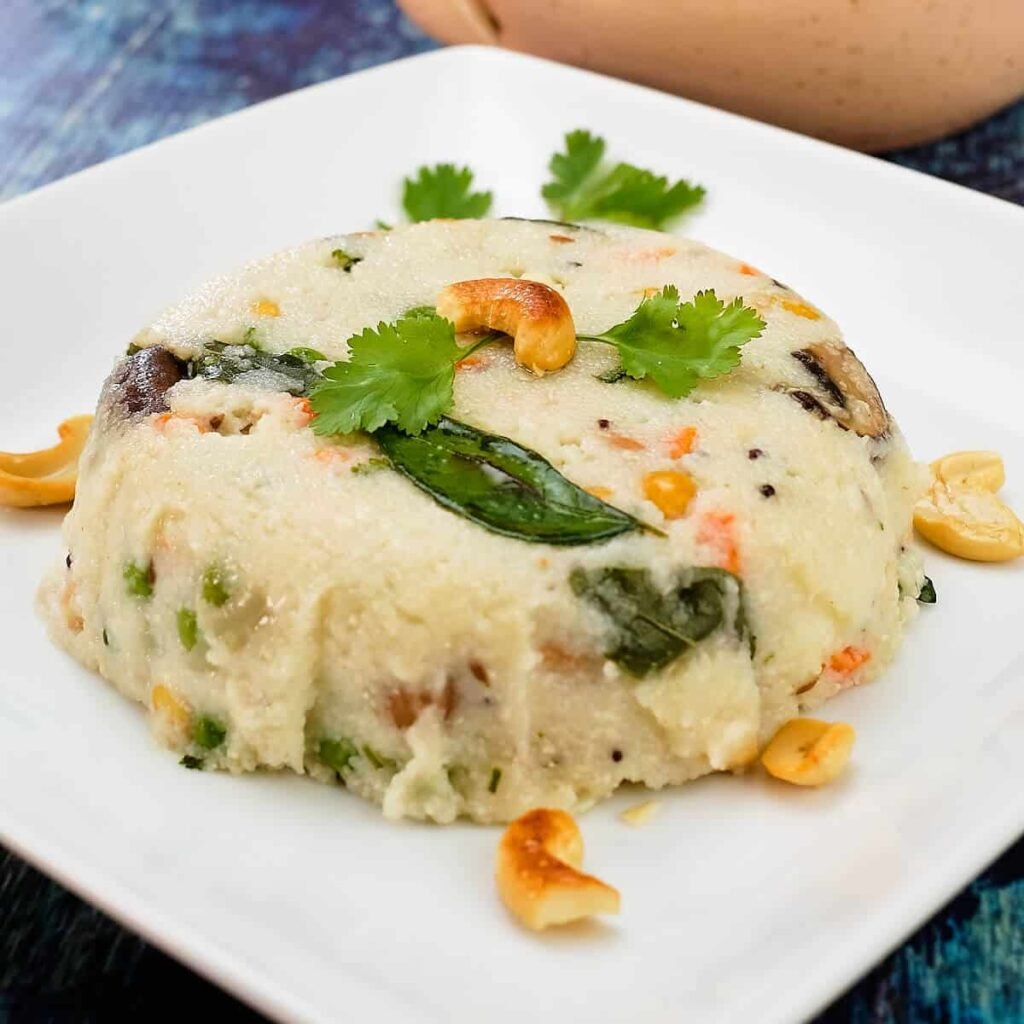
- Ideal upma should have separate grains (not mush) but soft, and vegetables should be tender‑crisp, adding bites and contrast.
Step 6: Finishing Touches and Serving
The final touches make the upma more appealing, both visually and flavor‑wise.
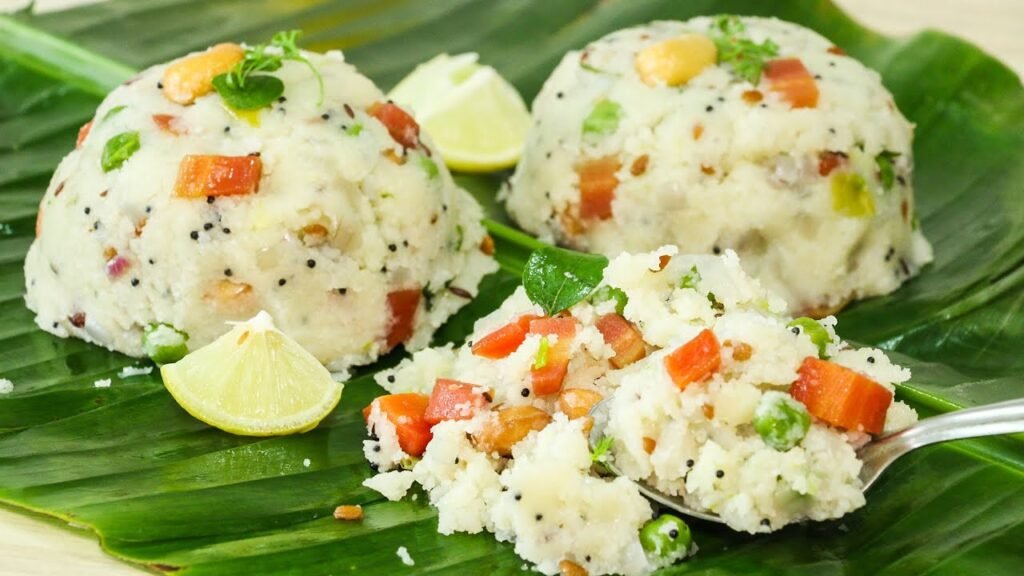
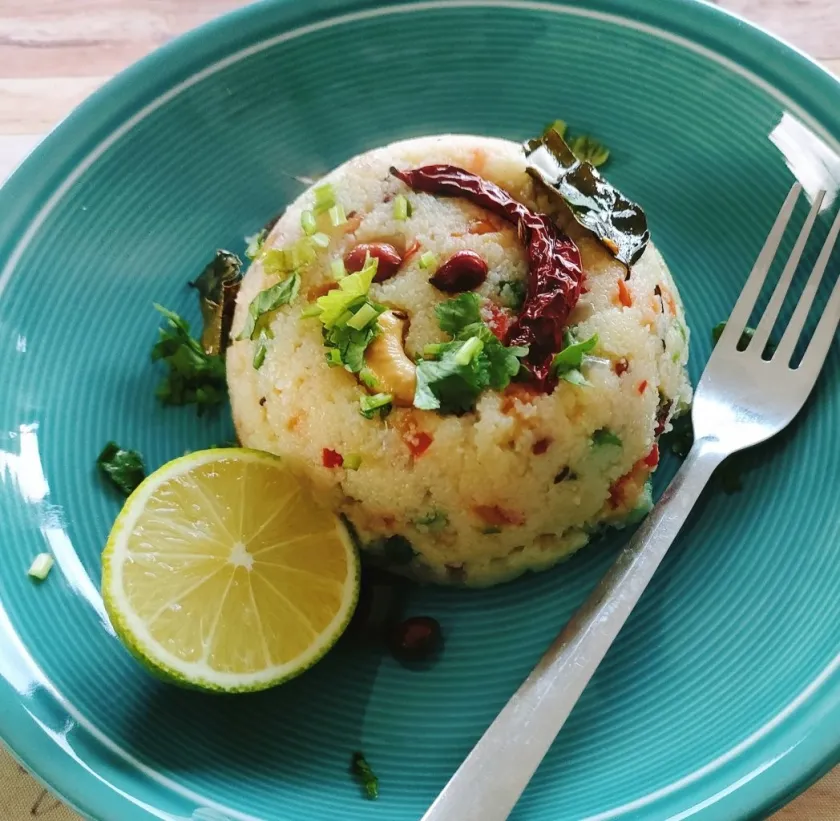
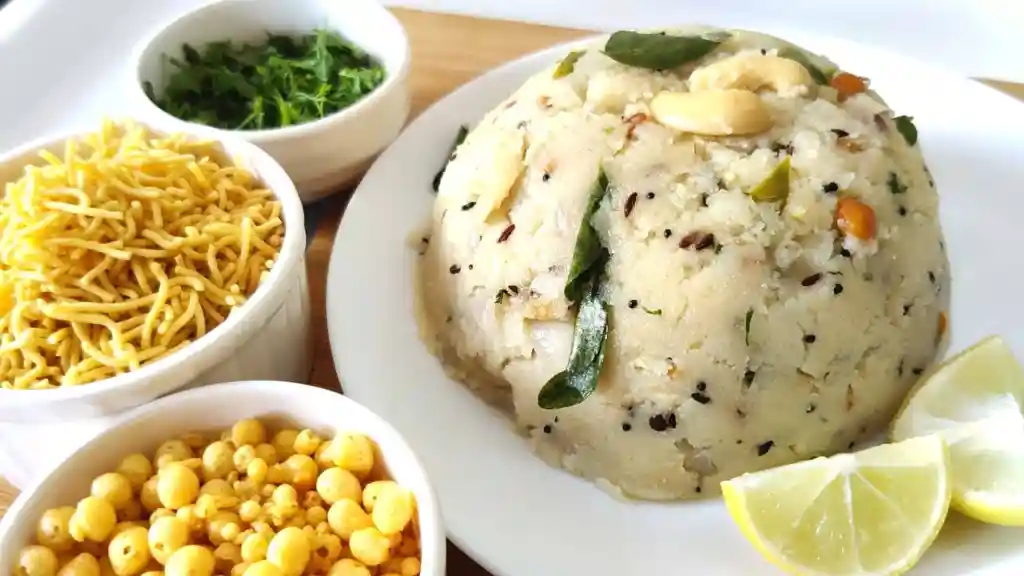
- Garnishing: Sprinkle fresh chopped coriander, grated coconut, or chopped roasted nuts. This adds color, aroma, texture.
- Acidity: A squeeze of lemon (or lime) just before serving boosts flavor and lightness.
- Texture contrast: If you like, serve with a side of crunchy papad or with some toasted seeds. But keep sides simple so as not to overload heaviness.
- Serving temperature: Slightly warm is best; too hot may feel heavier, and too cold loses the aroma. Serve with a mild accompaniment like coconut or tomato chutney, or yogurt, for moisture and balance.
Nutritional Considerations
While upma is by itself fairly light and moderate in calories, the vegetable version improves its nutritional profile significantly:
- Carbohydrates and energy: Semolina provides complex carbs for sustained energy.
- Fiber and micronutrients: Vegetables add fiber, vitamins (A, C, folate), minerals.
- Good fats: Small amounts from oil or nuts.
- Avoiding heaviness: By managing oil quantity, choosing fresh produce, and not overdoing richer ingredients (ghee, nuts), the upma remains easy on digestion.
Tips for Customization & Variations
- Semolina alternatives: For gluten‑free option, finely ground millet rava (like ragi or jowar) works if properly roasted, though texture changes.
- Spice level: Adjust green chilies; for milder taste, omit or reduce. Black pepper adds gentle heat without complexity.
- Veggie mix: Seasonal vegetables are great—like zucchini, corn, peas, mushrooms. Use what’s fresh and available.
- Flavor enhancers: A small piece of ginger, or a dash of asafoetida (hing) in tempering adds depth.
- Batch strategy: Upma does not stay fresh long after cooking. For family meals, cook just before serving or reheat with little water and oil to refresh.
Conclusion
Vegetable Upma, prepared in these six easy steps, strikes the ideal balance between lightness and filling satisfaction. By carefully selecting ingredients, roasting semolina, tempering with spices, adding the right amount of liquid, managing cooking time for texture, and finishing with vibrant garnishes, you can create a dish that appeals to all senses—taste, aroma, look—and provides wholesome nourishment.
Whether for breakfast, brunch, or a light dinner, this upma recipe is versatile, nutritious, and satisfying. The key is in attention to each step—ingredient prep, heat control, and finishing touches. With practice, you’ll be able to tweak the recipe to match personal preferences (veg choices, spice, moisture) while keeping it “light & filling.”