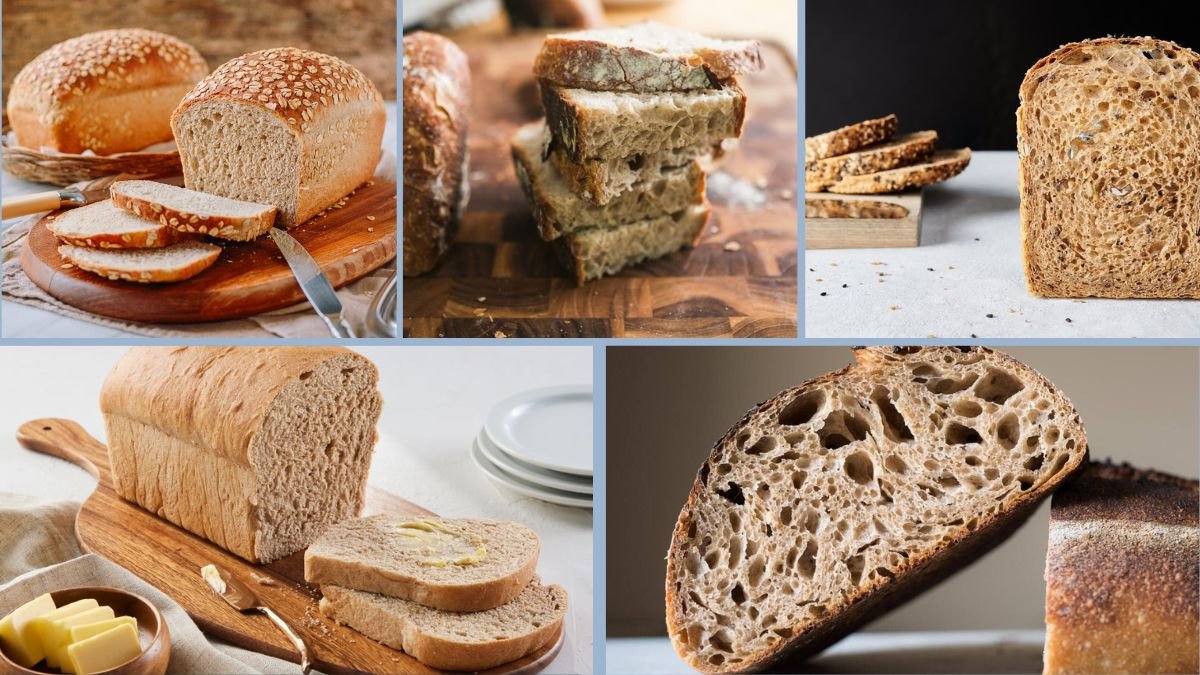
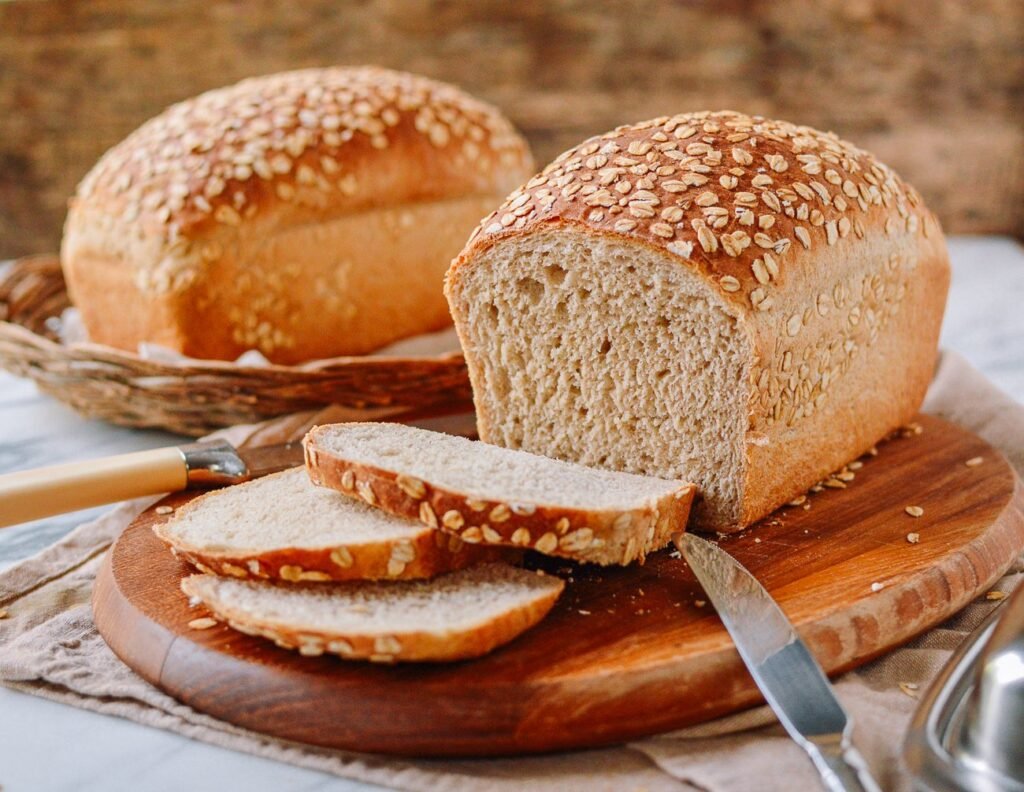
Whole wheat bread is a nutritious alternative to white bread, rich in dietary fiber, vitamins, and minerals essential for a healthy diet. Baking whole wheat bread at home offers control over ingredients, ensuring no artificial preservatives or additives, and allowing customization of texture and flavor. However, achieving a soft, fluffy loaf with whole wheat flour can be challenging due to its higher bran and fiber content, which affects gluten development.
This article presents a 7-step comprehensive guide to baking soft, fluffy whole wheat bread at home using simple, natural ingredients and no animal products. The guide is ideal for food science, nutrition, and culinary research, highlighting ingredient roles, technique, and troubleshooting to perfect homemade whole wheat bread.
Why Choose Whole Wheat Bread?
- Rich in fiber: Promotes digestive health and satiety.
- Lower glycemic index: Better blood sugar control compared to white bread.
- Contains vitamins & minerals: Such as B vitamins, iron, magnesium, and antioxidants.
- Natural and wholesome: No preservatives or artificial additives.
- Satiating and nutritious: Ideal for health-conscious individuals and vegetarians.
Ingredients Overview
| Ingredient | Quantity | Purpose |
|---|---|---|
| Whole wheat flour | 3 cups (360 grams) | Base flour, high in fiber |
| Warm water | 1 to 1¼ cups (240-300 ml) | Hydrates flour and activates yeast |
| Active dry yeast | 2¼ tsp (1 packet) | Leavening agent |
| Sugar | 1 tbsp | Feeds yeast for fermentation |
| Salt | 1½ tsp | Flavor enhancer, regulates yeast activity |
| Olive oil or vegetable oil | 2 tbsp | Moisture, tenderness |
| Optional: Milk powder | 2 tbsp | Improves softness and crust (plant-based options available) |
Step 1: Activate the Yeast
Proper yeast activation is the foundation of a fluffy bread loaf.
- Warm the water to approximately 105°F (40°C) — warm but not hot to avoid killing yeast.
- Dissolve sugar in the warm water.
- Sprinkle yeast over the water surface and let it sit for 5-10 minutes.
- The yeast should foam and bubble, indicating it’s active and ready.
If no froth appears, the yeast might be inactive; discard and start again with fresh yeast.
Step 2: Prepare the Dough
- In a large mixing bowl, combine whole wheat flour and salt.
- Make a well in the center and pour the activated yeast mixture and oil.
- Mix ingredients using a spoon or hand until a rough dough forms.
- Add additional water gradually if the dough is too dry, or more flour if too sticky.
Step 3: Knead the Dough
Kneading develops gluten, which is crucial for the bread’s texture.
- Transfer dough to a clean, floured surface.
- Knead for 10-15 minutes by hand or 8-10 minutes using a stand mixer with dough hook.
- The dough should become smooth, elastic, and slightly tacky but not sticky.
- Proper gluten development traps gas bubbles during fermentation, resulting in fluffiness.
Step 4: First Proofing (Fermentation)
- Lightly oil a large bowl and place the dough inside.
- Cover the bowl with a damp cloth or plastic wrap.
- Let the dough rise in a warm, draft-free place for 1 to 1.5 hours, or until doubled in size.
- This fermentation develops flavor and allows dough to rise.
Step 5: Shape the Dough
- Punch down the risen dough gently to release excess gas.
- Transfer to a floured surface and shape it into a loaf by folding and rolling tightly.
- Place shaped dough into a greased loaf pan or shape free-form on a baking sheet.
- Cover again and let it rest for the second proofing.
Step 6: Second Proofing
- Allow the dough to rise for 30 to 45 minutes until it puffs up again, almost doubling.
- This final rise ensures the bread has an airy texture and volume.
- Preheat the oven to 375°F (190°C) during this time.
Step 7: Bake the Bread
- Place the loaf in the preheated oven.
- Bake for 30-35 minutes, or until the crust is golden brown and the loaf sounds hollow when tapped on the bottom.
- Optionally, place an oven-safe dish with water at the bottom of the oven for steam to develop a softer crust.
- Remove the bread and cool on a wire rack before slicing to set the crumb.
Tips for Fluffy Whole Wheat Bread
- Use fresh yeast: Expired yeast will not produce good rise.
- Don’t skip kneading: Proper gluten development is key.
- Use warm water: Activates yeast efficiently.
- Add oil: Helps tenderize the crumb and improve softness.
- Optional ingredients: Adding a tablespoon of honey or milk powder can enhance softness and flavor.
- Avoid over-proofing: Excess fermentation can weaken gluten structure.
Troubleshooting Common Issues
| Problem | Possible Cause | Solution |
|---|---|---|
| Dense bread | Insufficient kneading or yeast not activated | Knead longer, ensure yeast is fresh and active |
| Bread doesn’t rise | Cold environment or inactive yeast | Proof dough in warmer place, check yeast viability |
| Dry or crumbly texture | Too much flour or overbaking | Measure flour carefully, check baking time |
| Thick crust | No steam in oven | Add water pan for steam or brush crust with butter after baking |
Nutritional Benefits
Whole wheat bread offers several health advantages over white bread:
- High dietary fiber: Supports digestion and helps regulate blood sugar.
- Rich in antioxidants: Contains phenolic acids and flavonoids.
- Good source of minerals: Such as magnesium, zinc, and iron.
- Lower glycemic impact: Beneficial for sustained energy release.
Conclusion
Baking fluffy whole wheat bread at home is achievable with the right technique and ingredients. This 7-step guide simplifies the process and helps overcome the common challenges associated with whole wheat flour baking. Homemade whole wheat bread is not only healthier but also more satisfying, customizable, and free from unwanted additives.
The guide offers practical insights for home bakers and can form the foundation for academic exploration into ingredient functionality, fermentation science, and the sensory evaluation of whole grain baked products. Future research could focus on enhancing softness through natural additives, gluten alternatives, and fermentation time optimization.