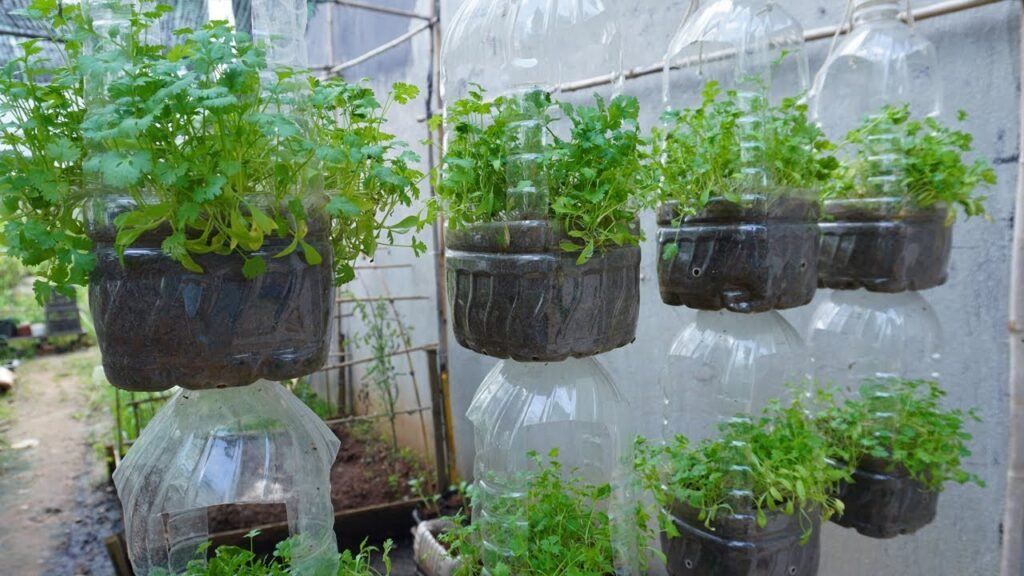
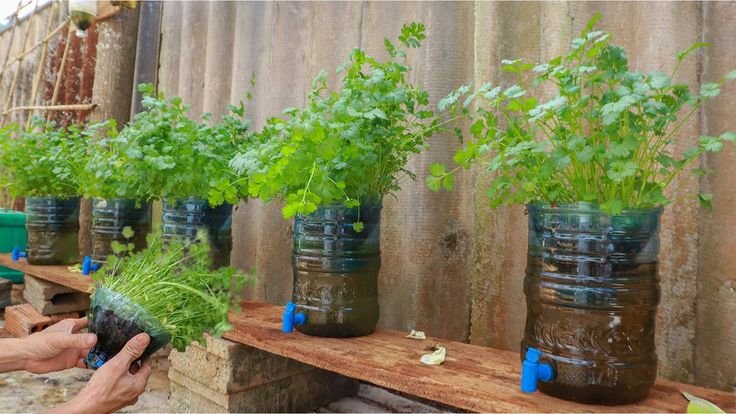
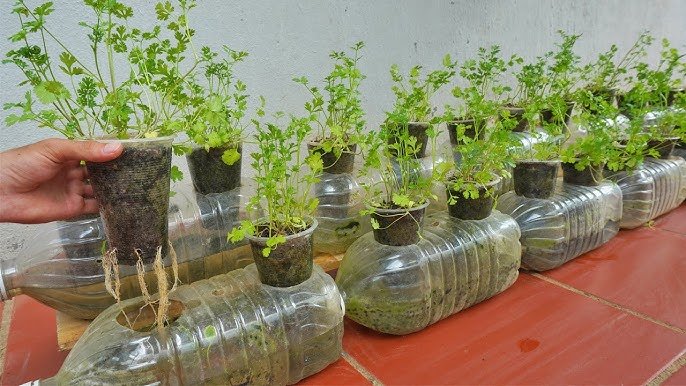
Cilantro, also known as coriander in many parts of the world, is a versatile herb that adds freshness and flavor to countless dishes. From salsas to curries, cilantro leaves bring a bright, aromatic touch to meals. But did you know that you can grow cilantro easily at home using just a recycled plastic bottle? Not only is this method cost-effective, but it also saves space and reduces plastic waste. In this guide, we’ll walk you step-by-step on how to plant cilantro in a plastic bottle and enjoy a continuous supply of fresh leaves.
Why Grow Cilantro at Home?
Growing cilantro at home offers several advantages:
- Freshness: Store-bought cilantro often wilts quickly. Homegrown leaves are fresher, more fragrant, and flavorful.
- Cost-Effective: Cilantro can be expensive if bought frequently. Growing your own ensures a steady supply at a fraction of the cost.
- Eco-Friendly: Using recycled bottles reduces plastic waste and promotes sustainability.
- Accessibility: Fresh cilantro is always on hand for cooking, eliminating last-minute trips to the store.
- Health Benefits: Cilantro is packed with vitamins A, C, and K, antioxidants, and minerals like potassium and iron.
This simple method of growing cilantro in plastic bottles is perfect for small kitchens, balconies, or even classroom projects, making it accessible for beginners and children alike.
Materials You’ll Need
To get started, gather the following materials:
- A recycled plastic bottle (1–2 liters works best)
- Cilantro seeds
- Potting soil or compost
- Scissors or a craft knife
- Water
- String or twine for hanging (optional)
- Small pebbles or gravel (optional for drainage)
By repurposing a plastic bottle, you create a functional, eco-friendly container that can be hung or placed on a windowsill for easy access to your herb garden.
Step 1: Prepare the Plastic Bottle
Proper preparation of the bottle is essential:
- Wash the bottle thoroughly to remove any residue.
- Using scissors or a craft knife, carefully cut the bottle horizontally or make an opening on one side for planting.
- Poke a few small drainage holes in the bottom. This prevents waterlogging, which can rot the roots.
- Optional: Add a layer of small stones or gravel at the bottom for improved drainage.
Make sure all edges are smooth to avoid injury while planting.
Step 2: Select and Prepare Cilantro Seeds
Cilantro can be grown from seeds or seedlings. Seeds are more economical, while seedlings give faster results.
For Seeds:
- Soak the seeds in warm water for 8–12 hours before planting. This softens the hard outer shell and improves germination.
- Cilantro seeds usually germinate within 7–10 days.
For Seedlings:
- Choose healthy seedlings with vibrant green leaves and strong roots.
- Avoid yellowing or weak plants.
Healthy seeds or seedlings are key to ensuring a strong, continuous harvest.
Step 3: Prepare the Soil
Cilantro grows best in light, well-draining soil:
- Use a mix of potting soil and compost.
- Cilantro prefers slightly acidic to neutral soil (pH 6–7).
- Fill the prepared bottle with soil, leaving 1–2 inches from the top for watering.
Adding organic compost provides nutrients, retains moisture, and improves soil structure, giving your cilantro a healthy start.
Step 4: Plant the Cilantro
For Seeds:
- Plant seeds ¼–½ inch deep in the soil.
- Cover lightly with soil and water gently.
For Seedlings:
- Dig a small hole in the soil.
- Place the seedling carefully, ensuring the roots are fully covered and the base is level with the soil surface.
Plant seeds or seedlings evenly spaced, about 2–3 inches apart, to prevent overcrowding and allow adequate growth.
Step 5: Choose the Right Location
Cilantro requires bright, indirect sunlight for optimal growth:
- Place your bottle on a sunny windowsill or balcony where it receives 4–6 hours of sunlight daily.
- If using indoor grow lights, position them 6–12 inches above the plants.
- Avoid harsh afternoon sun, especially in hot climates, as it can cause the leaves to wilt or bolt prematurely.
Hanging the bottle vertically is optional but helps save space and provides better air circulation.
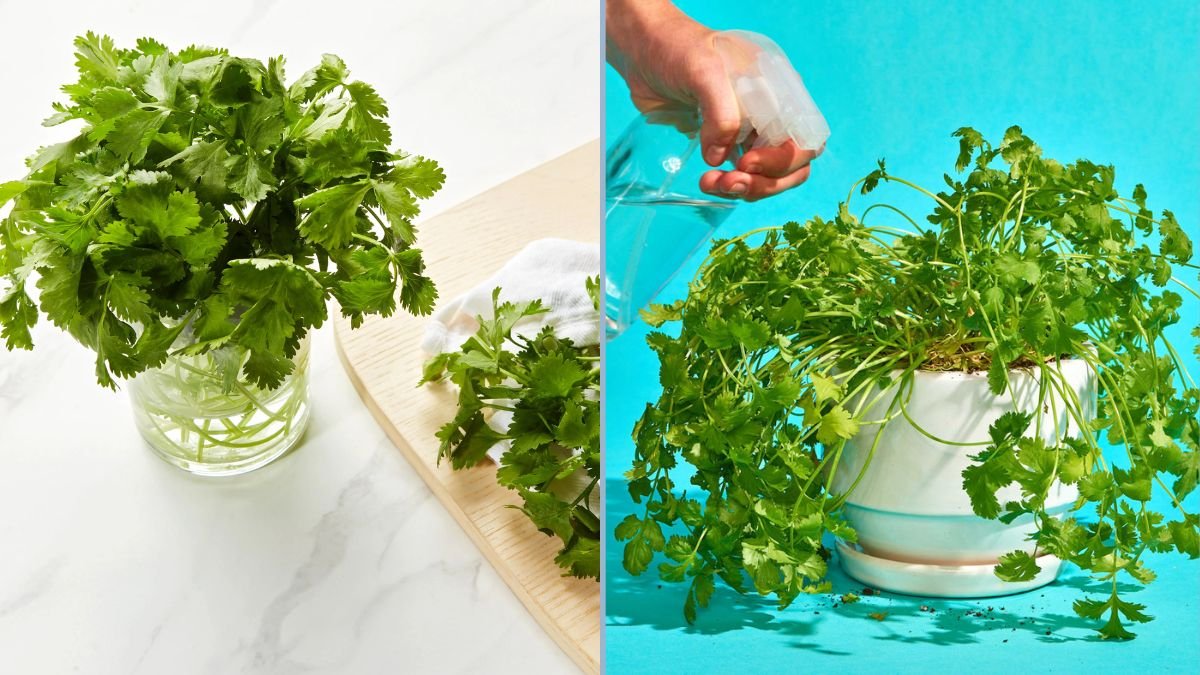
Step 6: Watering and Care
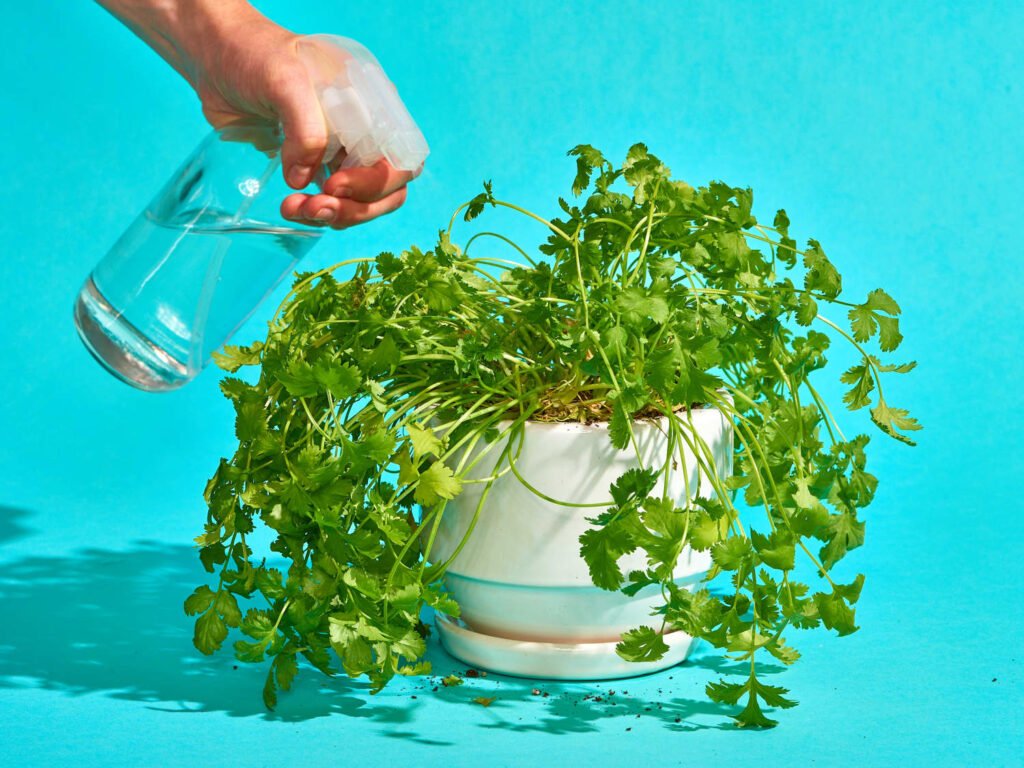
Proper watering is crucial:
- Keep the soil consistently moist, but not waterlogged. Overwatering can lead to root rot.
- Water gently with a watering can or spray bottle to avoid washing away seeds or damaging seedlings.
- In hot weather, check the soil daily, as container soil tends to dry out faster than garden soil.
Additionally, rotating the bottle occasionally ensures all plants receive uniform sunlight, promoting even growth.
Step 7: Fertilizing Your Cilantro
Container-grown cilantro benefits from occasional feeding:
- Use organic liquid fertilizer or compost tea every 3–4 weeks.
- Avoid over-fertilizing, which can make the leaves lush but reduce flavor.
- Slow-release fertilizers can also be mixed into the soil at planting.
Proper nutrition supports strong root development, healthy leaves, and a longer harvest period.
Step 8: Pruning and Maintenance
Regular care encourages continuous growth:
- Pruning: Snip outer leaves regularly to encourage bushier growth. Avoid cutting more than one-third of the plant at a time.
- Pest Control: Check for aphids or fungal issues. Natural remedies like neem oil or mild soapy water are effective.
- Bolting Prevention: Cilantro bolts (produces flowers) quickly in hot weather. Pinch off flower buds to extend leaf production.
Consistent maintenance ensures your plastic bottle garden remains productive and attractive.
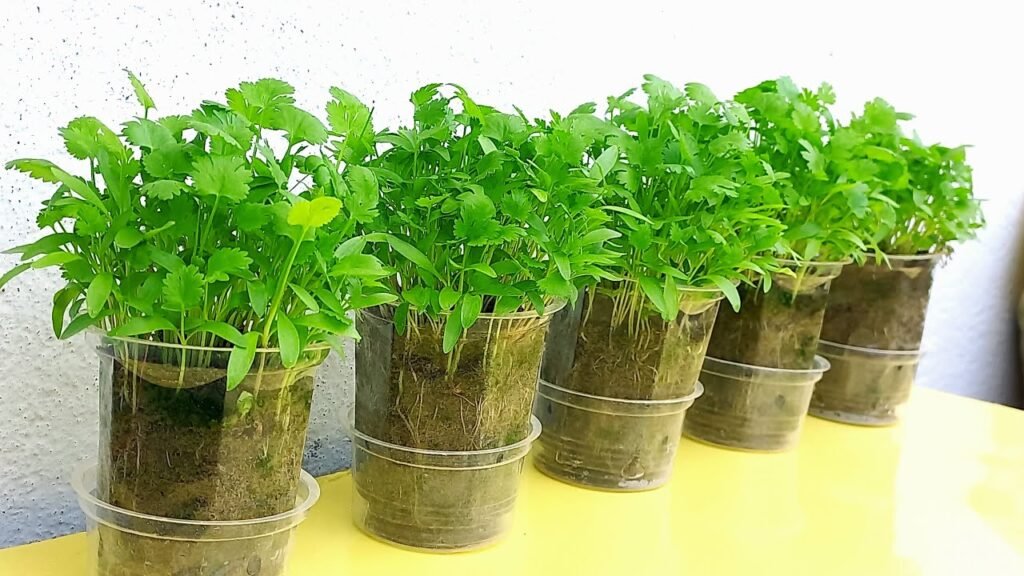
Step 9: Harvesting Cilantro
Cilantro can be harvested in as little as 3–4 weeks after planting:
- Harvest the outer leaves first, cutting near the base.
- Avoid removing all leaves at once; leave the inner leaves to continue growing.
- If your plant bolts, allow it to flower to harvest coriander seeds, while cutting back the leaves to encourage a second growth.
Frequent harvesting encourages new growth and ensures a continuous supply of fresh cilantro.
Tips for Success
- Spacing: Keep adequate distance between seedlings to allow airflow.
- Sunlight: Rotate containers or move them to follow sunlight.
- Drainage: Ensure holes are not blocked; stagnant water can harm roots.
- Seed Storage: Store leftover seeds in a cool, dry place for future planting.
With these simple tips, even beginners can enjoy a thriving cilantro garden in small spaces.
Benefits of Growing Cilantro in a Plastic Bottle
- Eco-Friendly: Repurposes plastic bottles, reducing waste.
- Space-Saving: Ideal for apartments, kitchens, and small balconies.
- Continuous Supply: Harvest regularly for fresh leaves year-round.
- Cost-Effective: Saves money by eliminating the need to buy store-bought cilantro.
- Educational: Great project for children and beginners to learn about plant growth.
This method proves that home gardening can be creative, sustainable, and highly rewarding.
Troubleshooting Common Problems
- Yellowing Leaves: Often caused by overwatering or insufficient sunlight.
- Slow Germination: Pre-soak seeds and keep soil consistently moist.
- Leggy Plants: Ensure sufficient light and rotate containers for uniform growth.
- Browning Edges: May indicate nutrient deficiency or excessive heat; adjust watering and light exposure.
Addressing these issues promptly will ensure a healthy and productive cilantro garden.
Conclusion
Growing cilantro in a plastic bottle is one of the easiest and most sustainable ways to enjoy fresh herbs at home. This method requires minimal space, low cost, and basic gardening skills, making it perfect for beginners, apartment dwellers, or anyone looking to add greenery to their kitchen.
By following these steps—preparing the bottle, planting seeds or seedlings, providing sunlight and water, fertilizing, and maintaining the plants—you’ll soon have a thriving container garden full of fresh, aromatic cilantro leaves. Not only does this improve your cooking, but it also contributes to a more sustainable and eco-friendly lifestyle.
Start today, and in just a few weeks, you’ll enjoy the satisfaction of snipping fresh cilantro straight from your plastic bottle garden—bringing flavor, freshness, and health to your meals with minimal effort.