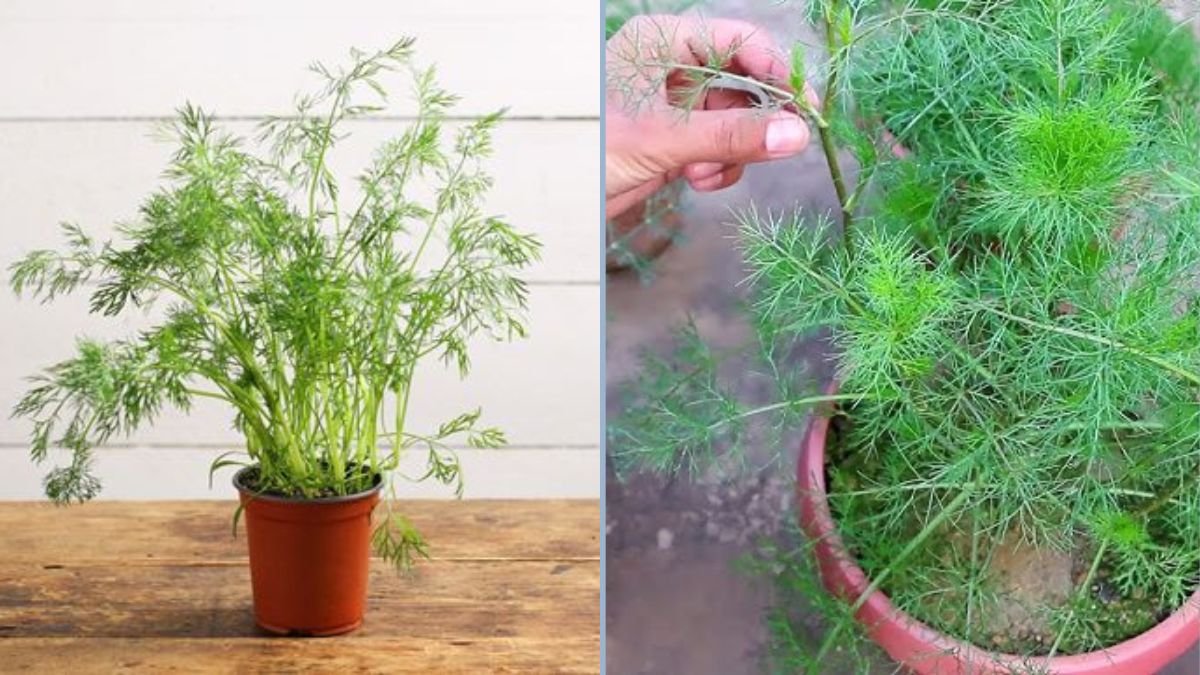
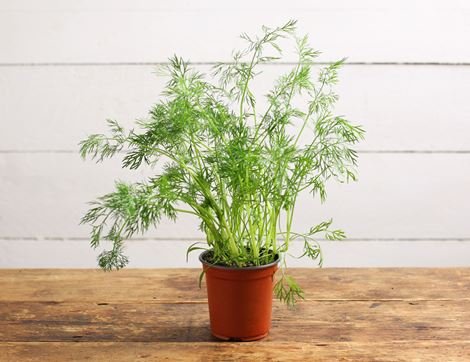
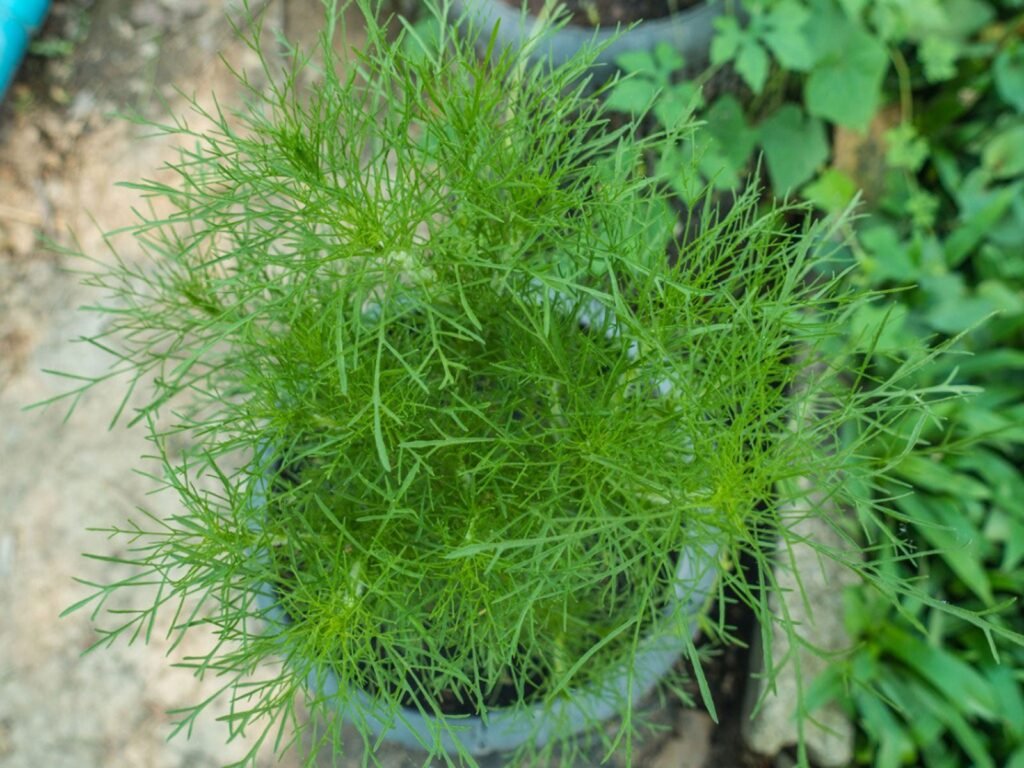
Dill is a fragrant and versatile herb that’s widely used in cooking, from pickles and salads to soups and sauces. Growing dill at home is easy, especially when using recycled containers. Recycled plastic baskets offer a sustainable, space-saving option that allows you to cultivate this aromatic herb even in small apartments or balconies. This guide will take you step by step through planting dill in recycled plastic baskets, sharing tips on care, harvesting, and maximizing your yield.
Why Grow Dill at Home?
Growing dill at home comes with multiple benefits:
- Freshness: Homegrown dill has a stronger aroma and flavor compared to store-bought herbs.
- Cost-Effective: Buying fresh dill regularly can be expensive. Growing your own is economical.
- Sustainable: Using recycled plastic baskets reduces waste and promotes eco-friendly gardening.
- Accessibility: Having dill at your fingertips enhances your culinary experience.
- Health Benefits: Dill is rich in antioxidants, vitamins A and C, and minerals like calcium, iron, and manganese.
For beginner gardeners or those with limited space, using recycled baskets provides a practical solution that combines environmental responsibility with productive gardening.
Materials You’ll Need
To grow dill in plastic baskets, gather the following materials:
- Dill seeds or seedlings
- Recycled plastic baskets with a sturdy base
- Potting soil or compost
- Watering can or spray bottle
- Small stones or gravel (for drainage)
- Optional: string or twine for hanging baskets
Using recycled materials not only keeps costs low but also contributes to a greener planet, making your gardening project both fun and sustainable.
Step 1: Prepare the Plastic Basket
Proper preparation is essential for healthy dill growth:
- Wash the basket thoroughly to remove any dirt or residues.
- Ensure the basket has drainage holes; if not, make a few at the bottom to prevent waterlogging.
- Optionally, place a layer of small stones or gravel at the bottom to further improve drainage.
Smooth the edges to avoid injuring the roots or your hands during planting. A well-prepared basket ensures proper water flow and healthy root development.
Step 2: Select and Prepare Dill Seeds
Dill can be grown from seeds or small seedlings.
For Seeds:
- Soak dill seeds in warm water for 6–8 hours to speed up germination.
- Dill seeds usually sprout in 7–14 days, depending on temperature and soil moisture.
For Seedlings:
- Choose healthy seedlings with strong stems and vibrant green leaves.
- Avoid yellowing or damaged plants.
Using fresh seeds or healthy seedlings ensures a better chance of growth and a productive harvest.
Step 3: Prepare the Soil
Dill thrives in light, well-draining soil:
- Use a potting mix or a combination of compost, peat moss, and sand for optimal drainage.
- Dill prefers slightly acidic to neutral soil (pH 6–7).
- Fill your prepared basket with soil, leaving 1–2 inches from the top for watering.
Adding organic compost improves soil fertility and helps retain moisture, supporting healthy dill growth.
Step 4: Planting Dill in the Basket
For Seeds:
- Sow seeds about ¼ inch deep in the soil.
- Cover lightly and water gently to avoid displacing seeds.
For Seedlings:
- Dig a small hole in the soil.
- Place the seedling carefully and cover the roots with soil, keeping the base level with the surface.
Space seeds or seedlings 6–8 inches apart to ensure proper air circulation and prevent overcrowding. Proper spacing promotes healthier growth and reduces the risk of fungal issues.
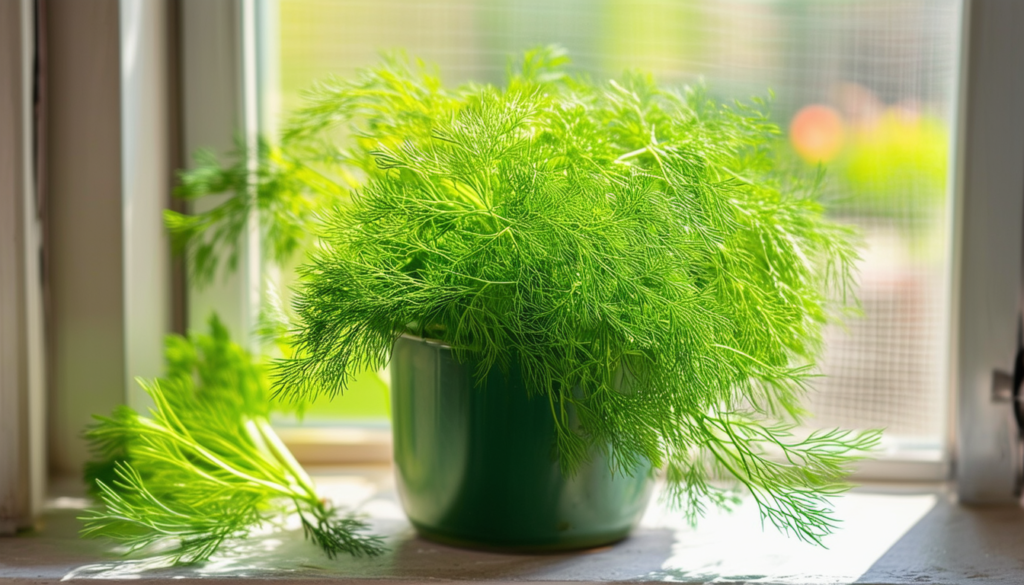
Step 5: Choose the Right Location
Dill requires plenty of sunlight for strong growth:
- Place your basket in a location that receives 4–6 hours of direct sunlight daily.
- If indoors, a bright windowsill or balcony is ideal.
- Avoid harsh afternoon sun in hot climates, which can cause the leaves to wilt or scorch.
If you have limited space, consider hanging the basket to save room and provide better air circulation for the plants.
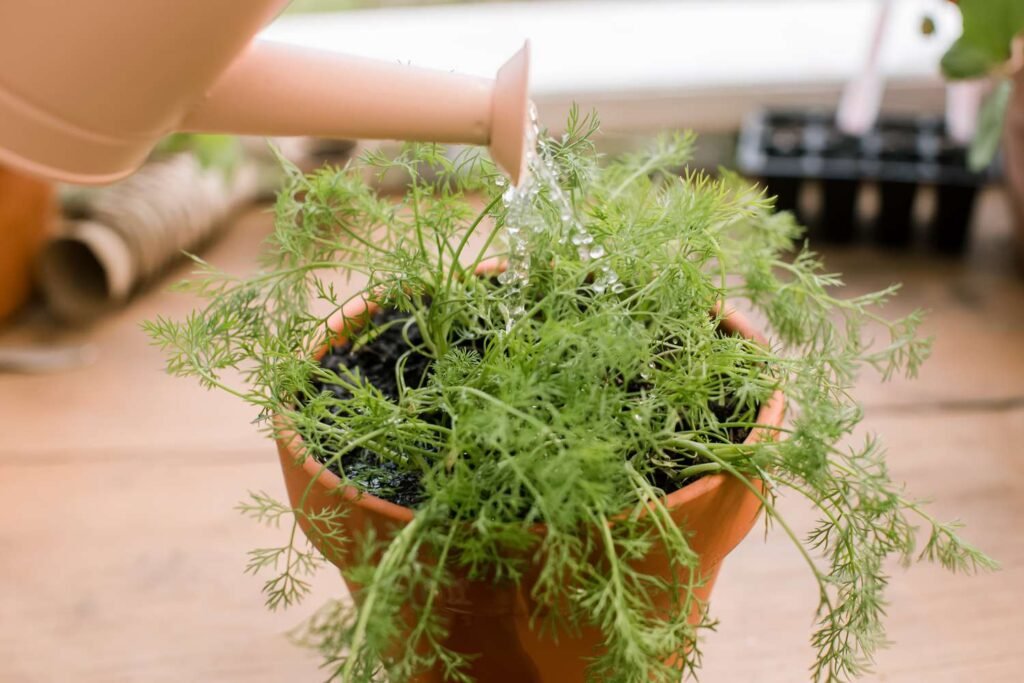
Step 6: Watering and Care
Proper watering is crucial for dill growth:
- Keep the soil consistently moist but not soggy. Overwatering can cause root rot.
- Water gently using a watering can or spray bottle to avoid disturbing the soil.
- In hot weather, check the soil daily as containers dry out faster than garden beds.
Dill also benefits from good air circulation. Avoid overcrowding and ensure the leaves have space to breathe.
Step 7: Fertilizing Your Dill
While dill doesn’t require heavy feeding, occasional fertilization promotes strong growth:
- Use organic liquid fertilizer or compost tea every 3–4 weeks.
- Avoid over-fertilizing, as this can make leaves soft and reduce flavor.
- Incorporate slow-release organic fertilizer into the soil when planting for long-term nutrients.
Proper nutrition ensures your dill plants grow healthy, aromatic, and ready for continuous harvesting.
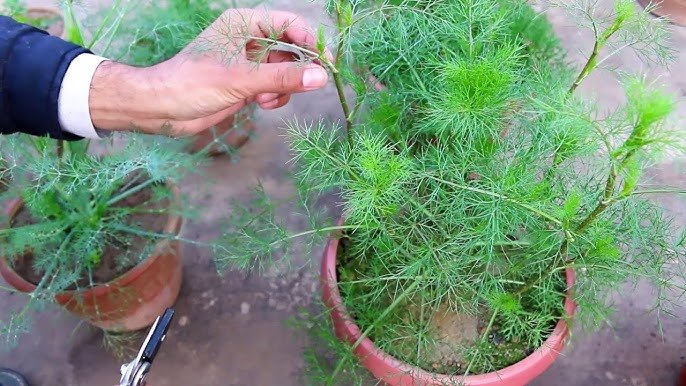
Step 8: Pruning and Maintenance
Regular pruning encourages bushier growth and prolongs the harvest:
- Snip outer leaves as needed for cooking. Avoid removing more than one-third of the plant at a time.
- Watch for pests like aphids and treat naturally with neem oil or mild soap solutions.
- If your dill starts to flower (bolt), trim flower buds to encourage more leafy growth.
Pruning and monitoring your plants ensures they stay productive and healthy for several months.
Step 9: Harvesting Dill
Dill is ready to harvest in 6–8 weeks:
- Harvest the outer leaves first, leaving the central growth intact.
- You can also harvest flowers and seeds for use in pickling or cooking.
- Regular harvesting encourages new growth, ensuring a continuous supply of fresh dill.
For maximum flavor, harvest leaves in the morning when the essential oils are most concentrated.
Benefits of Growing Dill in Recycled Plastic Baskets
- Eco-Friendly: Reuses plastic baskets that might otherwise be discarded.
- Space-Saving: Ideal for balconies, small gardens, or kitchen areas.
- Continuous Supply: Regular harvesting provides fresh leaves for weeks.
- Cost-Effective: Reduces the need to buy store-bought dill repeatedly.
- Decorative: Adds greenery and beauty to indoor or outdoor spaces.
Using recycled baskets allows you to combine functionality with sustainability, making your home garden both practical and visually appealing.
Troubleshooting Common Problems
- Yellowing Leaves: Usually caused by overwatering, nutrient deficiency, or insufficient sunlight.
- Slow Germination: Pre-soak seeds and ensure consistent moisture for faster sprouting.
- Leggy Plants: Ensure sufficient sunlight and rotate baskets for even growth.
- Pests: Aphids and spider mites can attack leaves. Treat naturally with neem oil or insecticidal soap.
Addressing these issues early helps maintain a healthy, productive dill garden.
Conclusion
Planting dill in recycled plastic baskets is a simple, sustainable, and rewarding gardening method. It allows you to enjoy fresh, aromatic herbs year-round, even if you don’t have a backyard garden. By preparing your basket, planting seeds or seedlings correctly, providing sunlight, watering carefully, and maintaining your plants, you can grow healthy, flavorful dill with minimal effort.
This method also encourages eco-friendly practices by repurposing materials that would otherwise go to waste. It’s perfect for beginners, small-space gardeners, and anyone looking to bring fresh herbs into their kitchen.
Start today, and in just a few weeks, you’ll be snipping fresh dill straight from your recycled plastic basket—adding flavor, freshness, and health benefits to your meals, while making a positive impact on the environment.