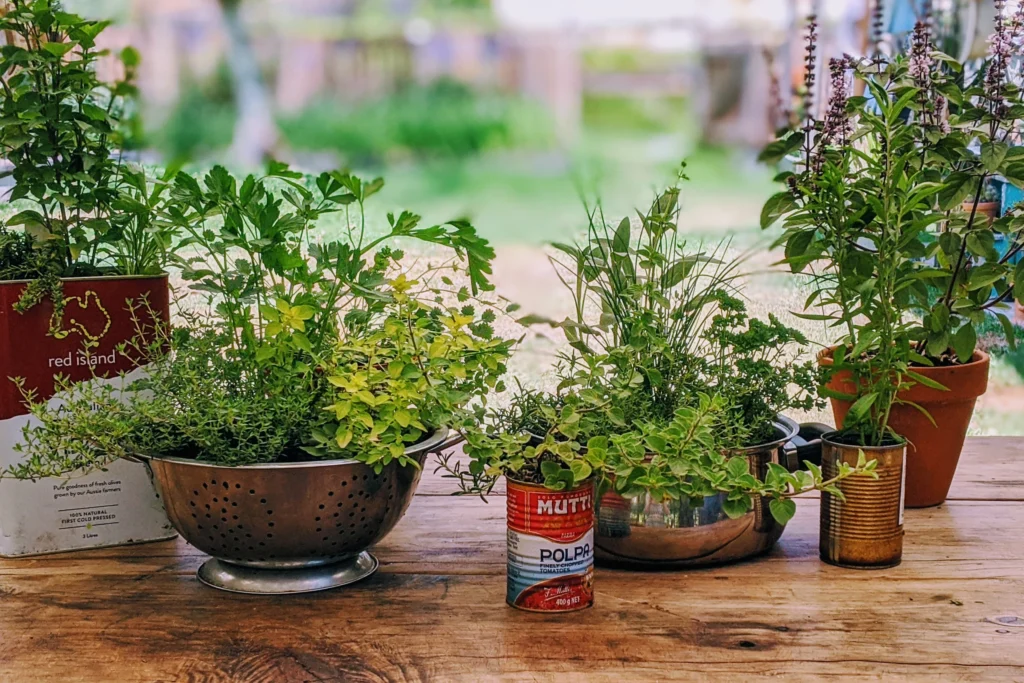
Thyme is a versatile and aromatic herb that enhances the flavor of countless dishes, from soups and stews to roasted vegetables and meats. Not only does it add a burst of flavor to your cooking, but it also offers numerous health benefits, including antioxidant and antibacterial properties. The good news is that you don’t need a backyard garden to grow thyme—you can cultivate this hardy herb indoors in pots. This guide will provide step-by-step instructions on growing thyme at home, tips for indoor care, and best practices for harvesting to ensure a thriving indoor herb garden.
Why Grow Thyme Indoors?
There are several reasons why growing thyme at home is a smart choice:
- Freshness: Homegrown thyme is far more flavorful and aromatic than store-bought dried herbs.
- Year-Round Access: Growing thyme indoors allows you to have fresh herbs throughout the year, regardless of season.
- Cost-Effective: Buying fresh thyme regularly can get expensive, but growing your own saves money.
- Health Benefits: Thyme is rich in antioxidants, vitamins A and C, and has antimicrobial properties that support health.
- Space-Saving: Perfect for apartments, kitchens, or any indoor space with limited room.
Thyme is particularly suitable for indoor gardening because it is hardy, drought-tolerant, and thrives in well-drained soil, making it low-maintenance yet highly rewarding.
Materials You’ll Need
To grow thyme indoors successfully, you’ll need the following materials:
- Thyme seeds, seedlings, or cuttings
- A pot or container with drainage holes
- Potting soil or a well-draining soil mix
- Small stones or gravel for drainage (optional)
- Watering can or spray bottle
- A sunny windowsill or grow light
Choosing the right pot and soil is crucial for healthy thyme growth, as the plant prefers well-draining conditions to prevent root rot.
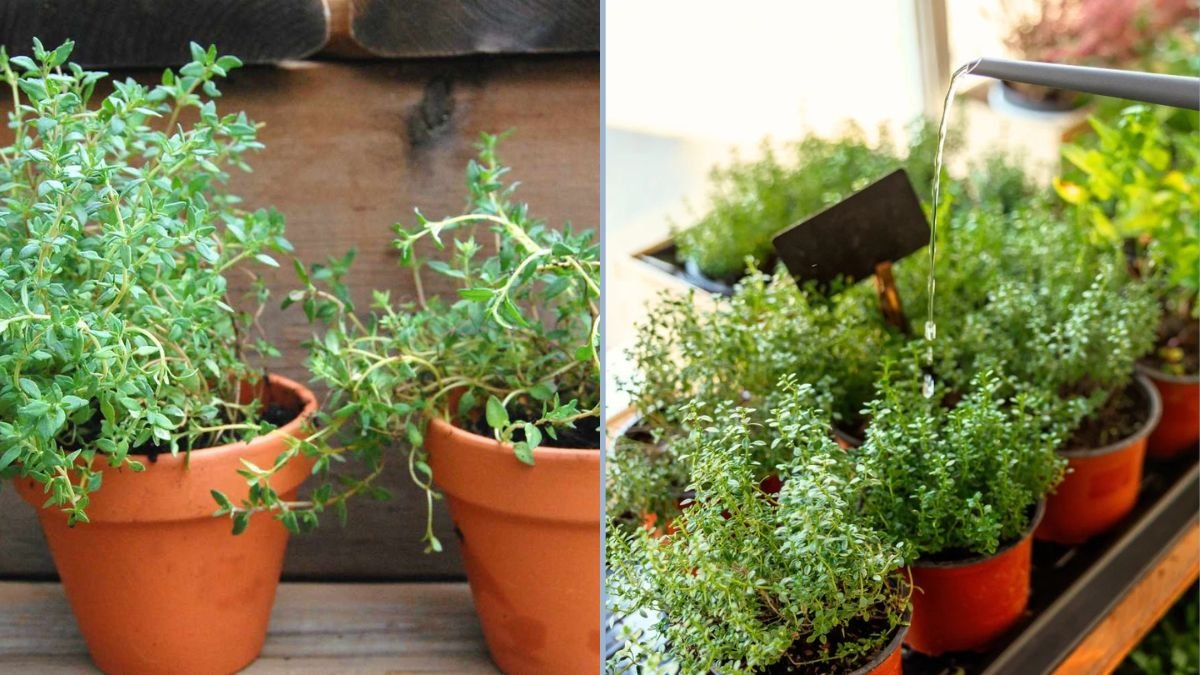
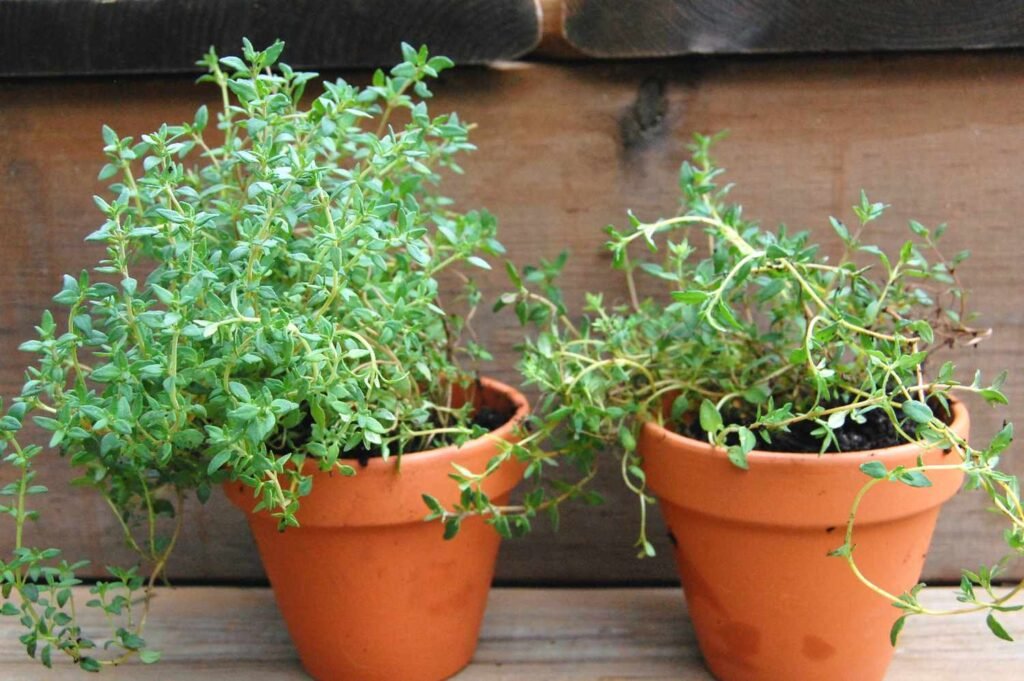
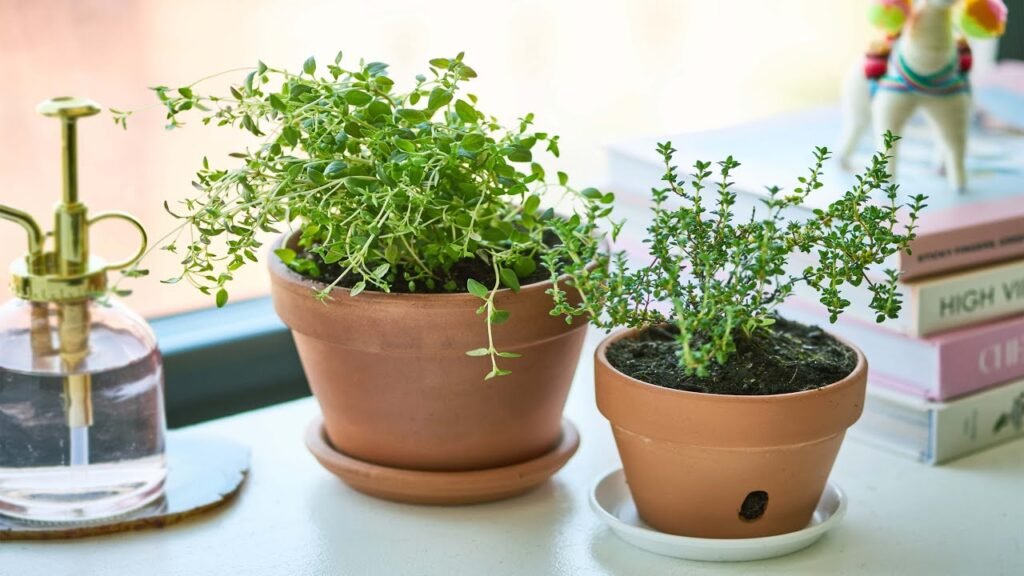
Step 1: Select the Right Pot
When growing thyme indoors, container selection plays a key role:
- Size: Choose a pot that is at least 6–8 inches deep with enough room for root growth.
- Drainage: Ensure the pot has drainage holes to avoid waterlogged soil, which can harm the plant.
- Material: Terracotta pots are ideal because they allow air circulation and prevent overwatering, though plastic or ceramic pots work as well.
Adding a layer of small stones or gravel at the bottom can further improve drainage and keep the roots healthy.
Step 2: Choose Your Thyme Variety
There are several varieties of thyme you can grow indoors:
- Common Thyme (Thymus vulgaris): A versatile culinary herb with a strong flavor.
- Lemon Thyme: Has a citrusy aroma, perfect for salads and teas.
- Creeping Thyme: Often used as a ground cover but also grows well in pots.
Select a variety that suits your culinary needs and the space you have available indoors.
Step 3: Planting Thyme
Thyme can be grown from seeds, cuttings, or small seedlings:
From Seeds:
- Fill your pot with well-draining soil and lightly press the seeds onto the surface.
- Cover them thinly with soil, about 1/8 inch deep.
- Water gently using a spray bottle to avoid washing away the seeds.
- Seeds typically germinate within 1–2 weeks, depending on temperature and moisture.
From Cuttings or Seedlings:
- Plant seedlings or rooted cuttings into prepared soil at the same depth as they were in their previous container.
- Space multiple plants about 6–8 inches apart to allow proper airflow and growth.
- Water lightly to settle the soil.
Thyme prefers slightly acidic to neutral soil (pH 6–7) that is rich in organic matter but well-draining to prevent root issues.
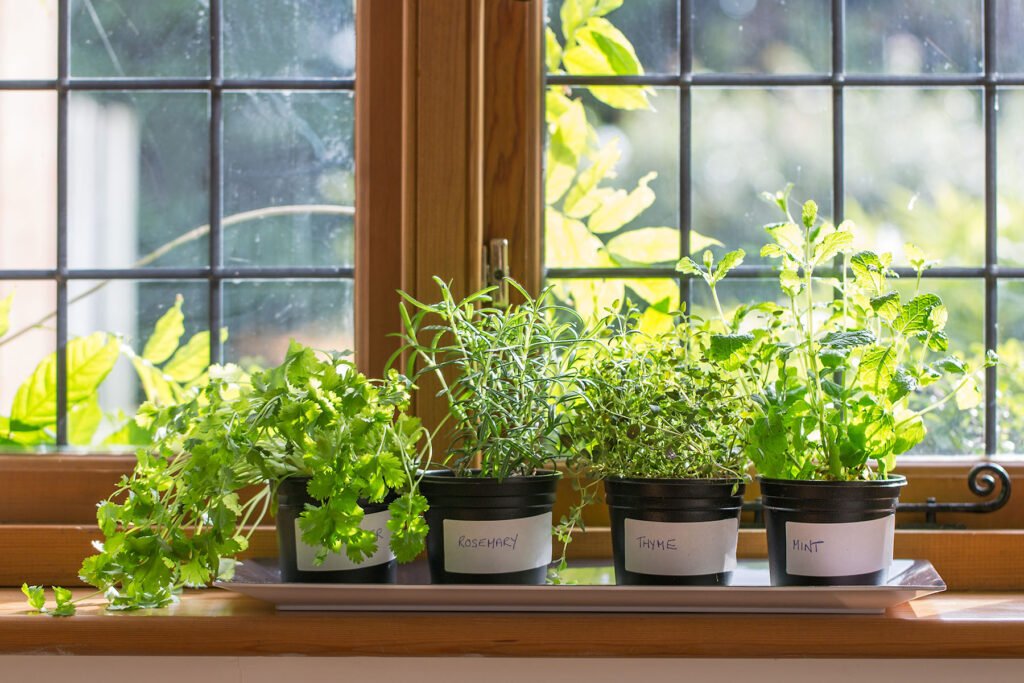
Step 4: Choose the Right Location
Light is crucial for indoor thyme:
- Place your pot on a sunny windowsill that receives 6–8 hours of direct sunlight daily.
- If natural sunlight is limited, use a grow light for 10–12 hours a day to mimic sunlight conditions.
- Rotate the pot occasionally to ensure all sides of the plant receive light evenly.
Thyme thrives in bright conditions, and proper lighting ensures compact growth and robust flavor in the leaves.
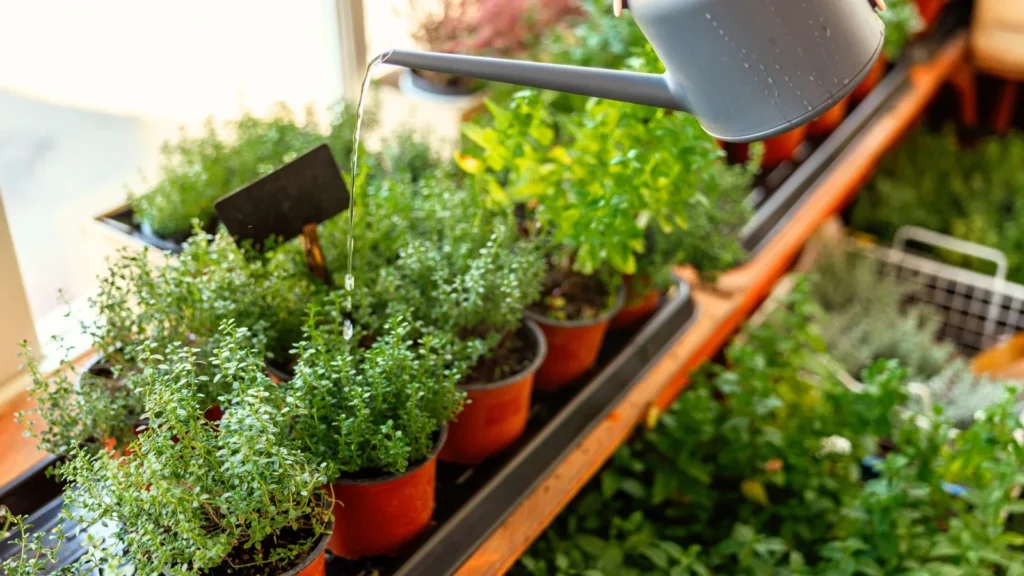
Step 5: Watering Thyme
Thyme is drought-tolerant and prefers slightly dry conditions:
- Allow the top inch of soil to dry between watering sessions.
- Water thoroughly but avoid leaving the plant in standing water.
- Mist occasionally if the air is dry, but overwatering can lead to root rot.
Proper watering is key to maintaining healthy foliage and avoiding fungal or root problems.
Step 6: Fertilizing Thyme
Thyme is not a heavy feeder, but occasional fertilization encourages healthy growth:
- Use a diluted organic liquid fertilizer once every 4–6 weeks.
- Avoid high-nitrogen fertilizers, which can result in lush leaves with reduced flavor.
- Incorporate slow-release compost or organic fertilizer into the soil during planting for sustained nutrients.
Balanced nutrition ensures vibrant, aromatic leaves and prolongs the plant’s productive lifespan.
Step 7: Pruning and Maintenance
Pruning helps thyme grow bushier and maintains its shape:
- Trim back stems regularly to encourage branching and prevent legginess.
- Remove yellowing or damaged leaves promptly.
- Pinch off flower buds if you want to maintain leaf flavor, as flowering can make leaves slightly bitter.
- Check for pests like aphids or spider mites and treat naturally with neem oil or insecticidal soap.
Consistent pruning ensures the plant remains productive and visually appealing.
Step 8: Harvesting Thyme
Thyme can be harvested once it reaches 4–6 inches in height:
- Snip outer stems first, leaving the inner stems to continue growing.
- Harvest leaves as needed for cooking, teas, or garnishing.
- Frequent harvesting encourages new growth and keeps the plant compact.
For maximum flavor, harvest in the morning when essential oils in the leaves are most concentrated.
Benefits of Growing Thyme Indoors
- Fresh Supply: Enjoy aromatic, fresh thyme year-round.
- Convenience: Keep a pot on your kitchen counter or windowsill for easy access.
- Health Boost: Thyme has antibacterial, antioxidant, and anti-inflammatory properties.
- Low Maintenance: Hardy and drought-tolerant, perfect for beginners.
- Aesthetic Appeal: Adds greenery and fragrance to indoor spaces.
Indoor thyme cultivation is an excellent combination of practicality, flavor, and beauty in small spaces.
Troubleshooting Common Issues
- Yellow Leaves: May indicate overwatering or insufficient light.
- Leggy Growth: Occurs when the plant doesn’t receive enough light; rotate or provide grow lights.
- Root Rot: Caused by waterlogged soil; ensure proper drainage and avoid overwatering.
- Pests: Aphids and spider mites can infest leaves; treat naturally with neem oil or mild soap spray.
Addressing these issues promptly ensures healthy and productive indoor thyme plants.
Conclusion
Growing thyme indoors in pots is simple, rewarding, and perfect for anyone who loves fresh herbs. By choosing the right container, providing well-draining soil, giving sufficient light, watering carefully, fertilizing occasionally, and pruning regularly, you can enjoy a thriving indoor thyme plant all year round.
Indoor thyme gardening not only enhances your cooking but also adds greenery, fragrance, and health benefits to your home. Whether you’re a beginner or an experienced gardener, this aromatic herb is easy to grow and maintain in pots.
Start your indoor herb garden today, and soon you’ll be snipping fresh, flavorful thyme for your meals—bringing convenience, aroma, and a touch of greenery into your home.