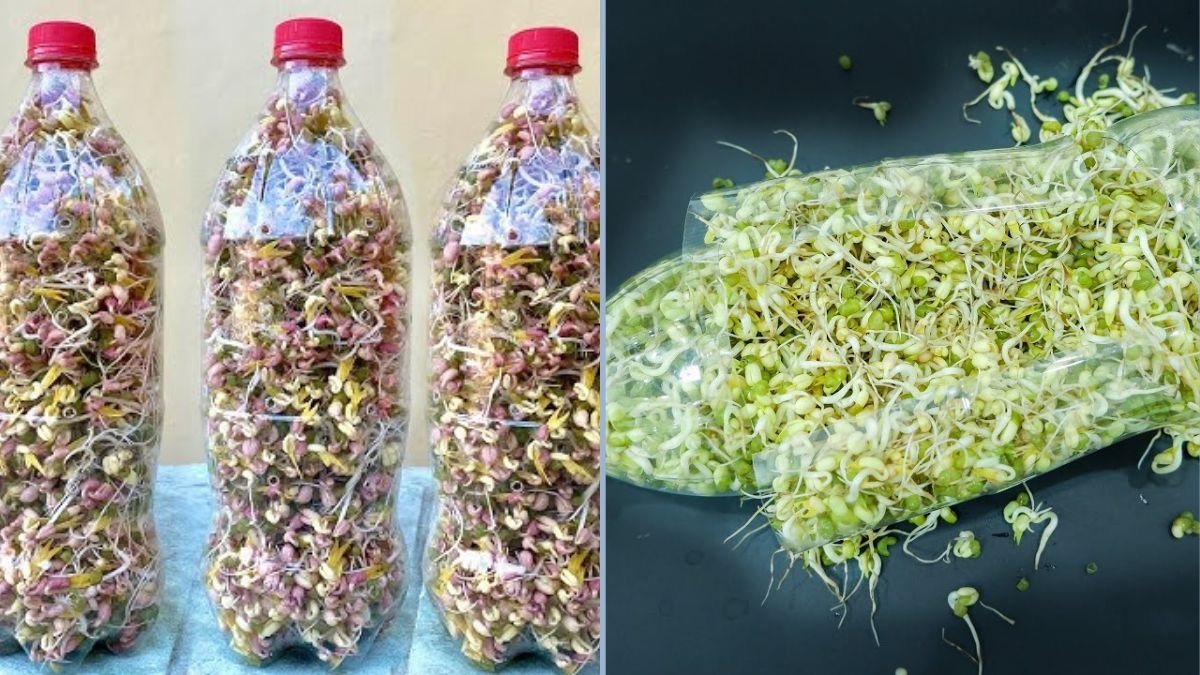
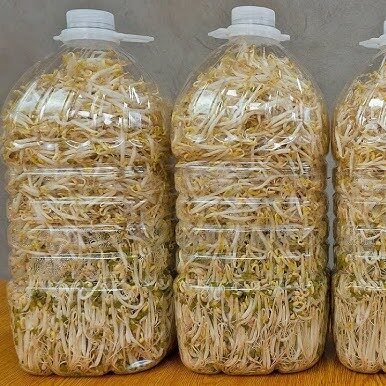
Bean sprouts are one of the healthiest and easiest foods to grow at home. Packed with vitamins, minerals, and proteins, they are a versatile addition to salads, stir-fries, sandwiches, and even soups. The best part? You don’t need a garden, a lot of space, or expensive equipment to grow them. With just discarded plastic bottles, some beans, and a little patience, you can cultivate your own fresh bean sprouts right in your kitchen. In this guide, we’ll explore how to use plastic bottles to grow bean sprouts at home, step by step.
Why Grow Bean Sprouts at Home?
Bean sprouts, including mung beans, lentils, and chickpeas, are nutritional powerhouses. They are rich in vitamin C, vitamin K, folate, fiber, and plant-based proteins. Homegrown sprouts are fresher, cleaner, and more nutritious than store-bought options, which may have been stored for days or treated with preservatives.
Growing bean sprouts at home also saves money and reduces waste. Instead of buying pre-packaged sprouts that often come in plastic containers, you can repurpose discarded bottles for your DIY sprouting setup. This approach is eco-friendly, economical, and satisfying—there’s nothing quite like harvesting your own fresh greens.
Why Use Plastic Bottles?
Plastic bottles are an ideal tool for home sprouting for several reasons:
- Cost-effective: Repurposing bottles eliminates the need for special containers.
- Eco-friendly: Reduces plastic waste and gives new life to discarded bottles.
- Space-saving: Can be stacked or hung in small kitchens, balconies, or indoor spaces.
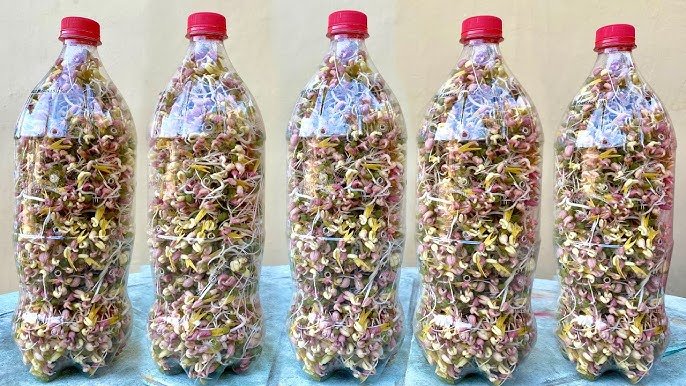
- Visibility: Transparent bottles allow you to monitor the growth of sprouts easily.
By using plastic bottles, you are practicing sustainable gardening while creating a functional, compact setup for continuous sprout production.
Materials Needed
Before you start, gather the following items:
- Empty plastic bottles (1–2 liters work best)
- Sharp scissors or a craft knife
- Clean water
- Mung beans, lentils, chickpeas, or any bean suitable for sprouting
- Cheesecloth or breathable mesh (optional, for draining)
- Rubber bands or string (optional)
Step-by-Step Guide to Growing Bean Sprouts in Plastic Bottles
1. Prepare the Plastic Bottle
Start by cleaning the plastic bottle thoroughly with warm water and soap. Remove any labels to make monitoring easier.
Next, decide how you want to position your bottle for sprouting:
- Vertical method: Cut the top off the bottle to create an open jar-like container. This method is simple and effective.
- Tilted/draining method: Cut a bottle in half and invert the top half into the bottom half like a funnel. This creates a self-draining sprouter, which is ideal for preventing mold and waterlogging.
2. Add the Beans
Measure out about 2–3 tablespoons of beans for a single bottle. Rinse them thoroughly to remove any dirt or debris.
Place the beans inside the prepared bottle. They will expand during soaking, so don’t overfill the container.
3. Soak the Beans
Add clean water to cover the beans completely and let them soak for 8–12 hours, depending on the type of bean. Mung beans, for instance, generally require around 8 hours, while chickpeas need closer to 12.
Soaking softens the beans, kick-starts the germination process, and reduces cooking time later if you plan to use them in meals.
4. Drain the Water
After soaking, drain the water completely. If using a vertical or funnel-style sprouter, invert the bottle so excess water drains into the bottom container. If using an open-top bottle, simply pour the water out and cover the top loosely with cheesecloth to allow airflow.
Proper drainage is crucial to prevent mold or bacterial growth. Beans should remain damp but not sitting in water.
5. Rinse and Drain Daily
Rinse the beans twice a day with fresh water and drain thoroughly each time. This keeps the beans hydrated while preventing stagnation and contamination.
Depending on the type of bean and your desired sprout length, sprouts typically take 3–7 days to grow fully. Mung beans usually sprout in 3–5 days, while chickpeas or lentils may take slightly longer.
6. Harvest the Sprouts
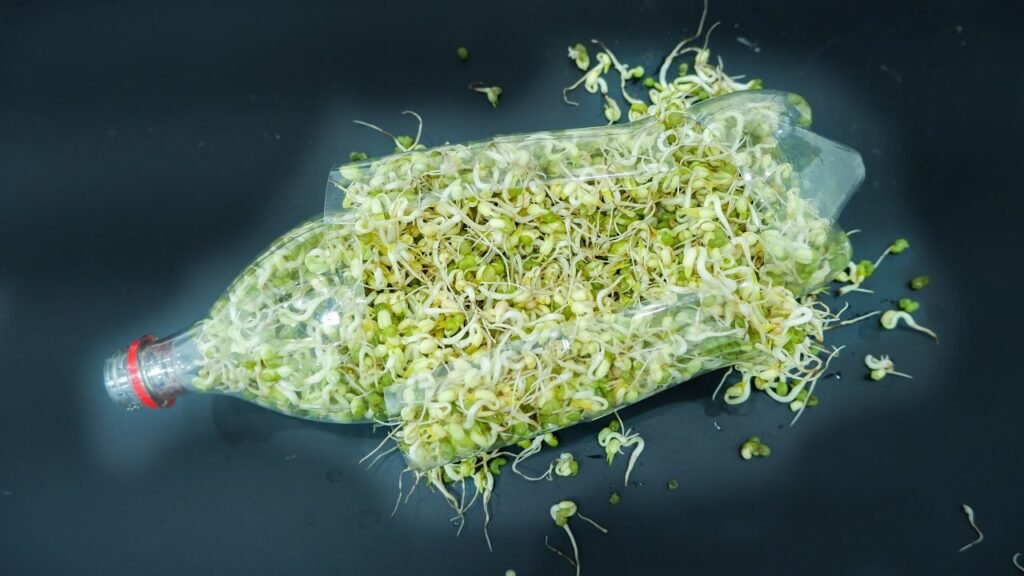
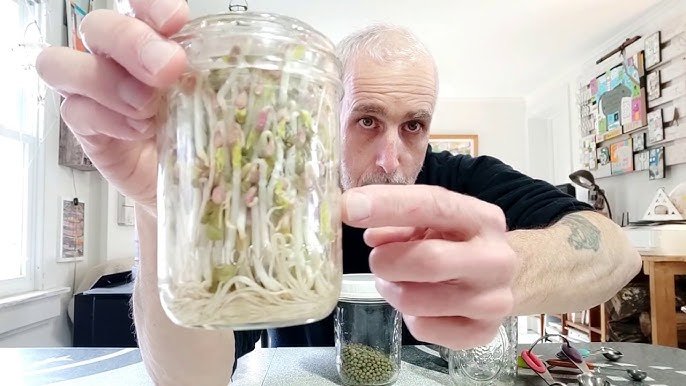
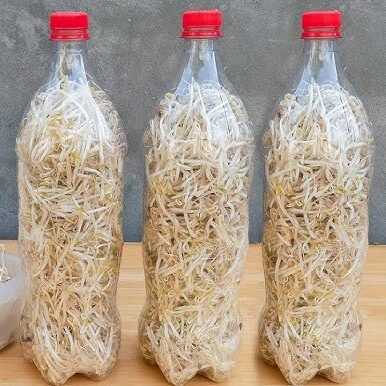
Once your sprouts have reached the desired length, usually around 1–2 inches for mung beans, they are ready to harvest. Drain them one final time and give them a thorough rinse.
You can store fresh sprouts in the refrigerator in a sealed container for up to a week. For best flavor and texture, consume them within 3–5 days.
Tips for Successful Bean Sprouts
- Use clean equipment: Sanitize bottles and tools to prevent mold or bacterial contamination.
- Keep in a cool, dark place: Sprouts grow best in indirect light, which keeps them crisp and tender.
- Avoid overcrowding: Too many beans in one bottle can reduce airflow and cause uneven sprouting.
- Monitor moisture: Beans should stay moist but never submerged in water after soaking.
- Rotate bottles: Slightly rotating the bottles each day can help ensure even sprouting.
DIY Variations and Creative Ideas
Plastic bottles offer versatility for sprouting beans in different ways:
- Hanging sprouter: Punch holes in the bottle cap and use string to hang the bottle upside down. This creates a fun vertical garden for your kitchen.
- Stackable system: Cut multiple bottles and stack them with small gaps in between to save space while growing multiple types of beans.
- Sprout-and-grow combo: Use the same bottle to start sprouts and, once matured, transfer them to soil to grow into full plants like green beans or chickpeas.
Nutritional and Culinary Benefits
Bean sprouts are extremely versatile and can enhance a wide variety of dishes:
- Salads: Add crunch and freshness to any salad.
- Stir-fries: Toss into stir-fried vegetables or noodles for extra protein.
- Sandwiches and wraps: Include raw sprouts for added texture and nutrition.
- Soups: Sprinkle on top of hot soups just before serving.
- Smoothies: Certain sprouts, like mung beans, can be blended into green smoothies for extra nutrients.
Besides being delicious, sprouts are low in calories and high in antioxidants, making them perfect for healthy, balanced diets.
Environmental Impact
Using discarded plastic bottles to grow sprouts is not only practical but also environmentally conscious. Plastic waste is a global issue, and finding ways to repurpose materials at home reduces landfill contributions and supports sustainable living. By turning bottles into functional sprouters, you are actively participating in upcycling while cultivating fresh, healthy food.
Final Thoughts
Growing bean sprouts at home using plastic bottles is a simple, sustainable, and rewarding DIY project. It doesn’t require a large garden, expensive equipment, or advanced gardening skills. With just a few bottles, some water, and your favorite beans, you can enjoy fresh, nutritious sprouts all year round.
Whether you’re a beginner looking to try your hand at indoor gardening or an experienced DIY enthusiast, this method combines creativity, sustainability, and practicality. Not only will you benefit from a constant supply of fresh sprouts, but you’ll also reduce waste and create a fun, hands-on project that can even involve children.
So gather your plastic bottles, choose your beans, and start growing! Your kitchen can become a mini-garden, producing nutrient-rich sprouts that are ready to enhance your meals in just a few days. Sustainable, simple, and satisfying, this DIY sprouting method proves that even the most ordinary household items can have extraordinary uses.