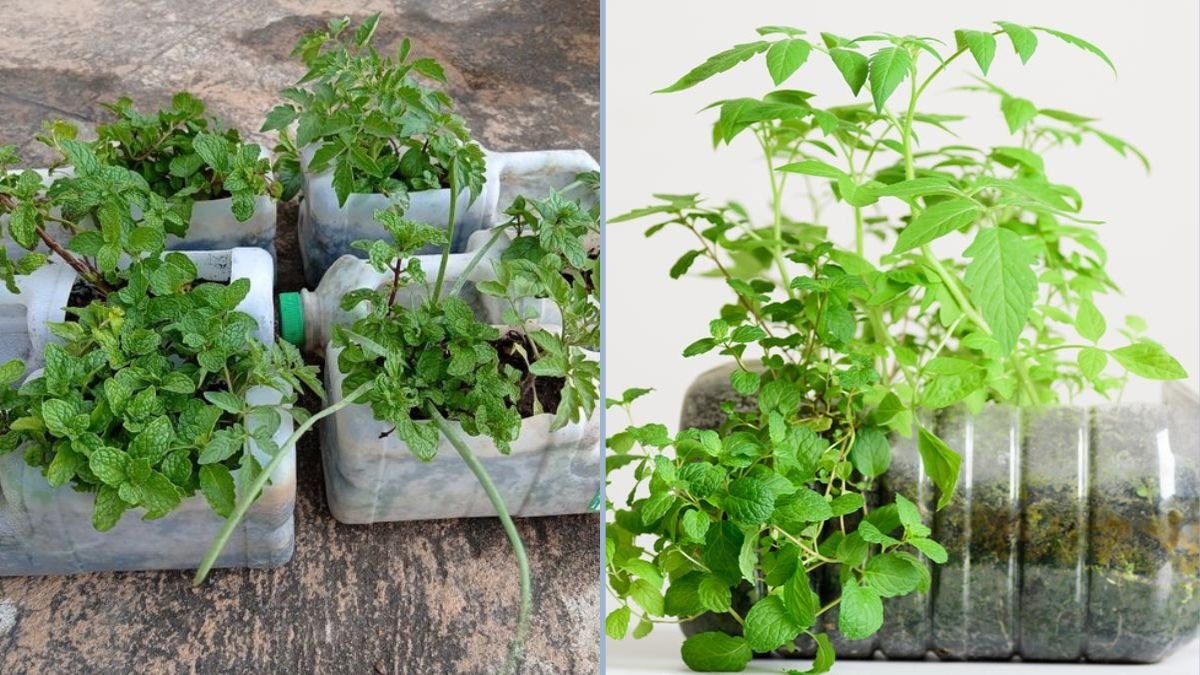
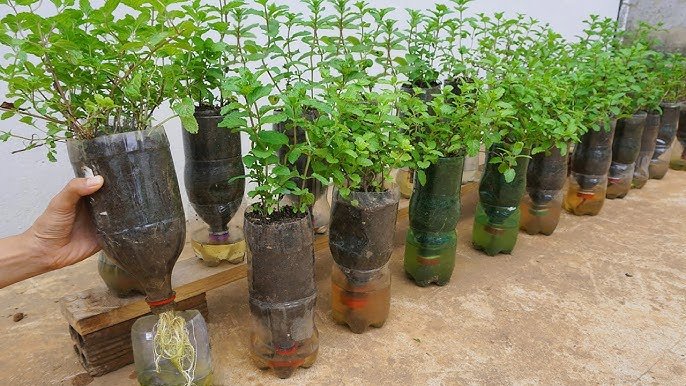
Mint is one of the most versatile and fragrant herbs you can grow at home. Its refreshing aroma and flavor make it perfect for teas, desserts, salads, and garnishes. The great news is that you don’t need a garden bed to cultivate mint—you can grow it using recycled plastic bottles, making this method eco-friendly, space-saving, and ideal for indoor or balcony gardening. In this guide, we’ll walk you step by step on how to plant mint using plastic bottles and enjoy a continuous supply of fresh leaves year-round.
Why Grow Mint at Home?
Growing mint at home comes with several benefits:
- Freshness: Homegrown mint has a stronger aroma and flavor compared to store-bought leaves.
- Cost-Effective: Buying fresh mint regularly can be expensive, but growing your own saves money.
- Sustainable: Using recycled plastic bottles reduces waste and promotes eco-friendly gardening.
- Accessibility: Fresh mint is always at hand for cooking, teas, and garnishes.
- Health Benefits: Mint contains antioxidants, vitamins A and C, and has digestive and soothing properties.
Mint is also a hardy plant, making it suitable for beginners. Its ability to spread rapidly makes it perfect for container gardening, where you can control growth and prevent it from overtaking other plants.
Materials You’ll Need
To start your mint garden in a plastic bottle, gather the following materials:
- A recycled plastic bottle (1–2 liters works best)
- Fresh mint cuttings or seeds
- Potting soil or compost
- Scissors or a craft knife
- Watering can or spray bottle
- String or twine for hanging (optional)
- Small pebbles or gravel (optional for drainage)
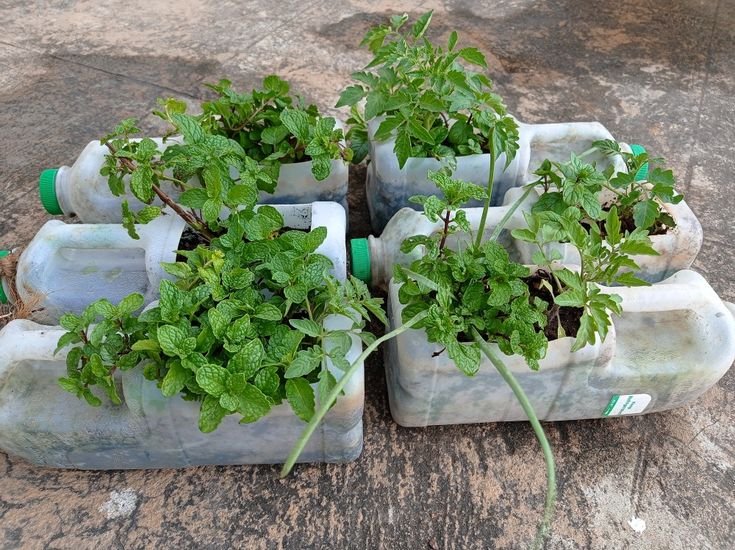
Repurposing plastic bottles not only reduces waste but also creates a cost-effective, eco-friendly container for your herb garden.
Step 1: Prepare the Plastic Bottle
Proper preparation is key to successful mint growth:
- Wash the bottle thoroughly to remove any residue.
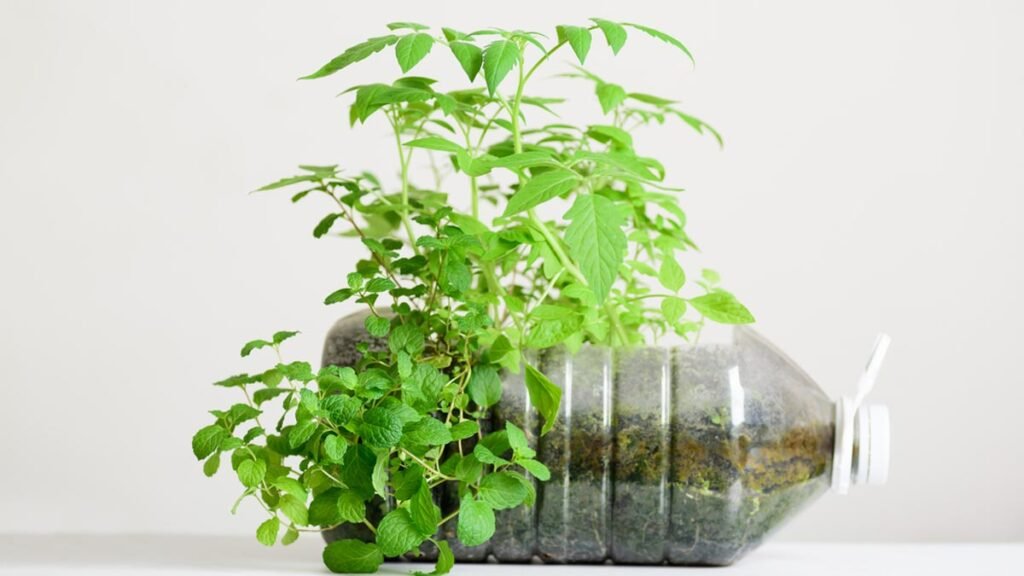
- Using scissors or a craft knife, carefully cut the bottle horizontally or create a side opening for planting.
- Ensure drainage by poking small holes at the bottom to prevent waterlogging.
- Optionally, add a layer of small stones or gravel at the bottom for extra drainage.
Smooth all edges after cutting to prevent injury and avoid damaging the roots of your mint plant.
Step 2: Select and Prepare Mint Cuttings
Mint is best propagated through cuttings rather than seeds, as it roots quickly and grows vigorously.
For Cuttings:
- Select healthy stems with 3–4 inches in length and several leaf nodes.
- Remove the lower leaves to expose 1–2 inches of the stem for planting.
- Place the cuttings in a glass of water for a few days to encourage root development before planting.
Using cuttings ensures faster growth compared to starting from seeds, which can take longer to germinate.
Step 3: Prepare the Soil
Mint thrives in light, well-draining soil:
- Use a mix of potting soil and compost for fertility and moisture retention.
- Mint prefers slightly acidic to neutral soil (pH 6–7).
- Fill your prepared bottle with soil, leaving 1–2 inches from the top for watering.
Adding organic compost enriches the soil and provides essential nutrients for strong root development and healthy leaves.
Step 4: Planting Mint in the Bottle
For Cuttings:
- Insert the rooted cutting into the soil, ensuring the base is buried and leaves remain above the soil line.
- Firm the soil gently around the stem.
- Water lightly to settle the soil and avoid displacing the cutting.
For Seeds:
- Plant seeds ¼ inch deep and cover lightly with soil.
- Water gently and keep the soil moist until seedlings emerge, usually in 7–14 days.
Space cuttings or seeds evenly, about 6–8 inches apart, to allow airflow and prevent overcrowding. Mint grows quickly and can become invasive if cramped.
Step 5: Choose the Right Location
Mint thrives in bright, indirect sunlight:
- Place your plastic bottle on a sunny windowsill, balcony, or terrace where it receives 4–6 hours of sunlight daily.
- If growing indoors, consider using grow lights for adequate light exposure.
- Avoid harsh direct sunlight in very hot climates, which may cause leaves to scorch.
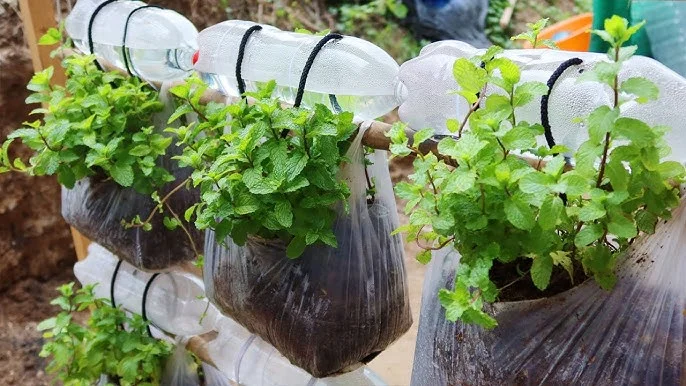
Hanging the bottle vertically is optional but helps save space and improves air circulation around the plant.
Step 6: Watering and Care
Mint requires consistent moisture but doesn’t like to sit in water:
- Keep the soil consistently moist but not soggy. Overwatering can cause root rot.
- Water gently using a watering can or spray bottle to avoid disturbing the roots or soil.
- In hot or dry conditions, check the soil daily as container soil tends to dry out faster than garden beds.
Mint also benefits from occasional rotation of containers to ensure all leaves receive equal sunlight exposure.
Step 7: Fertilizing Your Mint
Although mint is hardy, occasional feeding promotes stronger growth and healthier leaves:
- Use organic liquid fertilizer or compost tea every 3–4 weeks.
- Avoid over-fertilizing, which can make leaves soft and reduce essential oils.
- You can also incorporate slow-release organic fertilizer into the soil at planting for long-term nutrition.
Proper nutrition ensures robust stems, aromatic leaves, and longer-lasting growth.
Step 8: Pruning and Maintenance
Regular maintenance encourages bushier growth and prolongs the harvest:
- Snip outer stems regularly for cooking or teas. Avoid cutting more than one-third of the plant at a time.
- Watch for pests such as aphids or spider mites, and treat naturally with neem oil or mild soap solutions.
- If your mint flowers, pinch off the buds to encourage more leafy growth. Flowering reduces leaf production and flavor intensity.
Maintaining your mint plant ensures continuous growth and a steady supply of fresh leaves.
Step 9: Harvesting Mint
Mint can be harvested as soon as it reaches 6–8 inches in height:
- Harvest outer stems first, leaving the central growth intact.
- For teas, garnish, or cooking, snip leaves as needed.
- Regular harvesting encourages new growth and prevents the plant from becoming leggy.
Harvesting in the morning ensures maximum flavor, as essential oils are most concentrated at this time.
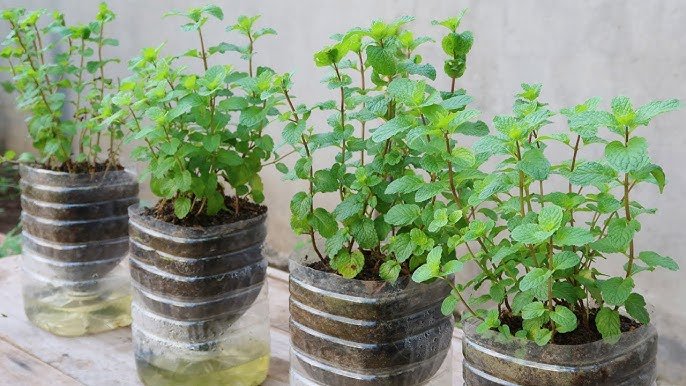
Benefits of Growing Mint in Plastic Bottles
- Eco-Friendly: Repurposes plastic bottles that would otherwise go to waste.
- Space-Saving: Perfect for small kitchens, balconies, or indoor spaces.
- Continuous Supply: Regular harvesting provides fresh mint leaves year-round.
- Cost-Effective: Saves money compared to buying store-bought mint.
- Decorative: Adds greenery and fragrance to your home environment.
This method demonstrates how sustainability and practicality can go hand in hand while creating an attractive, productive herb garden.
Troubleshooting Common Problems
- Yellow Leaves: Caused by overwatering, poor drainage, or insufficient sunlight. Adjust conditions accordingly.
- Leggy Growth: Occurs when mint doesn’t get enough light; rotate containers or add grow lights.
- Pests: Aphids, spider mites, and other small pests can affect leaves. Treat naturally using neem oil or mild soap spray.
- Browning Leaves: May indicate heat stress or nutrient deficiency; check watering and fertilizer.
Addressing these issues promptly ensures a healthy, productive mint plant.
Conclusion
Growing mint using plastic bottles is a simple, sustainable, and highly rewarding gardening method. It allows you to enjoy fresh, aromatic mint leaves all year round without needing a traditional garden. By preparing your bottle, planting cuttings or seeds, providing sunlight and proper care, and regularly harvesting, you can cultivate a thriving mint garden in small spaces.
This method also promotes environmental sustainability by repurposing plastic bottles, making it an eco-friendly choice for modern gardening. Whether you are a beginner or an experienced gardener, planting mint in bottles is fun, easy, and highly productive.
Start today, and in just a few weeks, you’ll be snipping fresh mint straight from your plastic bottle garden—adding flavor, aroma, and health benefits to your meals and drinks, all while contributing to a greener planet.