
Onion pakoda (also known as onion bhaji or kanda bhaji) is a beloved Indian snack that’s both crisp and comforting. Perfect for rainy days, evening tea-time, or as a quick party appetizer, onion pakodas are surprisingly easy to prepare. Made from simple pantry staples like onions, gram flour (besan), and spices, this dish is naturally vegetarian and gluten-free.
In this article, we’ll walk you through a 5-step recipe that delivers perfectly crunchy onion pakodas in no time—without using any non-vegetarian ingredients or complex tools. We’ll also explore the science behind the crunch, how to avoid sogginess, and tips to customize your pakodas for different occasions.
Step 1: Gather and Prepare Ingredients
The success of any recipe begins with using the right ingredients in the right proportions. For onion pakoda, quality and freshness are key, especially when it comes to the onions and spices.
Ingredients (Serves 3–4):
- Onions (thinly sliced): 2 large (about 2 cups)
- Gram flour (besan): 1 cup
- Rice flour (optional): 2 tablespoons (for extra crunch)
- Green chilies (finely chopped): 1–2 (adjust to taste)
- Fresh coriander leaves (chopped): 2 tablespoons
- Ginger (grated): 1 teaspoon
- Curry leaves (optional): A few, chopped
- Ajwain (carom seeds): ½ teaspoon (aids digestion)
- Red chili powder: ½ teaspoon
- Turmeric powder: ¼ teaspoon
- Salt: To taste
- Oil: For deep frying (any neutral oil like sunflower or groundnut)
Preparation Tips:
- Slice onions thinly and evenly. This ensures they cook quickly and evenly.
- Let sliced onions rest with salt for 10 minutes to release water—this helps bind the mixture without adding too much extra liquid.
- Always use fresh besan. Old or stale gram flour can give a bitter taste and affect texture.
Step 2: Mix the Batter (Without Adding Extra Water)
A critical step that determines how crunchy your pakodas turn out is the batter consistency. Unlike typical fritters, onion pakoda batter should be dry and sticky, not wet and runny.
How to mix the batter:
- Place the salted, sliced onions in a mixing bowl. After 10 minutes, they will release moisture.
- Add chopped green chilies, ginger, coriander, curry leaves, and spices (turmeric, red chili, ajwain).
- Gradually add gram flour and rice flour, mixing with your hands. The flour will start sticking to the wet onions and form a rough, sticky coating.
- Avoid adding water at this stage. If needed, sprinkle 1–2 teaspoons of water just to bind the mixture—but not more. The onions’ moisture should be enough.
Why this works:
- Less water means less steam during frying, resulting in crispier pakodas.
- Rice flour adds to the crunch by reducing moisture retention and making the exterior more brittle when fried.
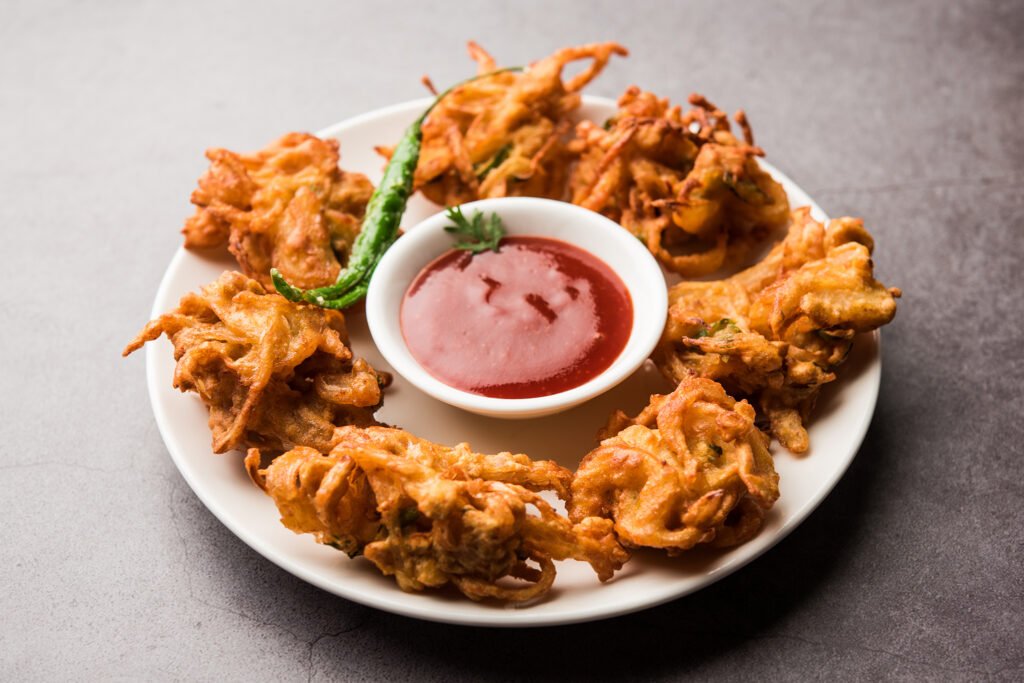
Step 3: Shape and Fry the Pakodas

Frying is where the magic happens—and where you must be careful about oil temperature and frying technique to achieve the perfect golden-brown crunch.
Frying instructions:
- Heat oil in a deep kadai or pan over medium heat.
- To check if the oil is ready, drop a tiny piece of batter—if it sizzles and rises to the top immediately, the oil is hot enough (around 350°F or 175°C).
- Take small portions of the onion mixture in your fingers and drop them loosely into the oil. Do not press or make smooth balls—pakodas should be uneven and craggy for maximum crispiness.
- Do not overcrowd the pan. Fry in batches to maintain oil temperature.
- Fry for 4–6 minutes per batch, turning occasionally, until pakodas are deep golden and crisp.
Pro Tip:
- Maintain consistent medium heat. If the oil is too hot, the outside will brown quickly while the inside remains raw. Too cool, and the pakodas will absorb excess oil and turn soggy.
Step 4: Drain and Keep Crispy

Once fried, pakodas need to be drained properly to retain their crunch.
Draining Tips:
- Use a slotted spoon to remove pakodas from the oil.
- Place them on a wire rack or plate lined with kitchen paper towels to absorb excess oil.
- Do not cover them immediately—this traps steam and makes them soggy.
- If making ahead for guests, place them in a preheated oven at low temperature (around 120°C or 250°F) to keep them warm and crispy for up to 20–30 minutes.
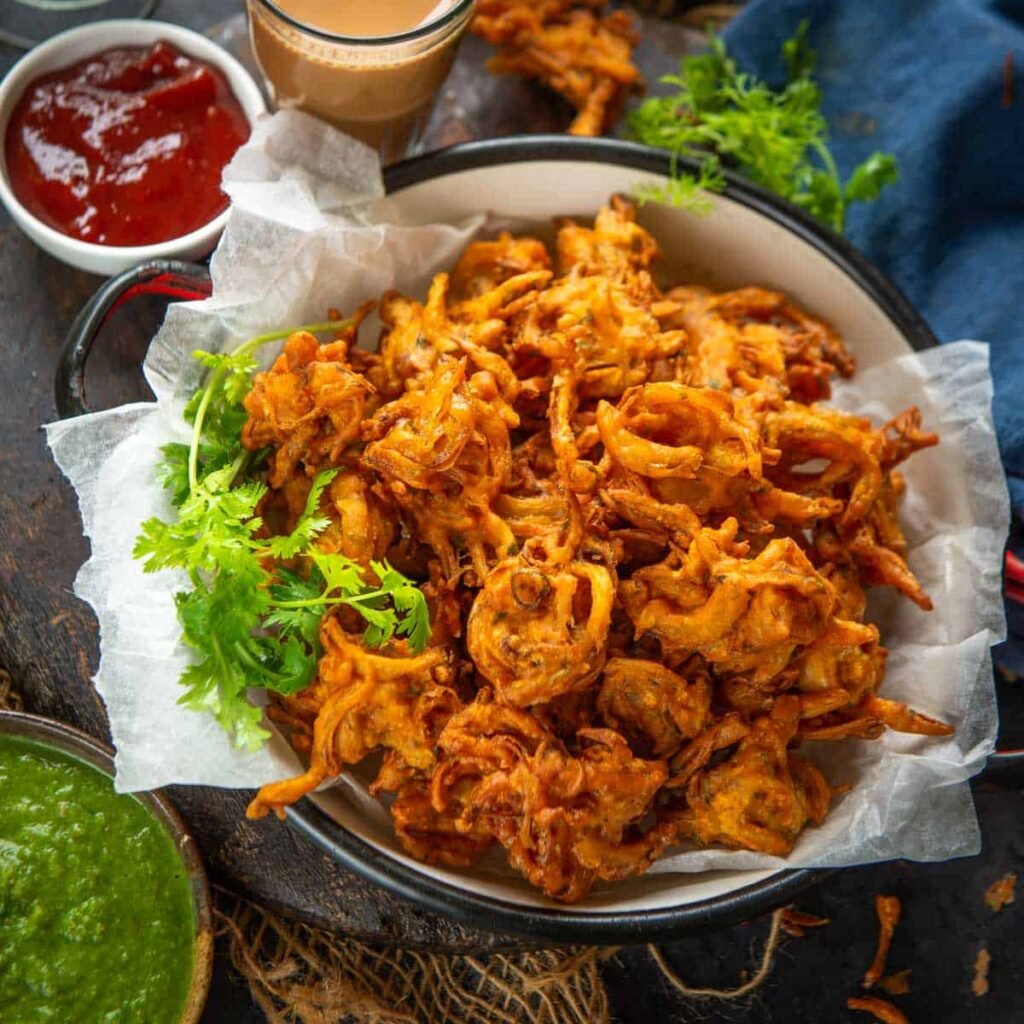
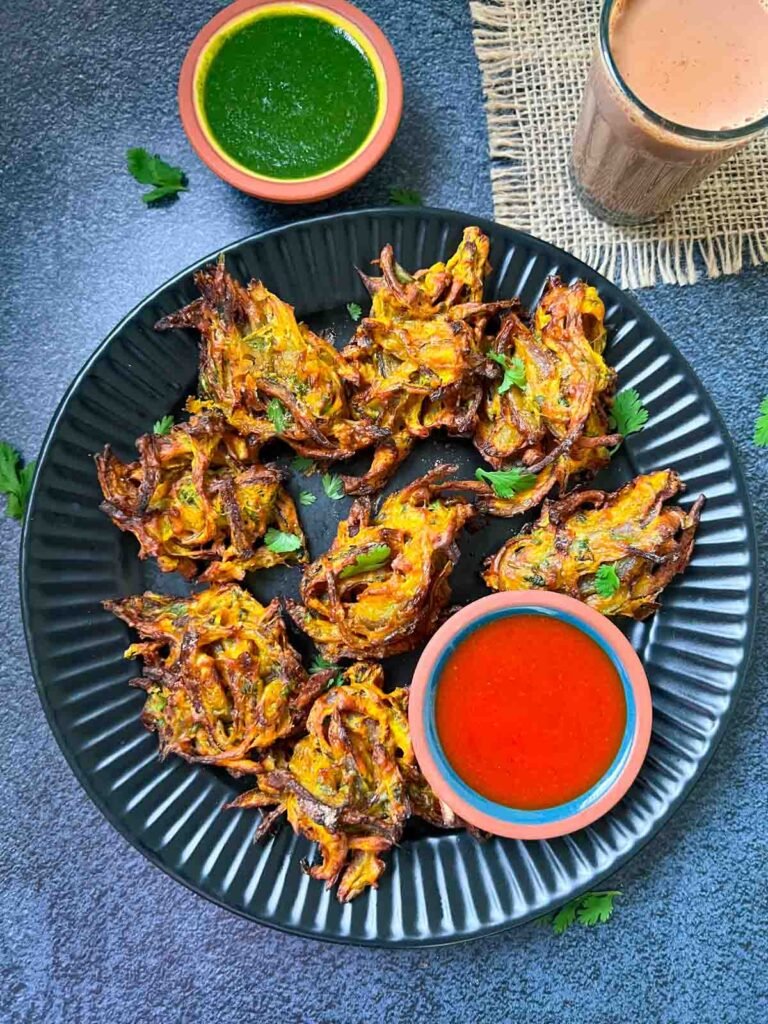
Step 5: Serve With Complementary Dips & Beverages
Pakodas are best enjoyed hot, straight out of the fryer, but they shine even more when paired with the right accompaniments.
Serving Ideas:
- Chutneys: Serve with green chutney (mint-coriander), tamarind chutney, or garlic chutney.
- Yogurt dip: Mix plain yogurt with a pinch of salt, cumin, and chopped coriander for a cooling contrast.
- Masala chai: The classic combo. A hot cup of Indian spiced tea pairs perfectly with crunchy pakodas.
- Street-style twist: Add chopped onions, chaat masala, and lemon juice on top of the pakodas before serving for a chatpata snack.
Bonus: Tips for Perfect Pakodas Every Time
- Use cold onions: Chilling the sliced onions before mixing can enhance crispiness.
- Don’t overmix: Light handling results in more texture; overmixing releases too much moisture.
- Always test a small batch first. Adjust salt, spice, and oil temperature before committing to a full batch.
- Use rice flour or corn flour for crunch. Even a tablespoon or two makes a difference.
- Air-fry or bake for a low-fat version: While traditional deep frying gives the best texture, pakodas can be air-fried at 180°C (350°F) for 12–15 minutes with a light oil spray.
Health & Nutrition Overview
Though pakodas are indulgent, they can be part of a balanced vegetarian diet when made mindfully.
- No added preservatives, artificial flavors, or non-veg ingredients.
- Gluten-free, as gram flour and rice flour are naturally gluten-free.
- Vegan-friendly, as no dairy or animal-based products are used.
- High in protein, thanks to gram flour and chickpea content.
- Moderate in calories when shallow-fried or air-fried.
To reduce oil intake, serve with a fresh salad or pair with lemon water or herbal tea instead of sugary drinks.
Variations of Onion Pakoda
While the classic version is timeless, you can get creative without compromising the vegetarian theme:
- Spinach-Onion Pakoda: Add shredded spinach or methi (fenugreek leaves).
- Corn & Onion Pakoda: Add steamed sweet corn kernels for texture and sweetness.
- Mixed Vegetable Pakoda: Grated carrots, cabbage, and onions form a colorful mix.
- Herb Infused Pakoda: Add mint, basil, or dill leaves for aromatic variation.
- Spicy Schezwan Pakoda: Mix in a bit of Schezwan chutney for Indo-Chinese flair.
Conclusion
Making crunchy onion pakoda in no time is entirely possible with the right technique and a little prep. By following this 5-step recipe, you can create a delicious vegetarian snack that’s crispy, flavorful, and satisfying—without any complicated ingredients or non-veg additions.
Whether you’re cooking for family, entertaining guests, or just indulging in a cozy evening snack, these pakodas hit the spot. Keep experimenting with variations, pair with your favorite dips, and enjoy this Indian street food classic made healthier and faster.