In recent years, the concept of home gardening has evolved beyond simple potted plants and window herbs. Among the most efficient and sustainable methods of cultivating vegetables at home is the raised vegetable bed — a contained garden structure that allows for better soil control, higher yields, and easier maintenance.
Building a raised vegetable bed at home offers numerous benefits, including improved drainage, reduced weed growth, and the ability to grow healthy, chemical-free vegetables in even the smallest spaces. Whether you have a large backyard, a small courtyard, or a sunny terrace, raised beds can transform any area into a productive and eco-friendly mini-farm.
This article explores, in detail, how to design, construct, and maintain a raised vegetable bed at home, ensuring year-round harvests while promoting sustainable, vegetarian living.
Understanding the Concept of Raised Vegetable Beds
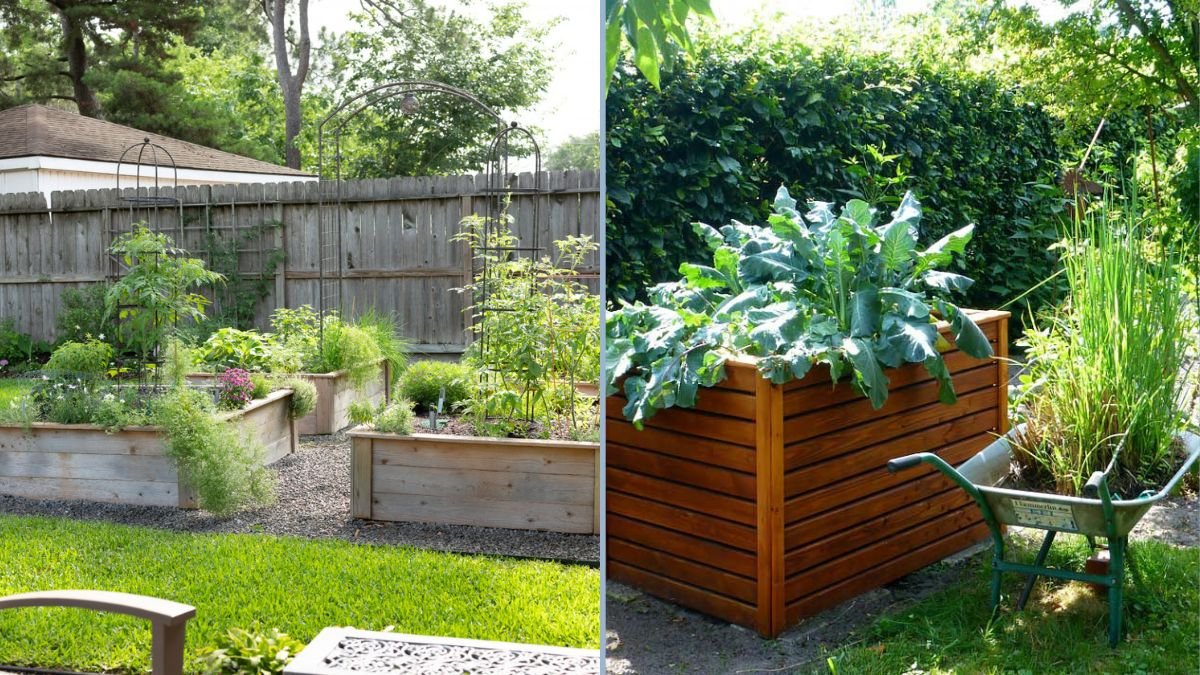
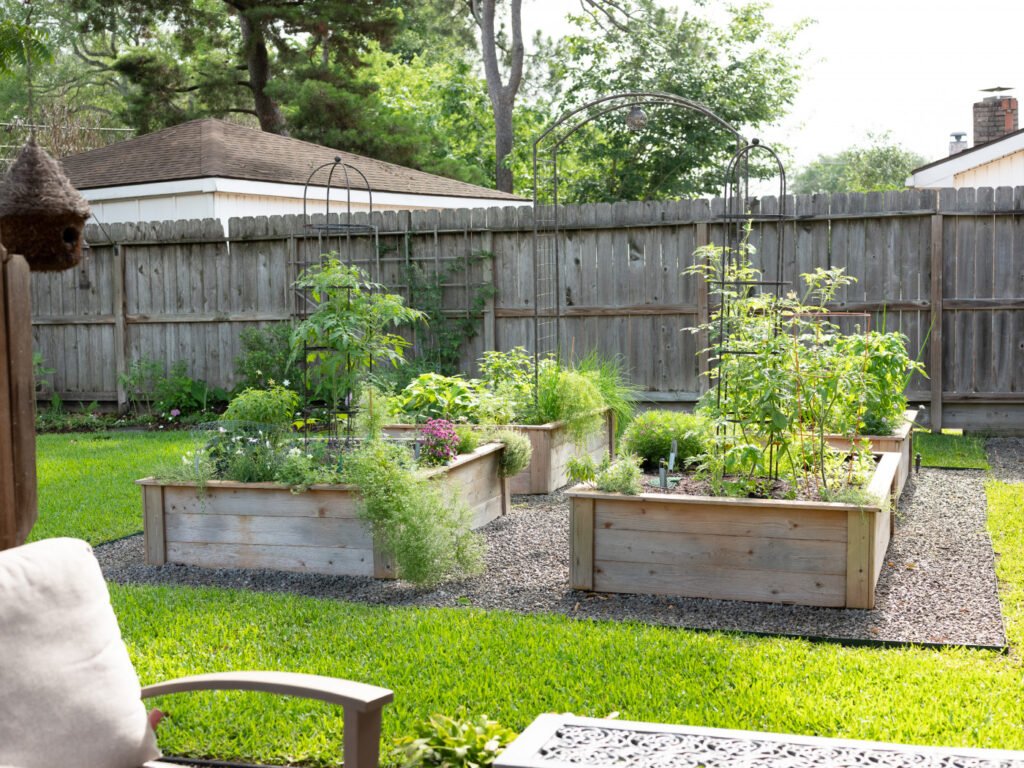
A raised vegetable bed is an elevated structure filled with soil, compost, and organic matter, designed to cultivate plants above ground level. Typically, these beds are enclosed with materials such as wood, bricks, or metal, and can vary in size depending on available space.
Raised beds are particularly beneficial for:
- Urban or compact homes where ground soil may be poor or unavailable.
- Individuals seeking ergonomic gardening with reduced bending and strain.
- Sustainable gardening practices emphasizing efficient water use and organic farming.
In essence, raised beds provide gardeners with control over soil quality, plant spacing, and drainage — all key factors in growing healthy, vibrant vegetables.
Benefits of Building a Raised Vegetable Bed
- Better Soil Quality:
You control the soil composition, ensuring optimal nutrients for vegetable growth. - Improved Drainage:
Water drains efficiently through raised beds, preventing waterlogging and root rot. - Reduced Weed Growth:
The elevation and soil separation minimize weed invasion. - Longer Growing Season:
The soil in raised beds warms up faster in spring, allowing early planting. - Space Efficiency:
Perfect for small homes, terraces, or courtyards; every inch can be used effectively. - Ease of Maintenance:
Raised height minimizes the need for bending, making it ideal for elderly or physically limited gardeners. - Organic and Sustainable:
By avoiding chemical fertilizers and pesticides, raised beds promote healthy, vegetarian food production.
These combined advantages make raised vegetable beds one of the most practical solutions for modern home gardening.
Step 1: Planning Your Raised Bed
Before you begin building, careful planning ensures long-term success.
A. Choosing the Right Location
Select a site that receives at least 6–8 hours of direct sunlight daily. Avoid shaded areas near tall trees or walls that block light. The spot should also have good air circulation.
If you live in an apartment, your terrace, rooftop, or balcony can also serve as a great location — just ensure the structure can handle the bed’s weight.
B. Deciding on Bed Size and Shape
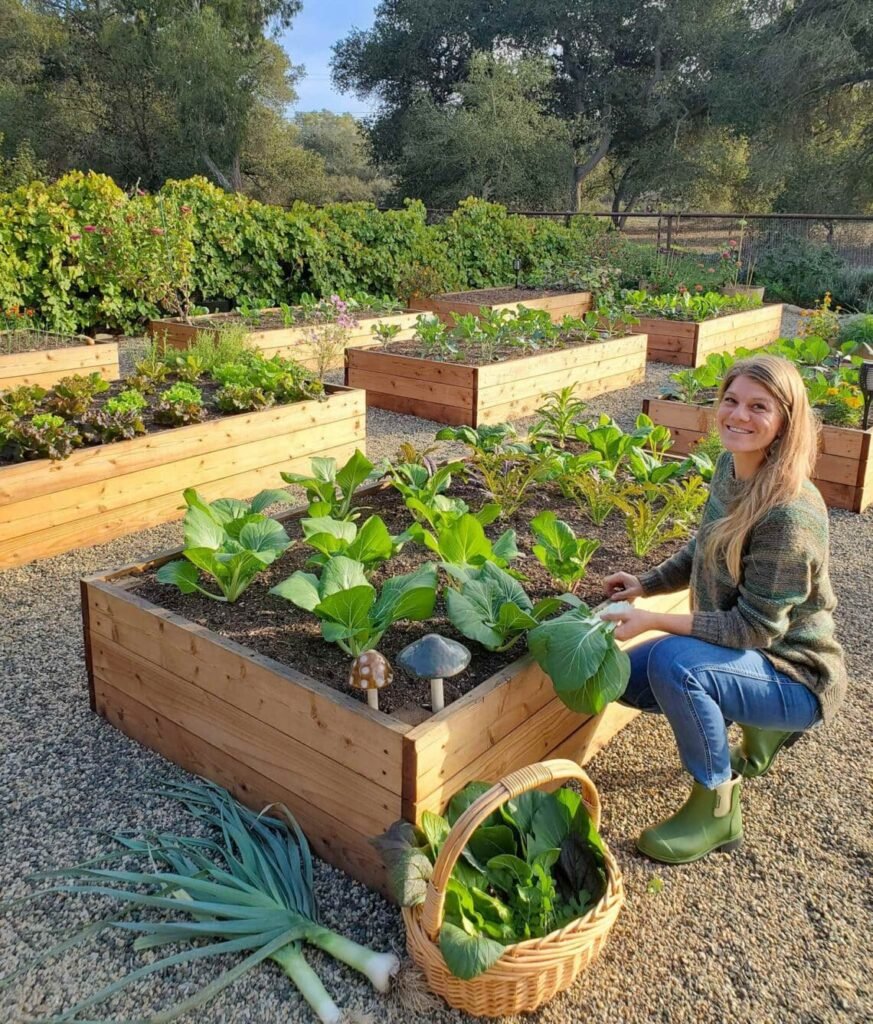
- Width: 3–4 feet wide (allows easy reach from both sides).
- Length: Any desired size (commonly 6–8 feet).
- Height: 12–18 inches deep for most vegetables.
If space is limited, you can build multiple smaller beds instead of one large one.
C. Selecting Suitable Vegetables
Choose vegetables that grow well in your local climate and suit your family’s preferences. For beginners, ideal choices include:
- Leafy greens: Spinach, lettuce, coriander, amaranth
- Root crops: Carrots, radishes, beets
- Fruiting vegetables: Tomatoes, chillies, capsicum, beans
- Herbs: Basil, mint, parsley, lemongrass
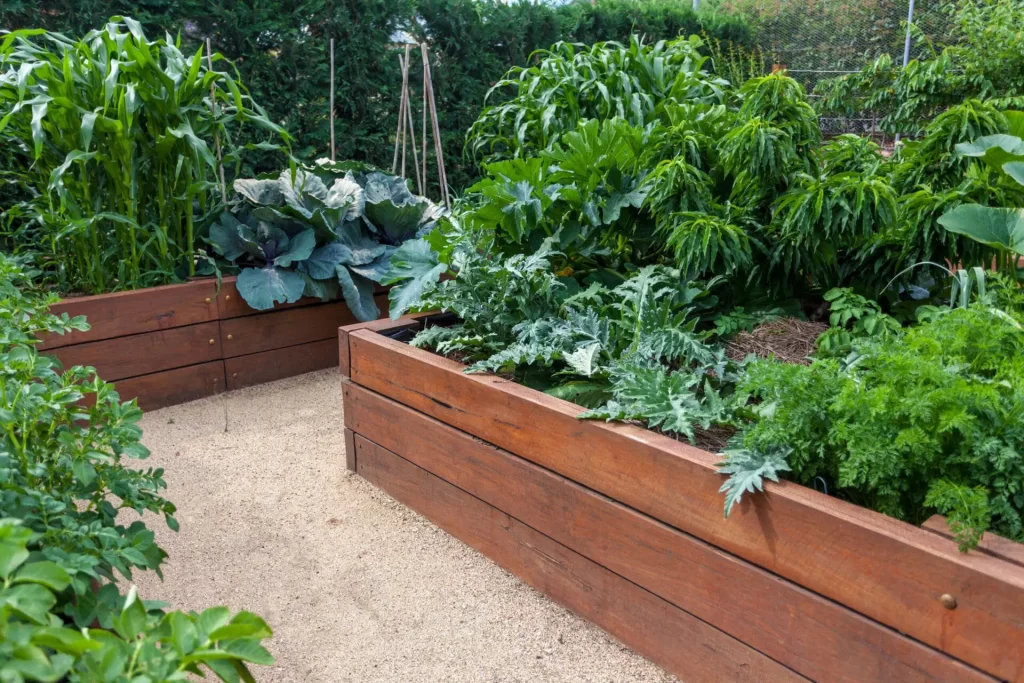
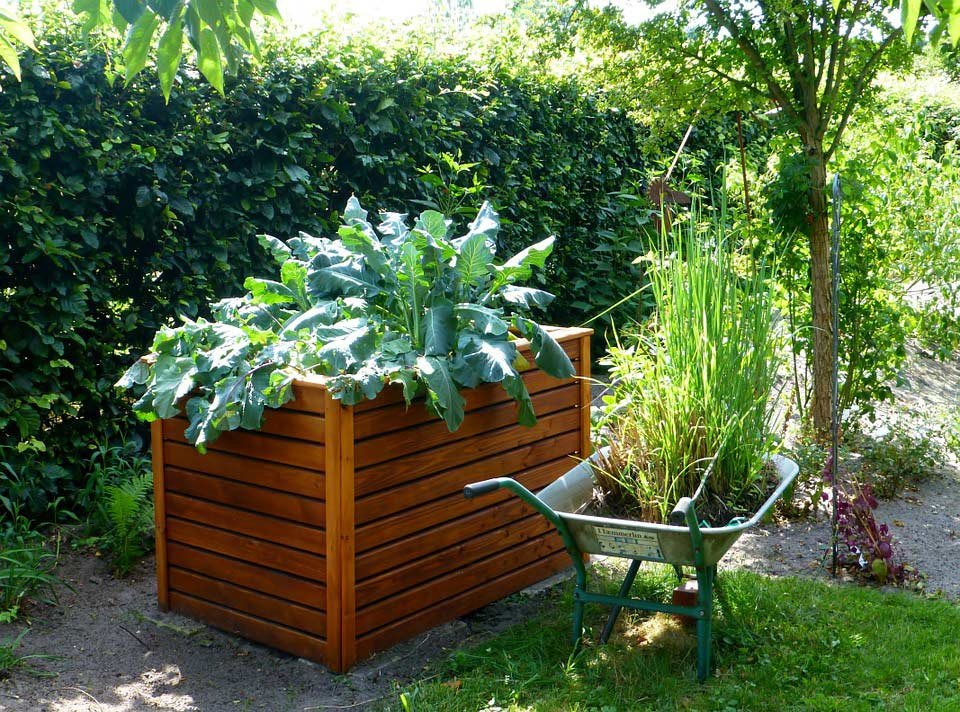
Step 2: Choosing Materials for the Bed
Raised beds can be made using a variety of materials — each with its pros and cons.
A. Wood
- Pros: Easy to build, inexpensive, natural look.
- Cons: May rot over time if not treated properly.
- Tip: Use hardwoods like teak or cedar; avoid chemically treated wood that could leach toxins into the soil.
B. Bricks or Cement Blocks
- Pros: Long-lasting, durable, and visually appealing.
- Cons: Heavier and more permanent; requires more effort to install.
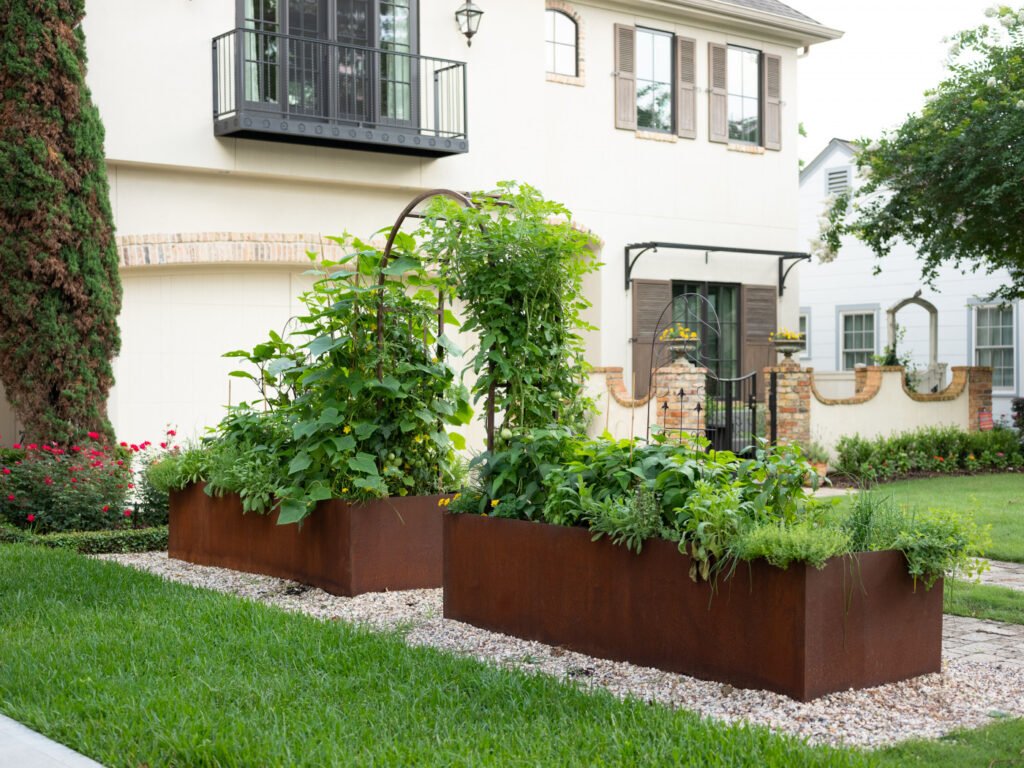
C. Metal or Galvanized Steel Beds
- Pros: Modern appearance, resistant to decay.
- Cons: Can heat up quickly in extreme sun; line with insulation material if needed.
D. Recycled Materials
Environmentally friendly gardeners can repurpose old crates, barrels, or large containers to create smaller raised beds.
Step 3: Building the Structure
Tools and Materials Needed:
- Measuring tape
- Wooden planks or bricks
- Nails or screws
- Drill or hammer
- Level
- Garden soil, compost, and mulch
Step-by-Step Construction:
- Mark the Area:
Use measuring tape and stakes to outline your bed’s dimensions. - Assemble the Frame:
- For wood: Screw or nail the planks into a rectangular box shape.
- For bricks: Lay them in a single or double layer, ensuring stability.
- Level the Ground:
Clear weeds and stones from the area, and level the surface. - Add a Base Layer (Optional):
If placing on concrete or a rooftop, lay a base of gravel or pebbles for drainage. - Line the Bed:
Use a permeable weed mat or old jute sacks to prevent soil loss while allowing water drainage. - Fill the Bed with Soil Mix:
Prepare a rich, organic soil blend (explained in the next section).
Once built, your raised bed becomes the heart of your home garden — efficient, manageable, and visually appealing.
Step 4: Preparing the Perfect Soil Mix
Soil quality is key to a productive raised bed. The ideal mix should be loose, nutrient-rich, and well-draining.
Recommended Soil Composition:
- 40% garden soil – provides structure and minerals
- 40% compost or organic manure – enriches nutrients and promotes microbial life
- 20% cocopeat or coarse sand – improves aeration and drainage
Enhancements:
- Add neem cake or bone meal alternatives (like rock phosphate) to deter pests.
- Include vermicompost every few weeks for nutrient replenishment.
This organic blend ensures your vegetables remain healthy, chemical-free, and nutrient-dense.
Step 5: Planting and Maintenance
A. Planting
- Sow seeds directly into the soil or transplant seedlings once they have 3–4 true leaves.
- Space plants properly according to their growth patterns — for example, 8 inches apart for spinach and 12–15 inches for tomatoes.
B. Watering
- Water early morning or late evening to prevent evaporation.
- Use a drip irrigation system or a watering can for gentle and even watering.
- Avoid overwatering; raised beds drain quickly, but excess water may wash away nutrients.
C. Mulching
Apply a thin layer of dry leaves, straw, or coco husk on top of the soil. This retains moisture, suppresses weeds, and regulates soil temperature.
D. Fertilizing
Feed your plants every 3–4 weeks with organic fertilizers such as compost tea, banana peel fertilizer, or seaweed solution.
E. Weeding and Pruning
Regularly remove weeds and prune overgrown leaves to maintain airflow and prevent disease.
Step 6: Pest and Disease Control
Opt for natural, eco-friendly pest control methods to maintain an organic garden.
- Neem Oil Spray: Effective against aphids, mites, and whiteflies.
- Garlic-Chili Spray: Natural repellent for many insects.
- Soap Water Solution: Keeps mealybugs and scales in check.
Companion Planting Tips:
- Plant marigolds near tomatoes or chillies to deter nematodes.
- Grow basil with tomatoes to enhance flavor and repel pests.
- Mint helps keep ants and aphids away.
These preventive measures protect your vegetables while keeping your garden chemical-free.
Step 7: Harvesting and Crop Rotation
A. Harvesting
Harvest vegetables at peak maturity for the best flavor and nutrition.
- Leafy greens: Cut outer leaves regularly for continuous yield.
- Fruiting vegetables: Pick tomatoes, beans, or chillies when ripe but firm.
- Root vegetables: Gently pull from the base once the tops begin to loosen.
B. Crop Rotation
After harvesting, avoid planting the same family of vegetables repeatedly in the same soil. Rotate crops — for example:
- After tomatoes, plant leafy greens.
- After beans, grow root vegetables.
This practice prevents soil nutrient depletion and reduces pest buildup.
Step 8: Sustainable Practices for Long-Term Success
- Composting: Use kitchen scraps like vegetable peels and fruit waste to make compost.
- Rainwater Harvesting: Collect and use rainwater for irrigation.
- Recycling Materials: Repurpose old containers or wood for constructing new beds.
- Seed Saving: Collect seeds from mature plants for the next season’s planting.
Such eco-friendly habits make your garden truly sustainable and self-reliant.
Step 9: Aesthetic and Functional Enhancements
Make your raised vegetable bed both beautiful and practical:
- Add pathways between beds for easy access.
- Use trellises for climbing vegetables like beans or gourds.
- Plant flowers like calendula or nasturtium to attract pollinators.
- Label your plants for better organization.
A visually appealing garden not only produces food but also uplifts your home environment.
Common Mistakes to Avoid
- Using untreated, chemically processed wood.
- Overcrowding plants in limited space.
- Ignoring drainage holes or overwatering.
- Using poor-quality soil without compost.
- Skipping regular maintenance and pest control.
Learning from these common errors ensures your raised bed remains healthy and productive for years.
Conclusion
Building a raised vegetable bed at home is one of the most fulfilling and sustainable ways to cultivate your own food. It empowers individuals to grow fresh, organic produce even in limited spaces, while promoting environmental responsibility.
With careful planning, the right materials, and consistent organic care, a raised bed becomes more than just a gardening feature — it becomes a living ecosystem that nourishes both body and soul. From the first seed sown to the last harvest of the season, every step fosters a sense of connection to nature and a commitment to a healthier, vegetarian lifestyle.