In today’s fast-paced urban world, the desire to reconnect with nature and live sustainably is stronger than ever. Many people are turning to home gardening, not only for its aesthetic appeal but also for the practical benefits of growing fresh, organic herbs. For those who live in apartments or homes with limited outdoor space, a windowsill herb garden offers the perfect solution.
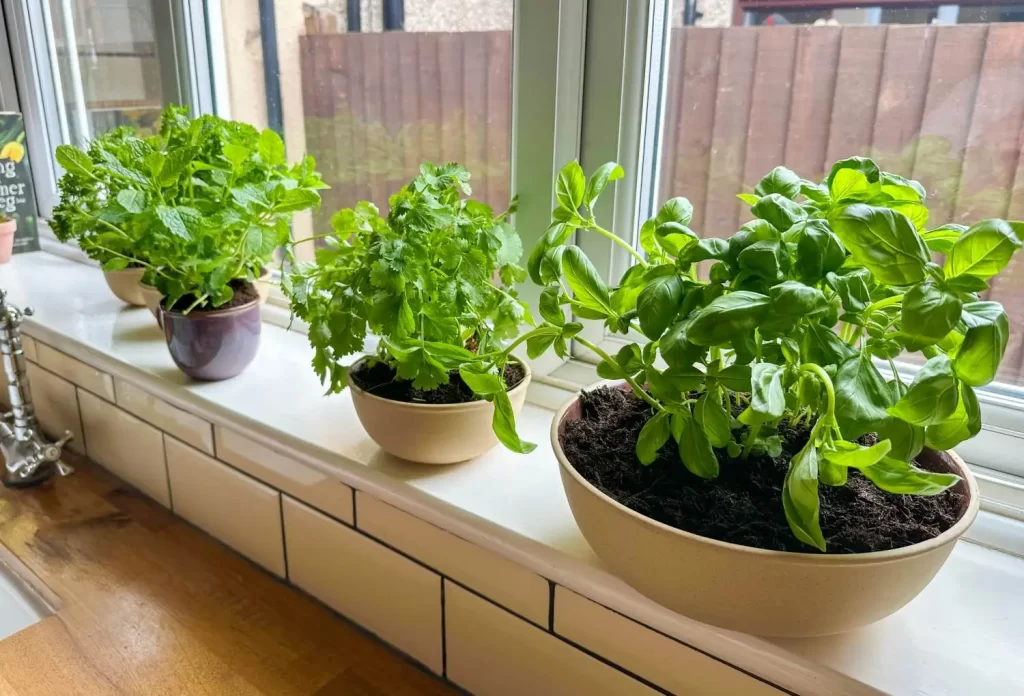
A windowsill garden allows you to cultivate a variety of aromatic and flavorful herbs right inside your home, providing you with a constant supply for cooking, teas, or natural remedies. It brings greenery, fragrance, and freshness into your daily life without demanding extensive space or equipment.
This article provides a comprehensive, step-by-step guide to creating and maintaining a thriving windowsill herb garden — perfect for beginners who wish to enjoy sustainable, vegetarian living through small-scale indoor gardening.
Why Choose a Windowsill Herb Garden?
A windowsill herb garden is simple, practical, and rewarding. Whether you’re an experienced gardener or just starting out, here are some reasons why it’s a great choice:
- Space-Saving: Ideal for small apartments, dorms, or homes with no yard.
- Accessibility: Fresh herbs are within arm’s reach while cooking.
- Cost-Effective: Saves money compared to buying packaged herbs.
- Eco-Friendly: Reduces plastic waste and promotes organic living.
- Aesthetic Appeal: Adds greenery, fragrance, and life to your indoor space.
- Therapeutic Value: Gardening promotes relaxation and mindfulness.
In short, a windowsill herb garden is not just about growing herbs — it’s about cultivating wellness, sustainability, and simplicity.
Step 1: Choosing the Right Location
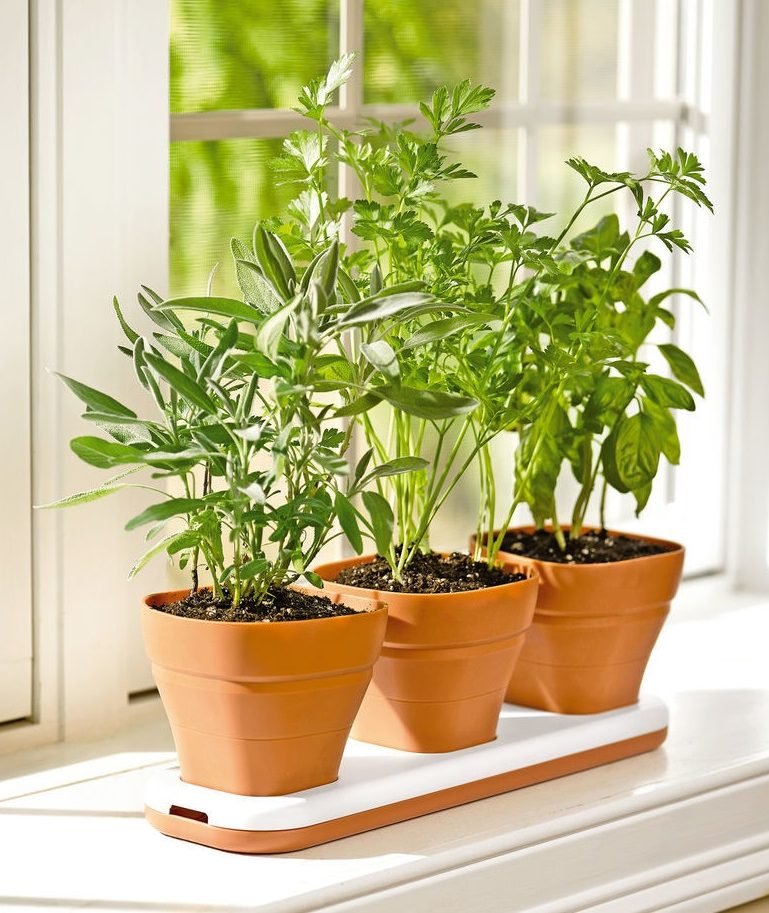
Light is the most critical factor for growing healthy herbs. Most herbs thrive in at least 5–6 hours of sunlight per day.
Ideal Windowsill Conditions:
- South or west-facing windows are perfect, as they receive maximum sunlight.
- If you only have east-facing windows, choose herbs that tolerate less direct light, such as parsley or mint.
- Avoid north-facing windows unless supplemented with grow lights.
Ensure that your windowsill is:
- Wide and sturdy enough to hold pots.
- Away from cold drafts or heat vents.
- Accessible for watering and pruning.
If your window doesn’t get sufficient natural light, consider using LED grow lights for 10–12 hours daily to mimic sunlight.
Step 2: Selecting the Best Herbs for Beginners
Not all herbs are equally easy to grow indoors. Some are delicate, while others adapt well to varying light and humidity conditions.
Here’s a list of beginner-friendly herbs for windowsill gardening:
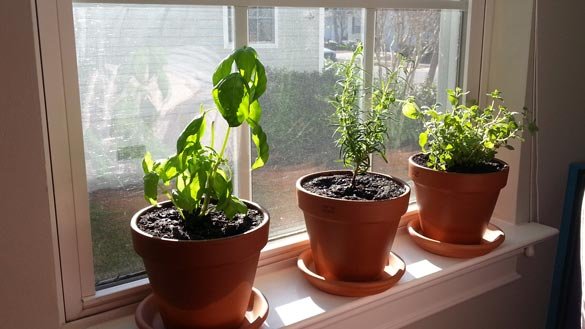
1. Basil (Ocimum basilicum):
- Loves warmth and sunlight.
- Ideal for use in salads, pasta, and soups.
- Water regularly but avoid soggy soil.
2. Mint (Mentha):
- Very hardy and fast-growing.
- Perfect for teas, chutneys, and desserts.
- Requires moderate sunlight and moist soil.
3. Parsley (Petroselinum crispum):
- Prefers indirect light.
- Excellent for garnishing and flavoring soups or sauces.
4. Coriander (Cilantro):
- Thrives in cool conditions.
- Essential in vegetarian curries, salads, and sauces.
5. Thyme (Thymus vulgaris):
- Compact, fragrant, and drought-tolerant.
- Ideal for Mediterranean dishes.
6. Rosemary (Rosmarinus officinalis):
- Needs bright sunlight.
- Adds flavor to breads, oils, and grilled vegetables.
7. Chives (Allium schoenoprasum):
- Grows well in small pots.
- Mild onion flavor — great for soups and salads.
Choose 3–5 of your favorites to begin with. As your confidence grows, you can expand your collection.
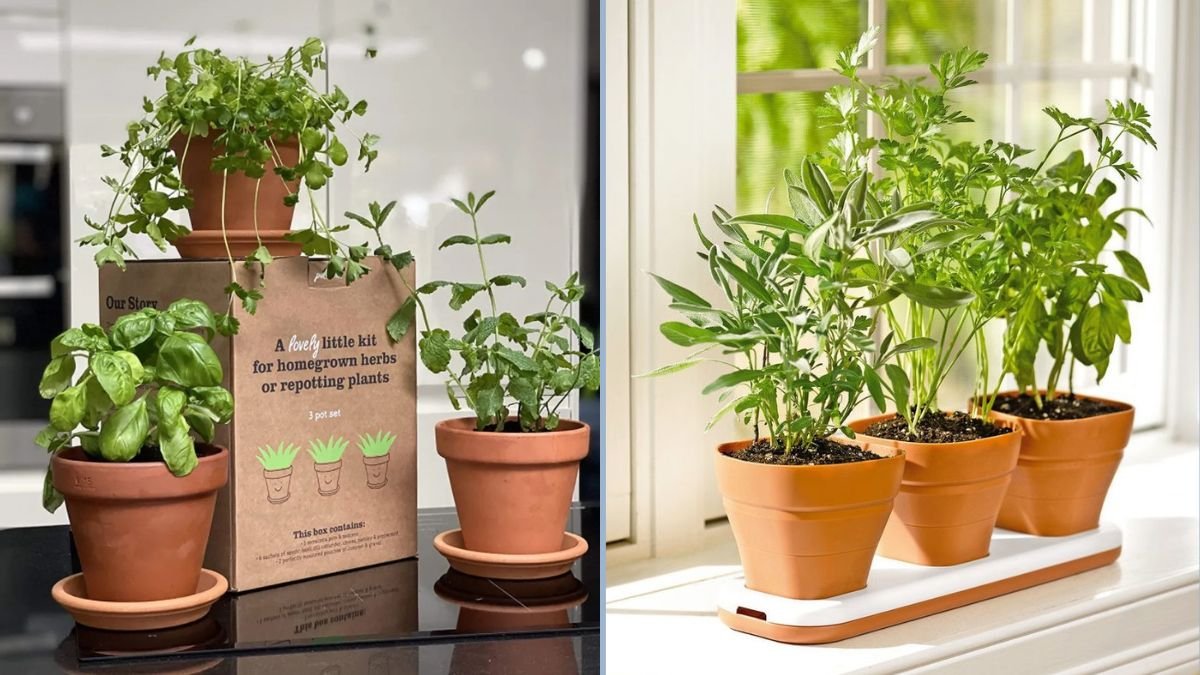
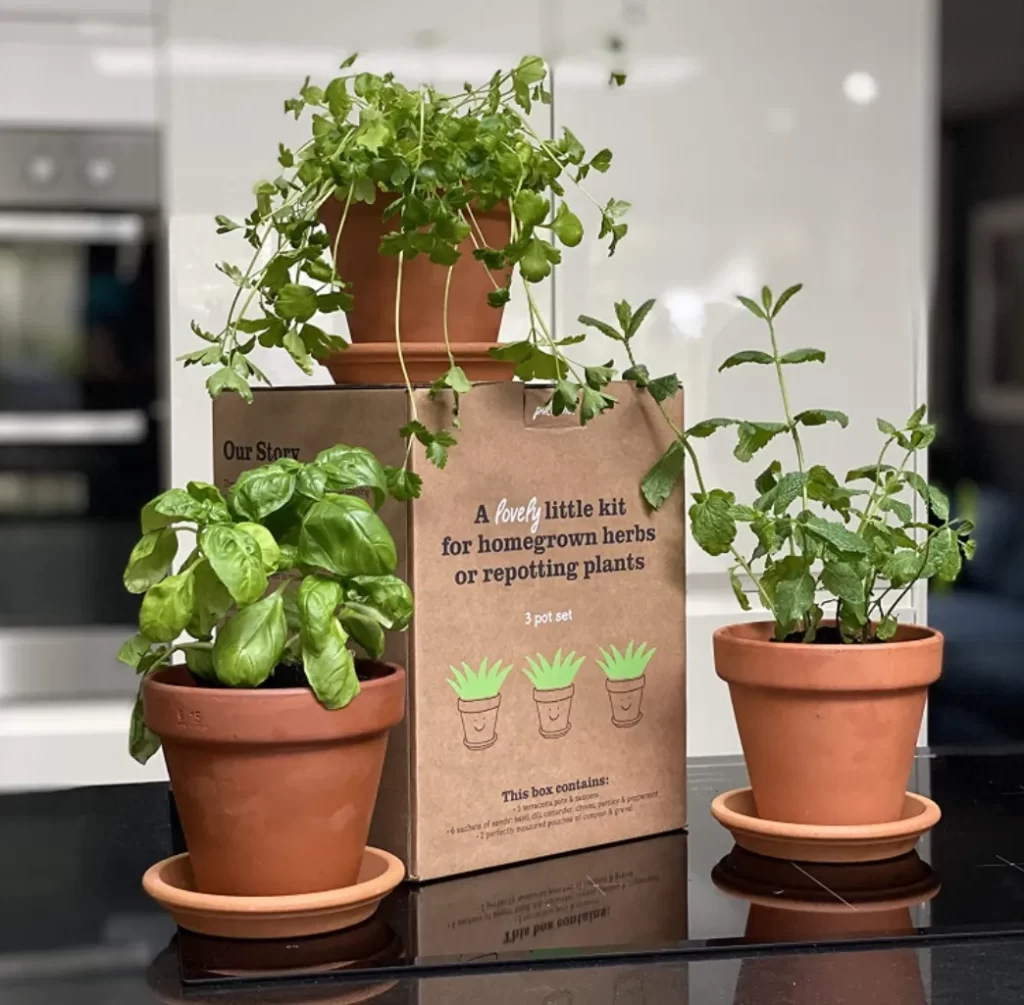
Step 3: Choosing Containers and Drainage
The right container ensures healthy root growth and prevents overwatering.
Container Guidelines:
- Use pots with drainage holes to allow excess water to escape.
- The ideal pot size: 4–6 inches deep for most herbs.
- Use terracotta, ceramic, or plastic pots — all work well, but terracotta offers better aeration.
- Place a tray or saucer beneath each pot to protect the windowsill from water spillage.
You can also upcycle items like old mugs, jars, or tin cans (with drilled holes) to create eco-friendly planters.
Step 4: Preparing the Ideal Soil Mix
Herbs thrive in well-draining, nutrient-rich soil. Ordinary garden soil can be too dense for containers, so it’s better to prepare a custom blend.
Recommended Soil Mix:
- 40% organic compost – adds nutrients.
- 40% cocopeat or potting soil – retains moisture.
- 20% coarse sand or perlite – improves drainage.
You can also mix in a small amount of neem powder to deter pests naturally. Avoid chemical fertilizers, as they may reduce flavor quality and compromise your organic setup.
Step 5: Planting Your Herbs
You can start herbs either from seeds or seedlings.
Starting from Seeds:
- Fill the pot with your soil mix, leaving about an inch of space from the top.
- Sprinkle seeds evenly and lightly cover them with soil.
- Mist with water using a spray bottle.
- Place the pot in a sunny location.
Starting from Cuttings or Seedlings:
- If using store-bought herb stems, cut below a leaf node.
- Place in water until roots appear.
- Transplant into soil and keep the soil slightly moist until new growth appears.
Label each pot with the herb’s name to keep track of your collection.
Step 6: Watering and Maintenance
Overwatering is one of the most common mistakes in indoor gardening. Herbs prefer slightly moist but not soggy soil.
Watering Tips:
- Check the top inch of soil — if it feels dry, it’s time to water.
- Water gently until it begins to drain out the bottom.
- Avoid waterlogging, as it can cause root rot.
- Use room-temperature water, not cold tap water.
Additionally, rotate the pots every few days so all sides of the plant receive sunlight evenly, encouraging balanced growth.
Step 7: Pruning and Harvesting
Regular pruning encourages bushier growth and prevents herbs from becoming leggy.
Pruning Tips:
- Use clean scissors to snip just above a leaf node.
- Avoid cutting more than one-third of the plant at a time.
- Pinch off flower buds to keep the plant focused on leaf production.
Harvesting:
Once the plant has enough foliage (typically 6–8 weeks after planting), you can begin harvesting. Pick leaves as needed for cooking or drying. Freshly harvested herbs retain the highest flavor and aroma.
Step 8: Natural Pest Prevention
Even indoor plants can attract pests like aphids or whiteflies. Instead of chemical pesticides, opt for natural and vegetarian-friendly alternatives:
- Neem Oil Spray: Mix 1 teaspoon of neem oil with a few drops of mild soap in a liter of water. Spray weekly.
- Garlic Spray: Blend garlic cloves with water, strain, and mist over leaves to deter pests.
- Aloe Vera Gel: Applying diluted aloe vera helps strengthen plants naturally.
Ensure proper airflow around your herbs and remove any yellowing leaves promptly.
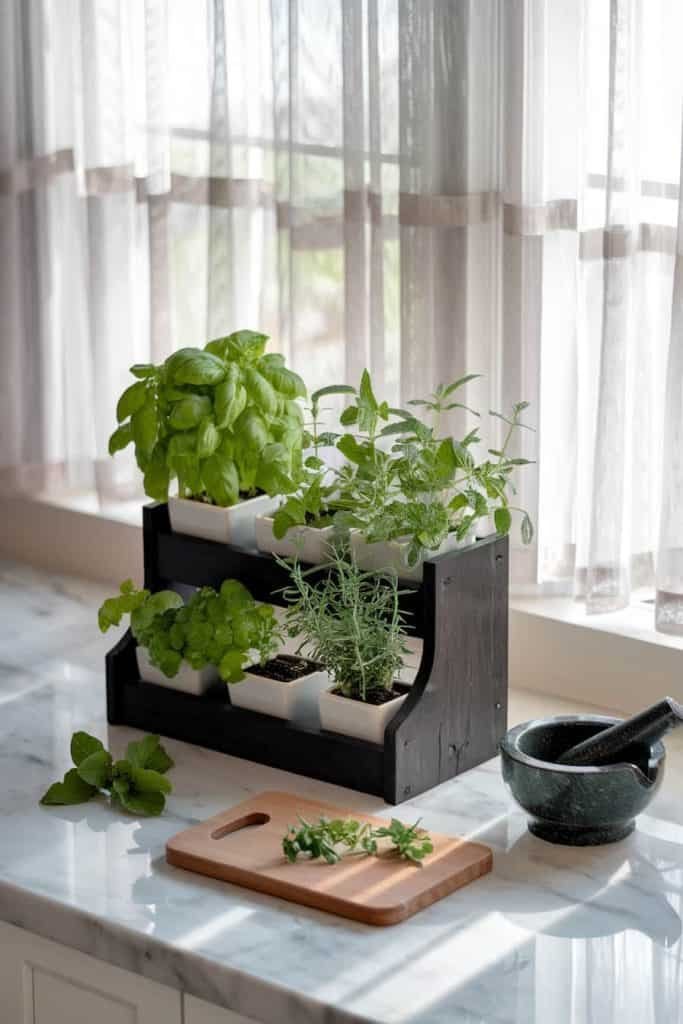
Step 9: Companion Planting and Arrangement
Some herbs grow well together, benefiting each other’s health and flavor.
Best Combinations:
- Basil and Parsley: Both enjoy moist soil and indirect sunlight.
- Mint and Coriander: Grow quickly and repel pests.
- Thyme and Rosemary: Thrive in similar dry conditions.
Avoid planting aggressive herbs like mint in the same container as others — it can dominate space and nutrients.
Arrange your pots aesthetically along the windowsill, grouping similar plants for easy care and consistent watering needs.
Step 10: Creative and Sustainable Touches
A windowsill herb garden is not only functional but also a creative expression. Enhance it with:
- Decorative pots or painted containers.
- Recycled labels made from popsicle sticks or stones.
- Hanging planters if space is limited.
- Upcycled jars for water propagation of new herbs.
You can even install a small drip irrigation system or self-watering pots for convenience if you travel frequently.
Common Mistakes to Avoid
- Overwatering: Roots need air as much as water.
- Insufficient Light: Leads to weak, leggy plants.
- Using Regular Garden Soil: Causes compaction and poor drainage.
- Ignoring Pruning: Herbs lose flavor and shape without regular trimming.
- Overcrowding: Reduces air circulation and invites pests.
Learning to balance these factors ensures your herb garden remains vibrant and long-lasting.
Conclusion
A windowsill herb garden is a small but powerful step toward sustainable, healthy living. It brings nature indoors, enhances your cooking, purifies your air, and nurtures mindfulness. With minimal effort, anyone can enjoy the satisfaction of growing fresh, organic herbs at home — regardless of space constraints.
From aromatic basil leaves to refreshing mint sprigs, each herb connects you to the rhythm of growth and renewal. Starting small on your windowsill can eventually lead to larger dreams — balcony gardens, rooftop farms, or even community green spaces.
In a world increasingly dependent on processed food and artificial flavors, cultivating your own herbs is an act of self-reliance and ecological awareness. It’s not just about growing plants — it’s about growing a sustainable lifestyle rooted in nature, simplicity, and wellness.