Early spring gardening offers a unique opportunity to extend the growing season and enjoy fresh vegetables, herbs, and flowers before outdoor planting is possible. One of the most effective methods to achieve early harvests is starting seeds indoors. By germinating seeds in a controlled environment, gardeners can provide optimal conditions for growth, protect seedlings from unpredictable weather, and ensure robust plants ready for transplantation. This article provides a comprehensive guide to starting spring seeds indoors, including preparation, best practices, and sustainable methods to maximize early harvests.
Benefits of Starting Seeds Indoors
Starting seeds indoors offers several advantages:
- Early Harvests: Extends the growing season by giving plants a head start before outdoor conditions are suitable.
- Controlled Environment: Protects young seedlings from frost, pests, and heavy rain.
- Higher Germination Rates: Provides optimal soil temperature, moisture, and light for successful germination.
- Selection Variety: Allows planting of varieties not readily available as transplants in local nurseries.
- Stronger Plants: Seedlings grown indoors develop healthier roots and stems, increasing survival after transplantation.
By starting seeds indoors, gardeners can produce healthy, vigorous plants that establish quickly and produce higher yields.
Selecting Seeds for Indoor Planting
Choosing the right seeds is critical for successful indoor germination:
- Vegetables: Tomatoes, peppers, eggplants, broccoli, cauliflower, and lettuce respond well to indoor germination.
- Herbs: Basil, parsley, thyme, oregano, and cilantro benefit from early indoor planting.
- Flowers: Marigolds, zinnias, petunias, and pansies thrive when started indoors.
- Heat-Sensitive Crops: Tender crops like cucumbers and melons develop better when protected indoors during early growth.
Always select seeds from reputable suppliers, and consider varieties labeled as “fast-germinating” or “early-season” for optimal results.
Preparing for Indoor Seed Starting
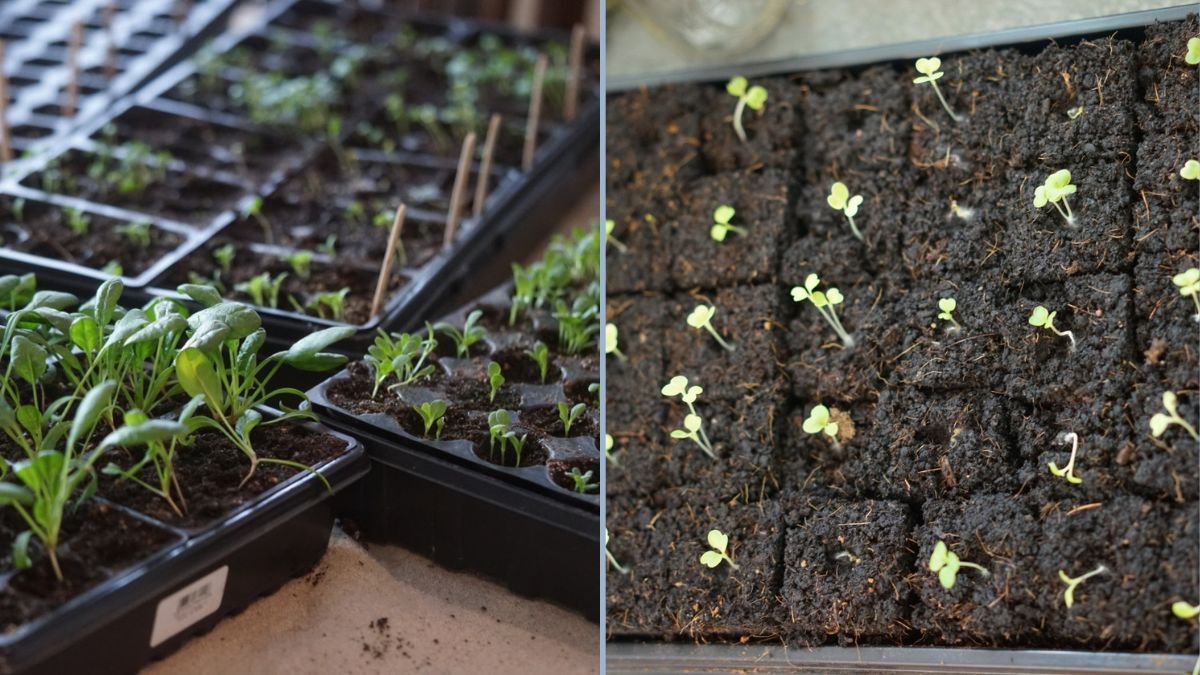
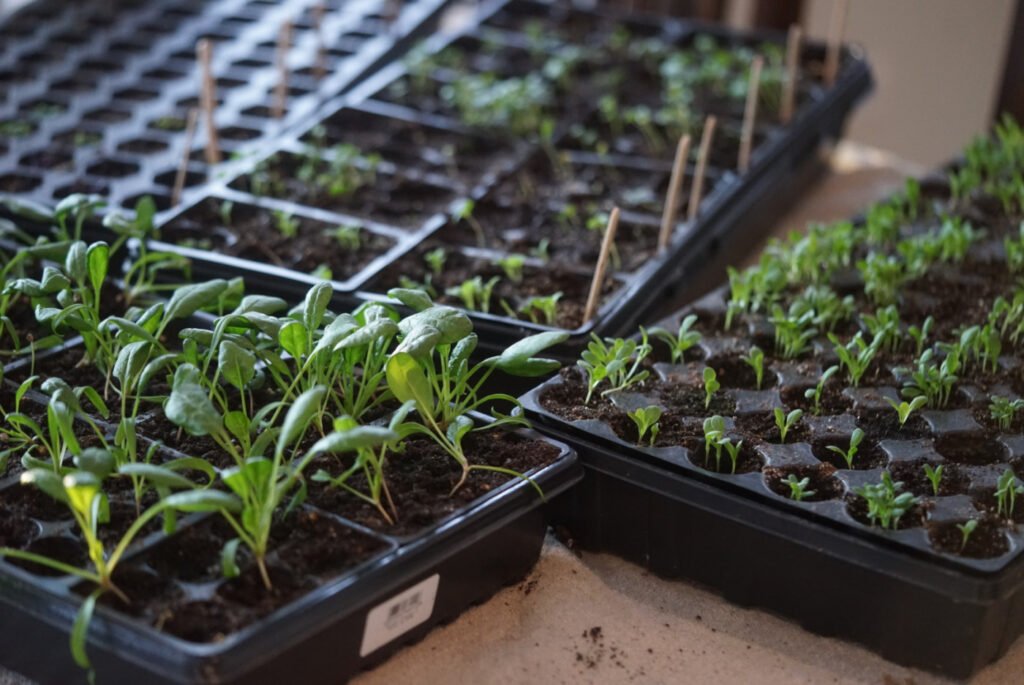
Successful indoor seed starting requires careful preparation of containers, soil, and environment:
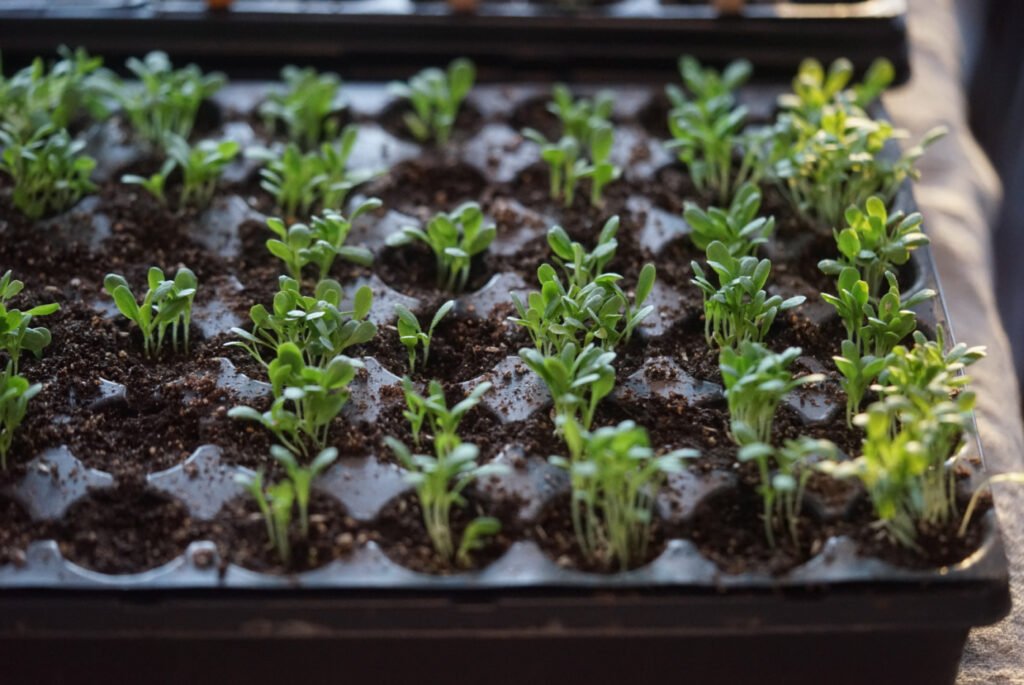
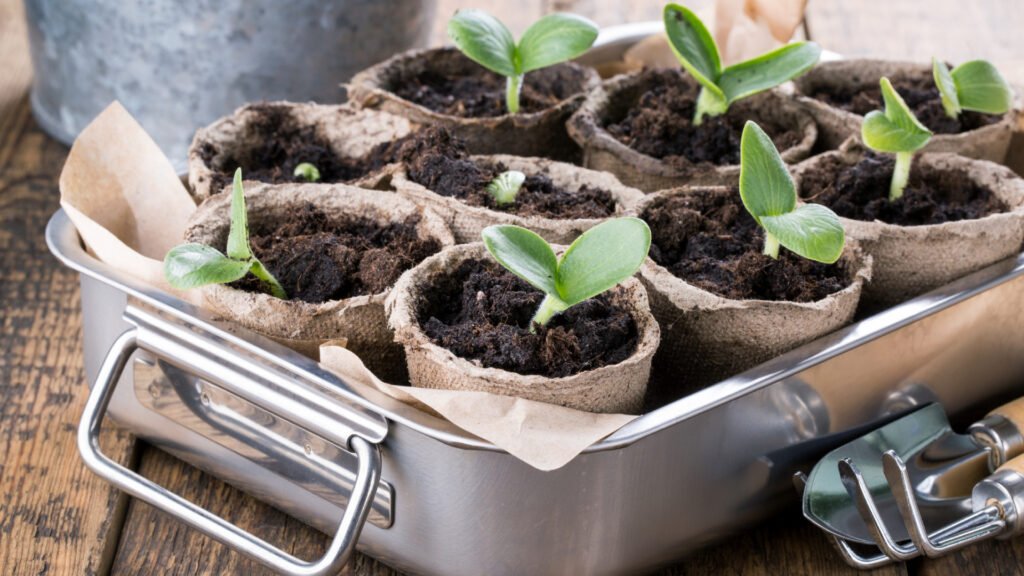
1. Containers
- Seed Trays: Shallow trays with drainage holes are ideal for small seeds.
- Individual Pots: Small biodegradable pots or cell packs allow easy transplanting with minimal root disturbance.
- Recycled Containers: Yogurt cups or egg cartons can serve as temporary seed-starting containers with proper drainage.
2. Soil Mix
- Seed-Starting Mix: Lightweight, fine-textured, and well-draining. Avoid garden soil, which may contain pests and diseases.
- Organic Amendments: Vermicompost or finely sifted compost can improve nutrient availability.
- Moisture Retention: Incorporate peat moss, coconut coir, or perlite to maintain consistent moisture without waterlogging.
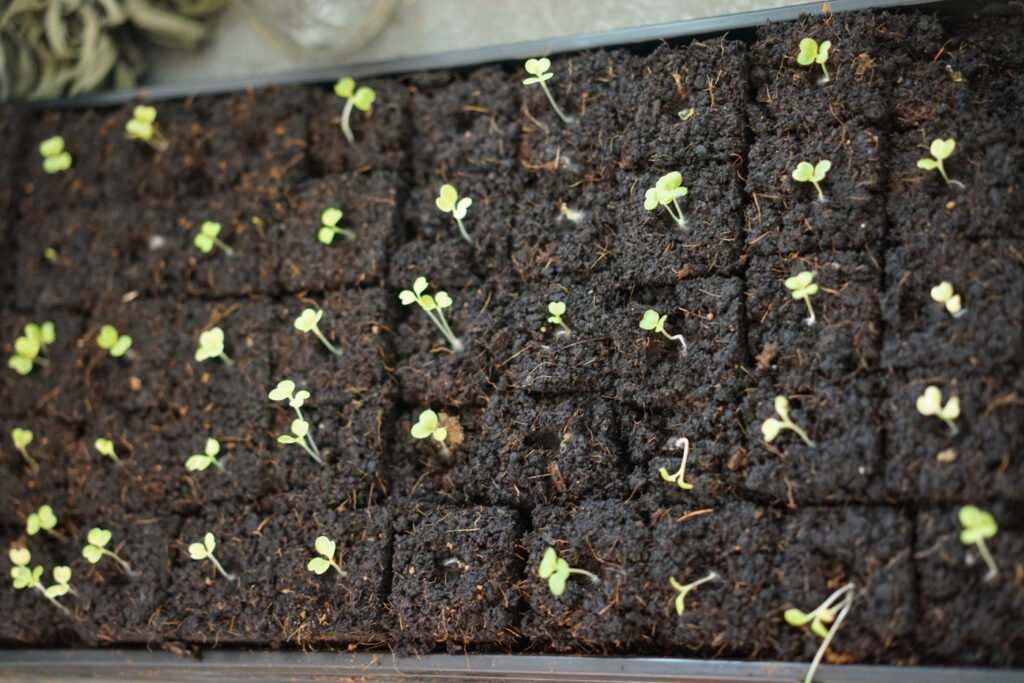
3. Sowing Seeds
- Depth: Sow seeds at the depth recommended on the packet. Tiny seeds often require surface sowing with light pressing into the soil.
- Spacing: Avoid overcrowding; thin seedlings after germination to reduce competition.
- Labeling: Clearly label trays with seed type and sowing date to track progress.
4. Watering
- Gentle Moistening: Use a spray bottle or fine mist to prevent seed displacement.
- Consistent Moisture: Maintain evenly moist soil, avoiding both drying out and overwatering.
Environmental Requirements
1. Temperature
- Most spring seeds germinate best at temperatures between 18–25°C (65–77°F).
- Use heating mats or place trays in a warm area to maintain consistent soil temperature.
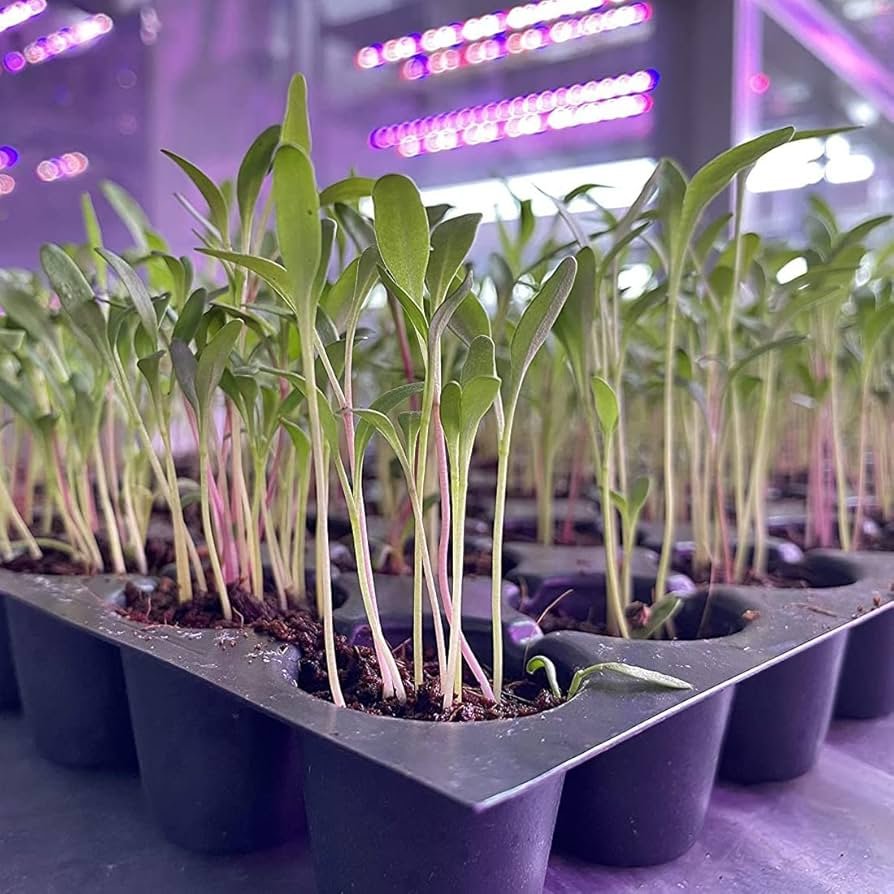
2. Light
- Natural Light: Place trays near a south-facing window for 12–16 hours of light daily.
- Artificial Light: LED or fluorescent grow lights positioned 2–4 inches above seedlings provide optimal intensity.
- Light Duration: Rotate trays and adjust light height to prevent leggy seedlings and promote strong stem development.
3. Humidity and Airflow
- Cover trays with clear lids or plastic wrap to retain humidity during germination.
- Remove covers gradually after seedlings emerge to acclimate plants to lower humidity.
- Use gentle air circulation, such as a small fan, to strengthen stems and prevent fungal growth.
Seedling Care and Maintenance
1. Thinning
- Remove weaker seedlings after the first true leaves develop.
- Allow only the strongest plants to grow, improving overall vigor and root development.
2. Fertilization
- Begin feeding seedlings with diluted organic liquid fertilizers, such as seaweed extract or compost tea, after the first true leaves appear.
- Avoid overfertilizing, which can damage tender seedlings.
3. Hardening Off
Before transplanting outdoors, seedlings must acclimate to outdoor conditions:
- Gradually expose plants to sunlight, wind, and temperature fluctuations over 7–10 days.
- Start with 1–2 hours outdoors and increase exposure daily.
- Avoid transplanting during harsh weather or immediately after heavy rain or frost.
4. Pest and Disease Management
Even indoor seedlings can face challenges from pests like aphids or fungal issues:
- Maintain cleanliness and remove any diseased seedlings promptly.
- Use natural remedies like neem oil sprays or insecticidal soap if necessary.
- Avoid overcrowding to ensure proper airflow and reduce humidity-related problems.
Transplanting Seedlings
Proper transplanting ensures seedlings establish quickly and continue vigorous growth:
- Timing: Transplant after seedlings have at least two sets of true leaves and outdoor conditions are suitable.
- Preparation: Water seedlings well before transplanting to reduce shock.
- Planting Depth: Plant at the same depth or slightly deeper for plants like tomatoes that develop roots along buried stems.
- Mulching and Watering: Apply organic mulch and water gently after transplanting to retain soil moisture and protect roots.
Advantages of Indoor Seed Starting for Early Harvest
- Extended Growing Season: Allows vegetables and flowers to mature earlier, producing harvests before outdoor planting is possible.
- Stronger Plants: Seedlings started indoors develop better root systems and higher resilience.
- Efficient Use of Space: Indoor seed trays and small pots allow intensive cultivation even in limited spaces.
- Reduced Risk of Frost Damage: Tender seedlings are protected from unpredictable early spring frosts.
Case Examples
- Tomatoes and Peppers: Indoor germination in February allowed transplanting in March, resulting in harvests two to three weeks earlier than outdoor-sown seeds.
- Leafy Greens: Spinach and lettuce sown indoors produced robust seedlings ready for immediate outdoor growth, avoiding early spring cold snaps.
- Herbs: Basil and parsley grown indoors provided continuous supply for kitchen use and reduced dependence on nursery plants.
These examples demonstrate the practicality and benefits of indoor seed starting for gardeners seeking early, reliable harvests.
Conclusion
Starting spring seeds indoors is an effective, sustainable strategy to achieve early harvests and extend the growing season. By selecting suitable seeds, preparing optimal soil and containers, controlling temperature, light, and humidity, and carefully maintaining seedlings, gardeners can produce strong, healthy plants ready for transplantation.
Indoor seed starting promotes successful establishment, improves yields, and reduces the impact of early spring weather fluctuations. With proper care, monitoring, and organic management, this practice not only maximizes productivity but also supports environmentally friendly gardening, reduces dependence on nursery plants, and provides gardeners with a steady supply of fresh vegetables, herbs, and flowers from the earliest part of the season.
Starting seeds indoors is an investment in plant health, garden productivity, and sustainable cultivation, enabling gardeners to enjoy the full benefits of spring planting well before outdoor conditions allow direct sowing.