Spring marks the beginning of the active growing season, and well-prepared seedlings are essential for achieving high yields, strong plant health, and a successful garden. Preparing seedlings for transplanting involves careful planning, selection, germination, nurturing, and acclimatization. Seedlings grown indoors or in controlled environments must be hardened off and properly managed to ensure they thrive once planted outdoors.
This article provides comprehensive guidance on preparing seedlings for spring transplanting, covering seed selection, soil preparation, container choices, light and temperature requirements, watering practices, pest prevention, hardening-off procedures, and sustainable, chemical-free approaches.
1. Importance of Early Seedling Preparation
- Jumpstart the Growing Season: Starting seedlings indoors allows crops to establish before outdoor planting conditions are optimal.
- Uniform Growth: Healthy seedlings produce stronger plants with higher survival rates.
- Extended Harvest: Early planting ensures faster growth and longer harvest periods.
- Disease Prevention: Controlled environments reduce early exposure to pests and pathogens.
- Sustainable Gardening: Using organic soil and water management supports chemical-free cultivation.
Proper preparation maximizes plant health, productivity, and resilience for the spring growing season.
2. Selecting Seeds for Spring Transplanting
a. Seed Quality
- Choose fresh, high-germination seeds from reputable sources.
- Check expiration dates and storage conditions to ensure viability.
b. Crop Selection
- Leafy Greens: Lettuce, spinach, kale, and arugula for quick harvests.
- Root Vegetables: Carrots, radishes, and beets for early-season growth.
- Herbs: Basil, parsley, cilantro, and chives for culinary and nutritional benefits.
- Fruiting Vegetables: Tomatoes, peppers, and eggplants for longer-season crops.
Selecting the right varieties ensures seedlings adapt well to spring conditions and meet harvest goals.
3. Containers for Seedlings
- Seed Trays and Flats: Shallow trays allow dense sowing and easy monitoring.
- Biodegradable Pots: Peat or coir pots can be planted directly in soil, reducing transplant shock.
- Small Pots: 2–4 inch containers for single seedlings encourage strong root development.
- Drainage: Ensure containers have adequate drainage holes to prevent waterlogging.
Appropriate container choice supports root growth, aeration, and easy handling during transplanting.
4. Soil Preparation for Seedlings
- Soil Mix: Light, well-draining mixes are ideal; combine compost, coconut coir, and vermicompost.
- pH Requirements: Slightly acidic to neutral (6.0–7.0) supports most seedlings.
- Sterilization: Pasteurize soil to reduce fungal diseases and damping-off.
- Moisture Retention: Coconut coir or peat alternatives retain moisture while preventing compaction.
Healthy soil ensures rapid germination, strong root systems, and nutrient availability.
5. Sowing and Germination
- Seeding Depth: Follow instructions on seed packets; generally 2–3 times the seed diameter.
- Even Spacing: Avoid overcrowding to prevent competition and weak seedlings.
- Covering: Lightly cover small seeds with soil or vermiculite to retain moisture.
- Temperature: Maintain optimal germination temperature (18–25°C depending on crop).
- Monitoring: Check daily for moisture, temperature, and light conditions.
Careful sowing practices improve germination rates and produce uniform seedlings.
6. Light Requirements
- Natural Light: Place seedlings near south-facing windows for maximum exposure.
- Supplemental Lighting: LED grow lights for 12–16 hours per day support photosynthesis and prevent legginess.
- Light Distance: Keep lights 6–12 inches above seedlings and adjust as they grow.
- Rotation: Rotate trays for uniform growth when using natural sunlight.
Adequate light ensures strong stems, vibrant leaves, and healthy seedlings ready for transplanting.
7. Watering and Humidity Management
- Moisture Monitoring: Keep soil evenly damp but not waterlogged.
- Misting: Light, frequent misting maintains humidity and prevents soil crusting.
- Bottom Watering: Allows roots to absorb water without wetting leaves excessively.
- Humidity Trays or Covers: Helps young seedlings retain moisture while maintaining airflow to prevent fungal diseases.
Proper water management supports healthy root and leaf development.
8. Nutrient Management
- Organic Fertilization: Use compost or vermicompost to provide slow-release nutrients.
- Plant-Based Teas: Nettle, comfrey, or moringa teas supply essential micronutrients.
- Frequency: Apply light nutrients every 2–3 weeks; avoid over-fertilization which can damage young roots.
Balanced nutrients enhance growth, vigor, and readiness for outdoor conditions.
9. Pest and Disease Prevention
- Common Issues: Aphids, fungus gnats, and damping-off are common in seedlings.
- Organic Controls: Neem oil, mild soap sprays, or garlic-infused water help control pests safely.
- Sanitation: Clean trays, tools, and work surfaces to prevent pathogen spread.
- Airflow: Ensure sufficient spacing and gentle ventilation to reduce humidity-related fungal diseases.
Preventive measures keep seedlings healthy and resilient for outdoor transplanting.
10. Hardening Off Seedlings
Hardening off acclimatizes seedlings to outdoor conditions:
- Gradual Exposure: Begin with a few hours of indirect sunlight per day, increasing over 7–10 days.
- Temperature Adjustment: Expose seedlings to cooler outdoor temperatures incrementally.
- Wind Protection: Shield young plants from strong winds initially.
- Watering: Maintain consistent soil moisture during the hardening period.
Proper hardening reduces transplant shock and enhances survival rates.
11. Timing for Transplanting
- Frost-Free Period: Transplant after the last expected frost to prevent damage.
- Seedling Age: Seedlings are typically 4–8 weeks old, depending on the crop, and have 2–4 true leaves.
- Root Health: Ensure seedlings have well-developed roots that hold soil together.
- Weather Conditions: Choose cool, overcast days or mornings for transplanting to reduce stress.
Timing transplanting appropriately ensures seedlings adapt quickly and grow vigorously.
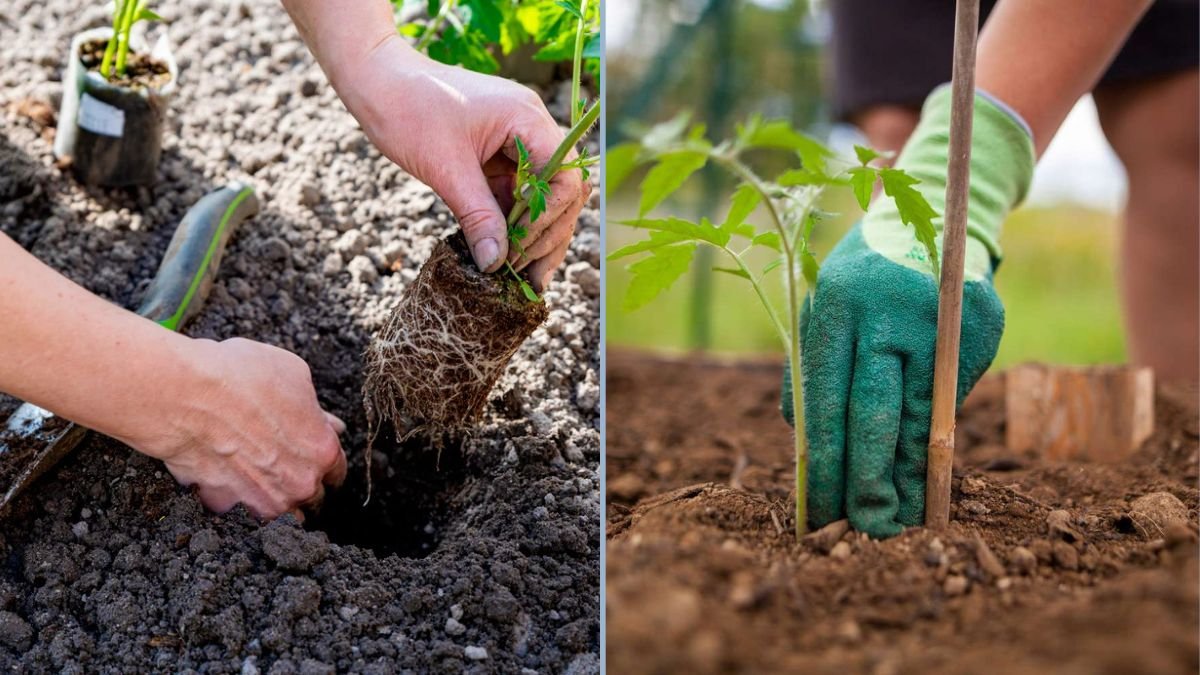
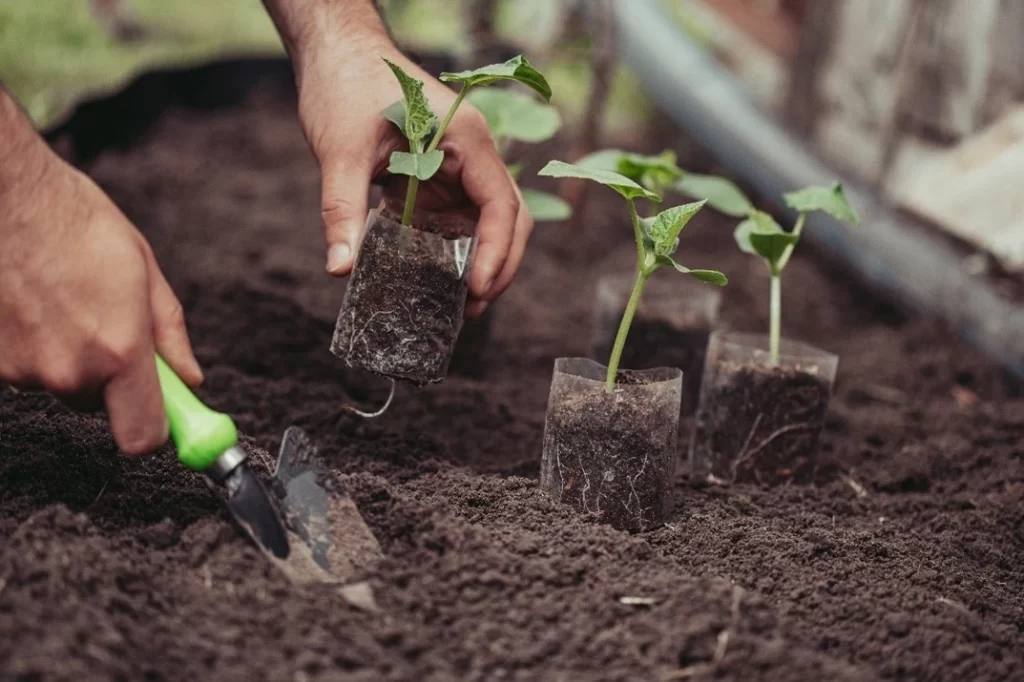
12. Transplanting Techniques
- Soil Preparation: Prepare outdoor beds or larger containers with well-draining, fertile soil.
- Spacing: Follow recommended spacing for each crop to ensure airflow and light access.
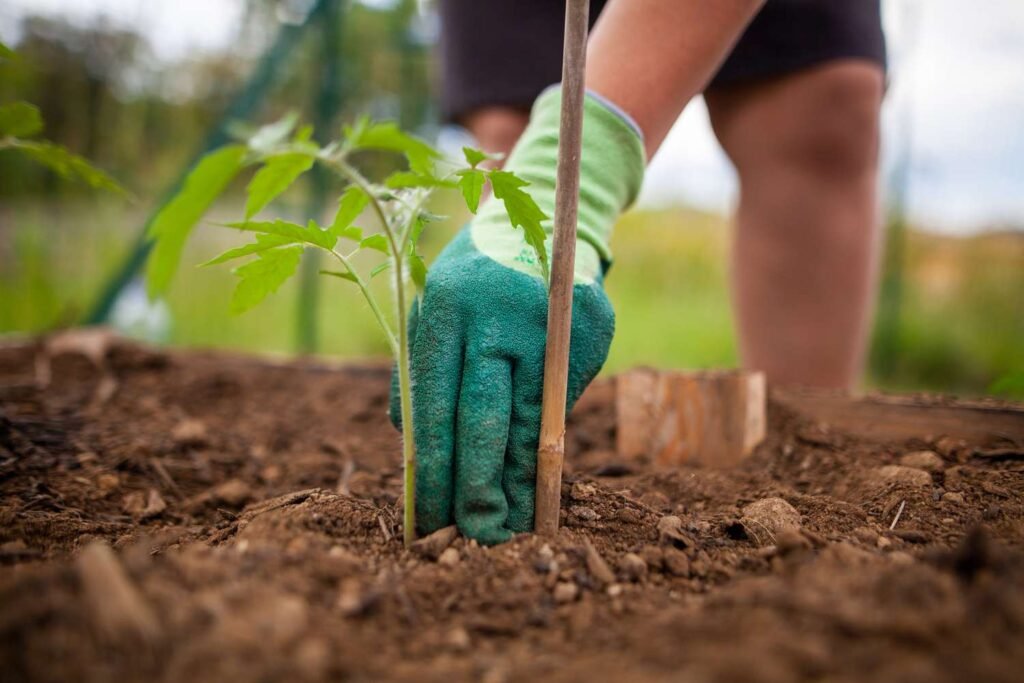
- Planting Depth: Plant seedlings slightly deeper than in their trays to stabilize stems.
- Watering After Transplant: Water immediately to settle soil and reduce transplant shock.
Careful handling and correct planting techniques maximize establishment and early growth.
13. Post-Transplant Care
- Mulching: Apply organic mulch to retain moisture and moderate soil temperature.
- Light and Temperature Monitoring: Protect tender seedlings from sudden temperature drops.
- Succession Planting: Continue sowing more seedlings indoors to extend harvest periods.
- Pruning and Pinching: Encourage bushy growth and prevent overcrowding.
Post-transplant care ensures seedlings grow into strong, productive plants.
14. Benefits of Proper Seedling Preparation
- Higher Survival Rates: Well-prepared seedlings adapt quickly to outdoor conditions.
- Faster Growth: Early establishment leads to quicker production and larger harvests.
- Reduced Stress: Properly hardened seedlings resist pests, diseases, and environmental stressors.
- Sustainable Gardening: Organic soil, nutrient, and pest management promote eco-friendly practices.
Investing time in seedling preparation pays off in healthier, more productive gardens.
15. Troubleshooting Common Seedling Issues
- Leggy Seedlings: Caused by insufficient light; supplement with grow lights or reposition trays.
- Yellowing Leaves: Indicate nutrient deficiency or overwatering; adjust fertilizer and moisture levels.
- Wilting or Slow Growth: May result from poor root development or fungal disease; improve soil drainage and air circulation.
- Transplant Shock: Ensure hardening off is complete and avoid planting during extreme weather.
Early identification and corrective measures maintain healthy seedlings ready for spring planting.
16. Conclusion
Preparing seedlings for spring transplanting is a critical step in achieving a successful garden. By selecting quality seeds, providing optimal light, water, and nutrients, and employing chemical-free pest prevention, gardeners can produce robust seedlings ready to thrive outdoors. Proper hardening off and careful transplanting further increase survival rates and ensure vigorous growth.
Well-prepared seedlings lead to extended harvests, faster growth, and improved nutritional output, supporting sustainable gardening practices and a productive spring growing season. With attention to detail and proper planning, gardeners can transform indoor seedlings into healthy, resilient, and high-yielding outdoor crops.