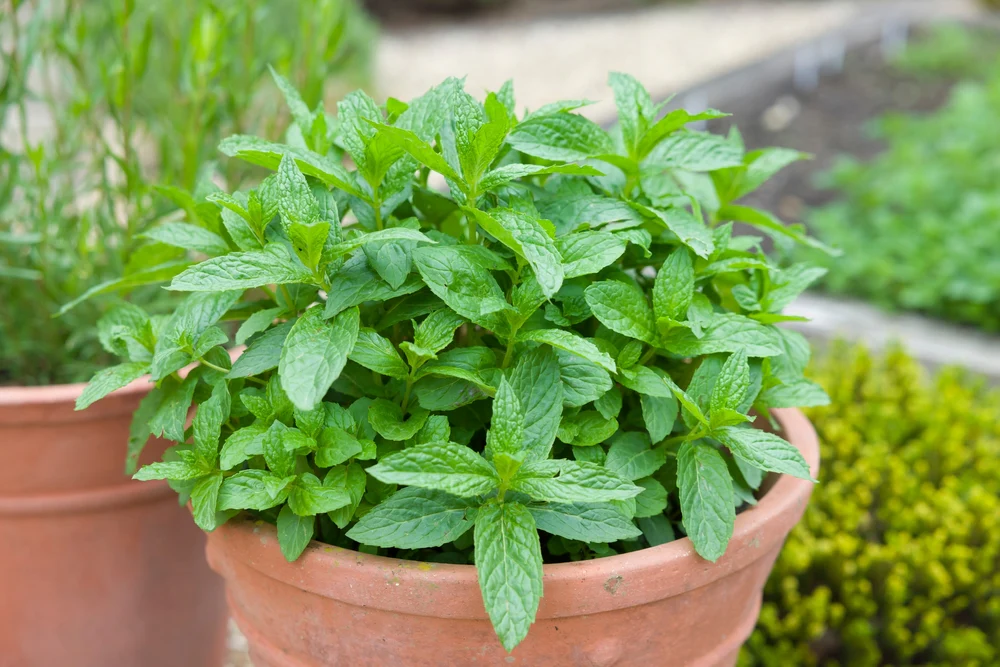
Mint is one of the most popular herbs around the world, prized for its refreshing flavor, aroma, and numerous health benefits. From adding a cool twist to drinks and salads to enhancing the flavor of sauces and desserts, fresh mint is a kitchen essential. However, buying mint regularly from the store can be expensive, and it often doesn’t last long. The solution? Grow mint at home!
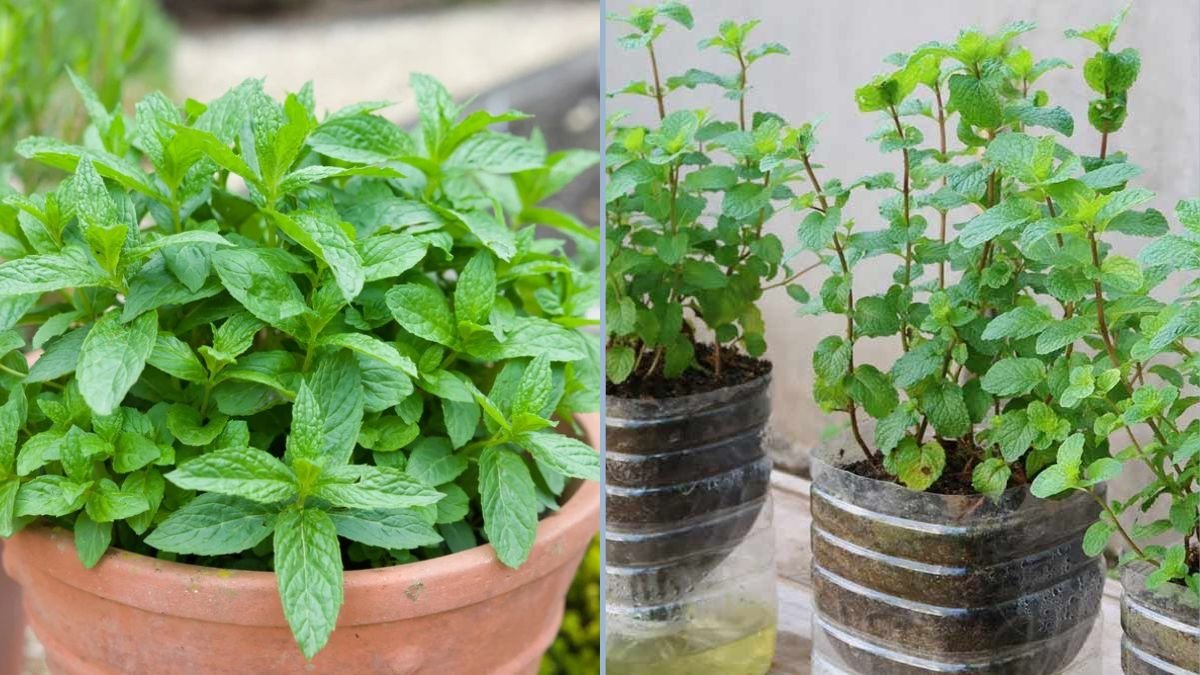
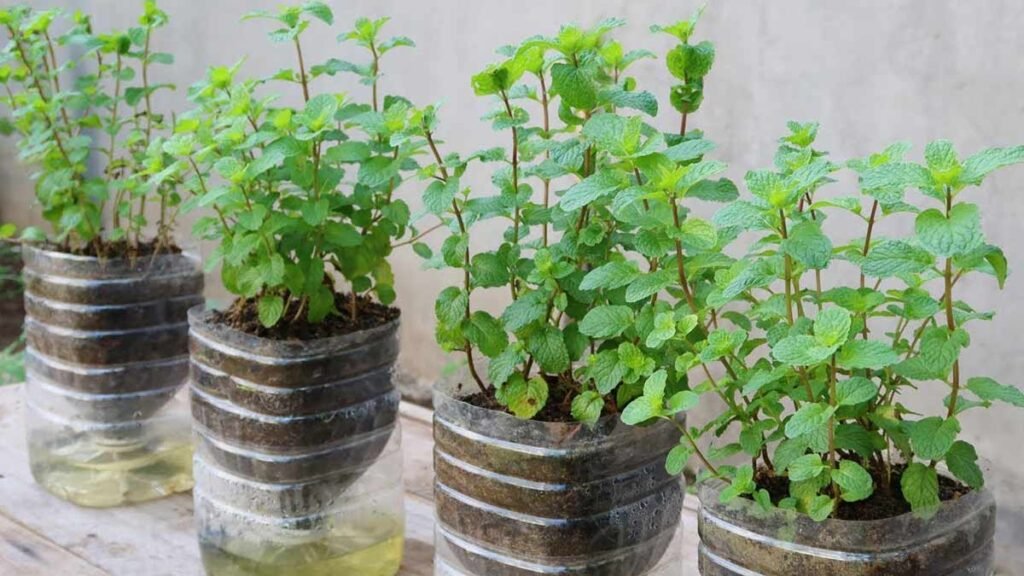
One of the easiest, most sustainable methods is growing mint in plastic bottles with water. This low-cost, space-saving technique allows you to enjoy fresh mint year-round, even if you live in an apartment or have limited gardening space. In this guide, we’ll walk you through the step-by-step process to grow mint at home using plastic bottles and water.
Why Grow Mint at Home
Growing mint at home has numerous advantages:
- Freshness: Homegrown mint is far fresher and more flavorful than store-bought options.
- Cost-effective: Once established, mint produces continuously, reducing grocery expenses.
- Space-saving: Plastic bottle setups can fit on windowsills, balconies, or kitchen counters.
- Eco-friendly: Reusing plastic bottles helps reduce waste.
- Easy maintenance: Mint grows rapidly and requires minimal care, making it ideal for beginners.
By using a simple bottle and water method, you can enjoy an endless supply of fresh mint without soil, fertilizers, or complicated gardening setups.
Materials You’ll Need
Here’s what you’ll need to get started:
- Plastic bottles: Any size will work, but 1–2 liter bottles are ideal.
- Mint cuttings: Fresh stems from a store-bought mint bundle or a friend’s plant.
- Water: Tap water is fine; use filtered water if possible for better growth.
- Sharp scissors or knife: To cut the bottle and mint stems.
- Optional: Small stones or pebbles for stability.
That’s it! This is one of the most affordable and beginner-friendly herb-growing methods.
Step 1: Preparing the Plastic Bottle
To turn your plastic bottle into a mini mint garden, follow these steps:
- Clean the bottle thoroughly to remove any residue.
- Cut the bottle horizontally or vertically to create an opening for the mint cuttings.
- If cut horizontally, the top can act as a funnel.
- If cut vertically, the opening should be wide enough to hold stems without tipping over.
- Rinse the bottle again after cutting to ensure it’s ready for planting.
Plastic bottles are lightweight, inexpensive, and durable, making them perfect containers for water-based herb gardens.
Step 2: Selecting and Preparing Mint Cuttings
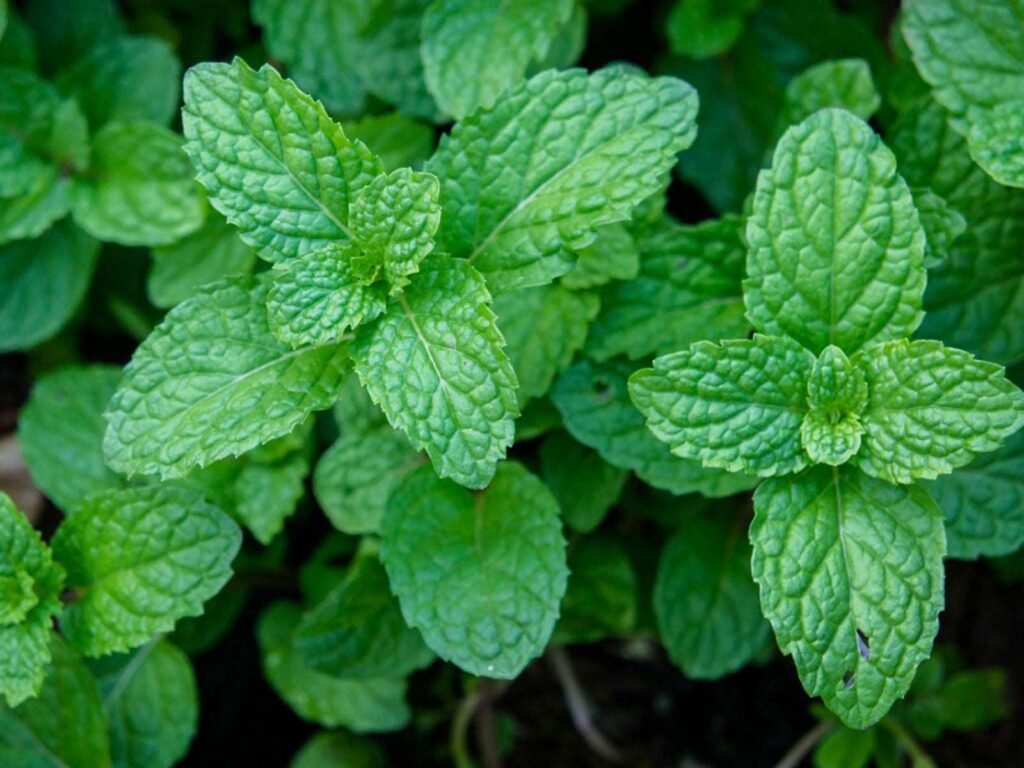
Mint grows quickly from cuttings, so choose healthy stems with vibrant green leaves. Here’s how to prepare them:
- Cut a 4–6 inch stem just below a node (where the leaves join the stem).
- Remove the lower leaves to prevent them from rotting in water.
- Ensure there are at least 2–3 nodes on each cutting, as these are the points where roots will grow.
Using fresh, healthy cuttings ensures fast root development and robust growth.
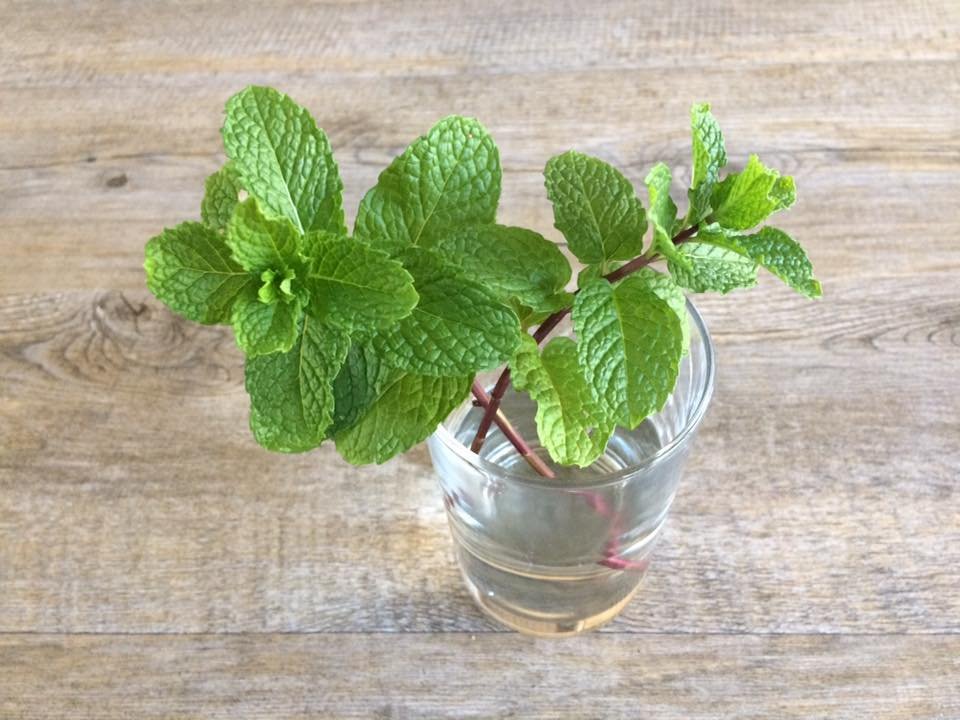
Step 3: Placing Mint Cuttings in Water

Once your bottle and cuttings are ready, it’s time to grow the mint:
- Fill the bottle with water, covering the bottom 2–3 inches.
- Place the mint cuttings into the water, making sure the nodes are submerged while leaves remain above the surface.
- Position the bottle in indirect sunlight—mint prefers bright light but not harsh, direct sun.
Within 7–10 days, you’ll notice tiny roots forming from the submerged nodes. This is a sign that your mint is ready to grow further.
Step 4: Maintaining Your Water-Based Mint Garden
Maintaining mint in water is straightforward, but some care is required for optimal growth:
- Water changes: Replace the water every 5–7 days to prevent stagnation and bacterial growth.
- Trim regularly: Snip leaves occasionally to encourage bushier growth.
- Monitor sunlight: Keep the bottle in a well-lit area but avoid direct afternoon sun that may scorch leaves.
- Remove dead leaves: Keep the water clean by removing any leaves that fall into it.
By following these simple steps, your mint will grow quickly and remain healthy.
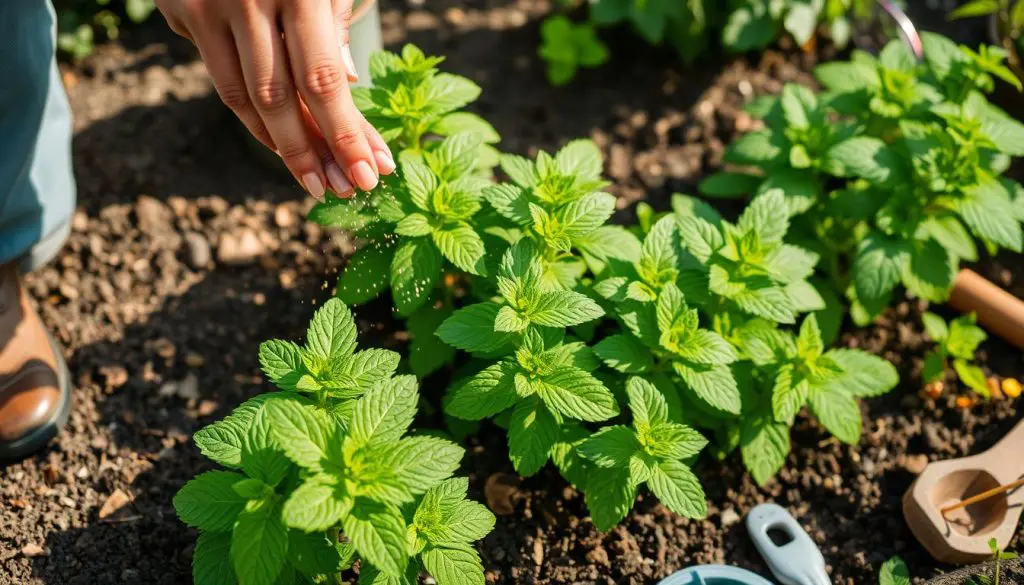
Step 5: Harvesting Your Mint
One of the best parts of growing mint at home is harvesting fresh leaves anytime you need them:
- Use scissors to cut 2–3 inches from the top of the plant, leaving enough leaves for continued growth.
- Always harvest the outer leaves first, leaving the inner ones to keep the plant producing.
- Frequent harvesting encourages bushier, more vigorous growth.
Harvesting regularly ensures a constant supply of fresh mint while preventing the plant from becoming leggy.
Step 6: Extending Growth and Year-Round Supply
Mint grows quickly and can thrive in water for months. To maintain year-round growth:
- Propagation: After a few weeks, you can take new cuttings from your established plant and start another bottle.
- Rotate bottles: Move older bottles to indirect sunlight to prevent bolting (flowering) and maintain freshness.
- Winter care: Indoors, mint can grow well throughout the winter if placed near a sunny window.
By propagating and rotating cuttings, you can enjoy fresh mint all year without interruption.
Common Mistakes to Avoid
Even though mint is easy to grow, beginners sometimes make mistakes:
- Overcrowding cuttings: Too many stems in one bottle can limit growth.
- Not changing water: Stagnant water can cause roots to rot or develop bacteria.
- Submerging leaves: Leaves in water can decay, reducing plant health.
- Excessive sunlight: Direct afternoon sun can damage delicate mint leaves.
Avoiding these mistakes ensures that your mint garden thrives and produces continuously.
Benefits of Growing Mint in Water
This method of growing mint in plastic bottles is not just convenient—it offers several unique advantages:
- No soil needed: Ideal for urban spaces without garden access.
- Budget-friendly: Plastic bottles and water are virtually free.
- Portable: Bottles can be moved easily to optimize light exposure.
- Educational: Great project for kids or beginners to learn about plant growth and propagation.
Water-based mint cultivation is sustainable, fun, and surprisingly productive.
Creative Ideas for Your Mint Bottle Garden
Once your mint is growing, you can get creative:
- Kitchen windowsill garden: Keep several bottles near the window for easy access while cooking.
- Decorative arrangement: Decorate bottles with paint, twine, or labels for a visually appealing display.
- Gift fresh mint: Small bottles with mint make charming and practical gifts.
- Mini indoor herb garden: Combine mint with other herbs like basil, oregano, or rosemary in separate bottles for a year-round supply.
These ideas make growing mint not only practical but also fun and aesthetically pleasing.
Final Thoughts
Growing mint in plastic bottles with water is a simple, cost-effective, and rewarding way to enjoy fresh herbs year-round. This method requires minimal space, virtually no expense, and little maintenance, making it perfect for beginners, apartment dwellers, or anyone looking to save money while enhancing their meals.
By following the steps outlined in this guide—preparing bottles, selecting healthy cuttings, maintaining water, and harvesting regularly—you can have a thriving mint garden right in your home. Not only will your kitchen be filled with the refreshing aroma of fresh mint, but you’ll also enjoy the satisfaction of growing your own food sustainably and affordably.
Start today, and you’ll be amazed at how quickly your mint cuttings transform into lush, fragrant plants—all in simple plastic bottles with water. It’s gardening made easy, practical, and truly enjoyable!