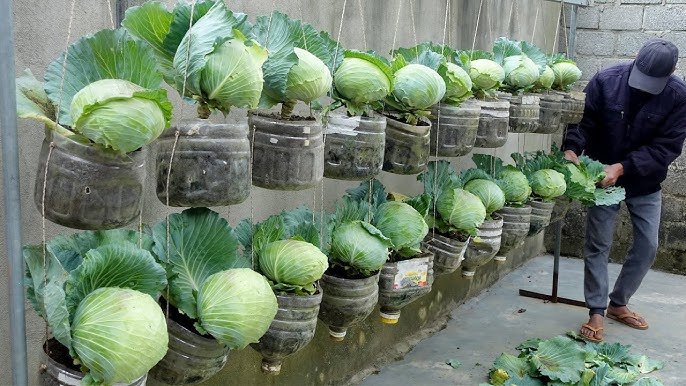
Cabbage is a versatile, nutrient-packed vegetable that’s rich in vitamins, antioxidants, and fiber. From fresh salads and stir-fries to hearty soups and fermented dishes like sauerkraut, cabbage is a staple in kitchens worldwide. However, buying fresh cabbage regularly can be expensive, and it often spoils quickly. The good news is that you can grow your own cabbage at home, even in limited spaces, using a hydroponic system made from recycled plastic bottles.
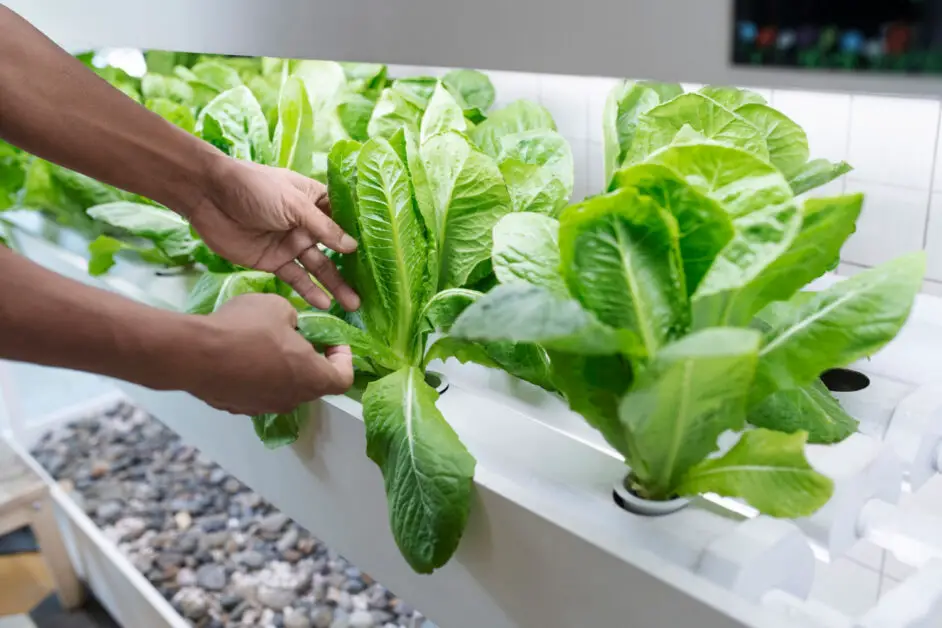
Hydroponics—growing plants without soil—is not only efficient but also eco-friendly. By using recycled plastic bottles, you can save money, reduce waste, and create a mini home garden that produces fresh cabbage year-round. In this guide, we’ll walk you through the step-by-step process to grow hydroponic cabbage at home.
Why Grow Hydroponic Cabbage at Home
Growing cabbage hydroponically has several advantages:
- Year-round harvest: Unlike traditional soil gardening, hydroponics allows you to grow vegetables indoors or in small spaces regardless of the season.
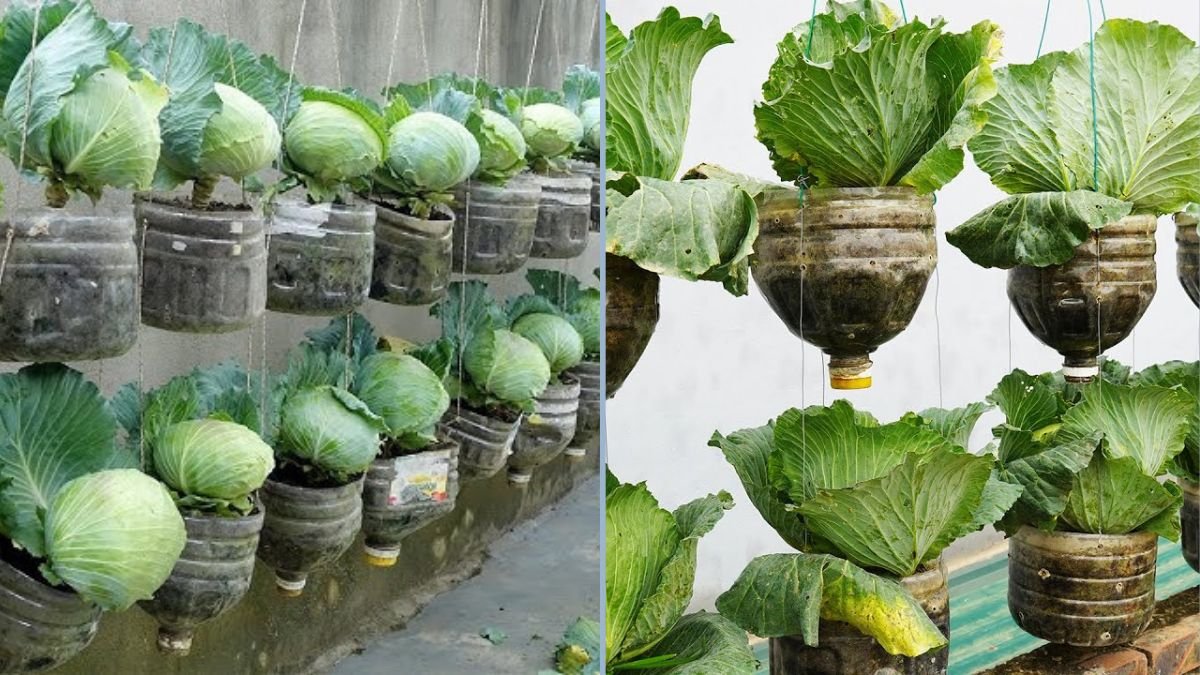
- Space-saving: Recycled bottles are perfect for apartments, terraces, or windowsills.
- Water-efficient: Hydroponics uses up to 90% less water than traditional soil gardening.
- Pesticide-free: You have full control over the growing environment, avoiding harmful chemicals.
- Faster growth: Plants grow faster in nutrient-rich water compared to soil.
- Cost-effective: Using recycled bottles reduces gardening costs while promoting sustainability.
With a little effort and patience, you can enjoy crisp, fresh cabbage without the hassle of soil gardening.
Materials You’ll Need
Here’s everything you need to get started:
- Plastic bottles: 1–2 liter recycled bottles with caps removed.
- Cabbage seeds or seedlings: Choose healthy seeds or young plants.
- Hydroponic nutrient solution: Commercially available or homemade nutrient mix for leafy vegetables.
- Water: Tap or filtered water.
- Growing medium: Rockwool, coco peat, or clay pebbles to support seedlings.
- Scissors or knife: For cutting bottles and preparing seedlings.
- Optional: Small tray or container to catch excess water.
With these simple materials, you can create a mini hydroponic cabbage garden in your home.
Step 1: Preparing the Plastic Bottles
Recycled plastic bottles make excellent hydroponic containers. Here’s how to prepare them:
- Clean the bottles thoroughly to remove any residue.
- Cut the top portion of the bottle horizontally or vertically to create an opening for planting.
- Make a small hole or slot near the bottom for drainage if needed.
- Rinse the bottles again before planting.
Repurposing plastic bottles not only saves money but also reduces environmental waste.
Step 2: Germinating Cabbage Seeds
If you’re starting from seeds, germination is the first step:
- Soak cabbage seeds in water for 12–24 hours to speed up germination.
- Fill a small container with a growing medium like rockwool or coco peat.
- Plant the seeds ¼ inch deep in the medium.
- Keep the medium moist and place it in a warm, bright spot.
Seeds usually sprout within 5–10 days. Once the seedlings develop 2–3 true leaves, they’re ready for hydroponic planting.
Step 3: Preparing the Hydroponic Nutrient Solution
Cabbage thrives in nutrient-rich water. You can use a commercially available hydroponic solution or prepare a homemade mix using essential nutrients:
- Nitrogen (N): Promotes leafy growth.
- Phosphorus (P): Supports root development.
- Potassium (K): Strengthens overall plant health.
- Micronutrients: Iron, magnesium, and calcium for balanced growth.
Mix the solution according to instructions and ensure it is oxygenated. Aeration helps roots absorb nutrients effectively.
Step 4: Planting Seedlings in Bottles
Once seedlings are ready:
- Fill the bottom of the bottle with the hydroponic nutrient solution.
- Place the seedling in the growing medium at the top of the bottle. Ensure roots can reach the nutrient solution.
- Position the bottle in a spot that receives bright, indirect sunlight.
Make sure the roots are submerged in water but the leaves remain above the surface to prevent rot.
Step 5: Maintaining Your Hydroponic Cabbage
Hydroponic cabbage requires consistent care to thrive:
- Watering: Keep the nutrient solution level consistent. Top up water as needed.
- Sunlight: Cabbage needs 6–8 hours of sunlight daily, or use LED grow lights indoors.
- Nutrient monitoring: Check nutrient solution weekly and replenish nutrients as needed.
- Pruning: Remove any yellow or damaged leaves to encourage healthy growth.
- Aeration: Ensure water is oxygenated to prevent root rot and promote nutrient uptake.
With proper care, your cabbage will grow strong, healthy, and ready for harvest in just a few weeks.
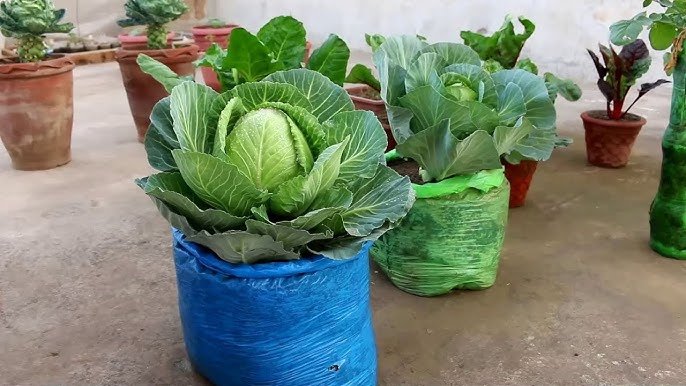
Step 6: Harvesting Hydroponic Cabbage
Cabbage grown hydroponically can be harvested once the head reaches full size, depending on the variety:
- Use a sharp knife to cut the cabbage at the base, leaving the roots in the bottle if you want the plant to produce more leaves.
- Harvest outer leaves regularly for continuous growth.
- Store harvested cabbage in a cool, dry place or use it immediately in your meals.
By harvesting gradually, you can enjoy fresh cabbage over an extended period without compromising plant health.
Tips for Successful Hydroponic Cabbage
- Use healthy seedlings: Strong, disease-free seedlings ensure faster growth.
- Monitor pH: Cabbage prefers a pH of 6.0–6.8 in the nutrient solution.
- Ensure sufficient light: Indoor growers may need artificial light for 12–16 hours per day.
- Prevent pests: Hydroponic systems reduce soil pests, but watch for aphids or fungal issues.
- Keep the solution oxygenated: Use a small air pump or stir water daily to maintain oxygen levels for roots.
Following these tips ensures healthy, vibrant cabbage that grows faster and stronger than traditional soil-grown plants.
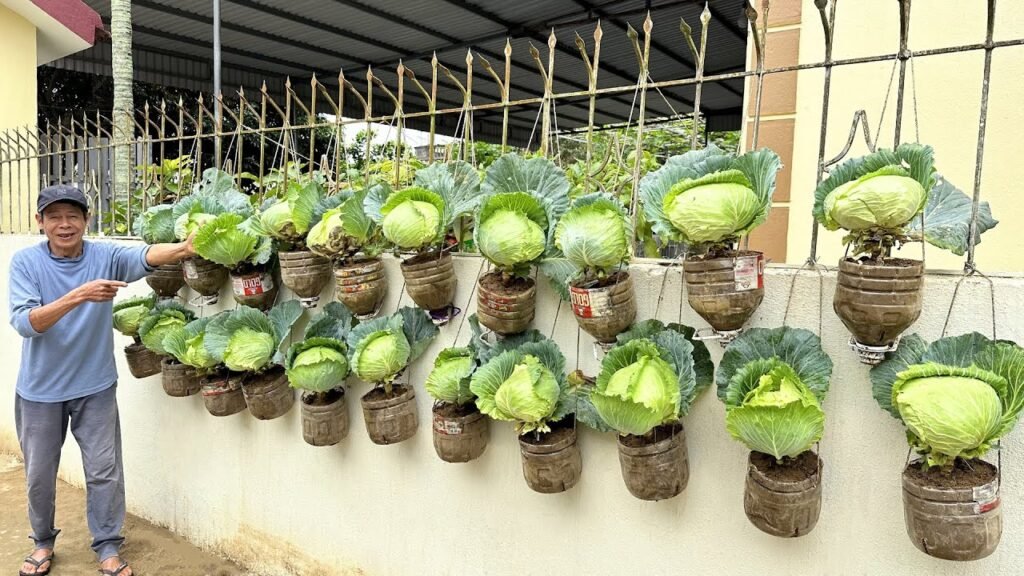
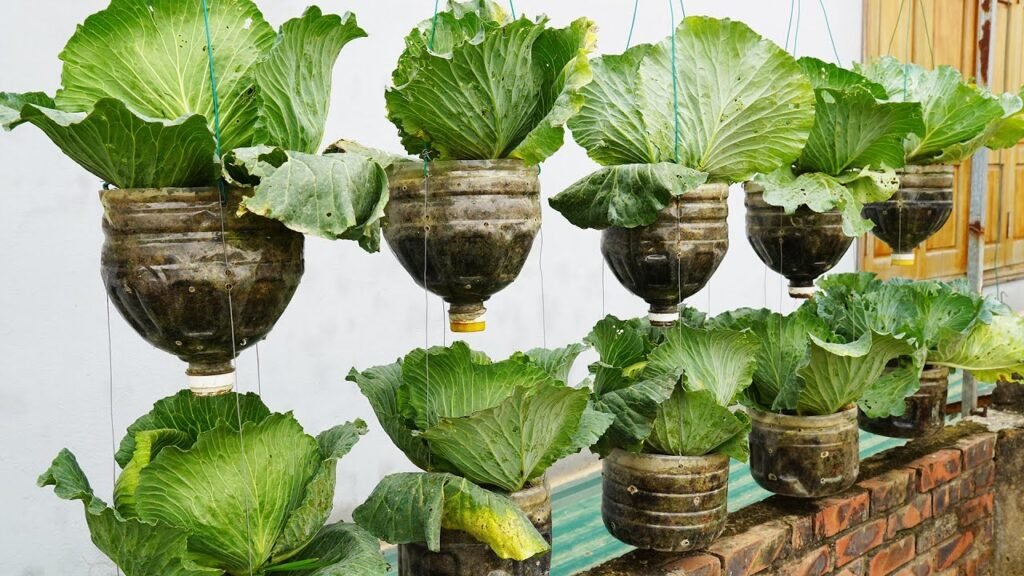
Advantages of Growing Cabbage in Plastic Bottles
Using recycled bottles for hydroponic cabbage has unique benefits:
- Eco-friendly: Reduces plastic waste by repurposing bottles.
- Space-efficient: Bottles can be placed on windowsills, shelves, or balconies.
- Cost-effective: Eliminates the need for expensive pots or hydroponic systems.
- Portable: Bottles are lightweight and easy to move for optimal sunlight exposure.
- Educational: Perfect project for beginners or kids learning about plant growth and sustainability.
This method proves that home gardening doesn’t have to be expensive or complicated.
Common Mistakes to Avoid
Even hydroponics requires careful attention to avoid common pitfalls:
- Overcrowding plants: Ensure enough space for roots to grow freely.
- Neglecting nutrient solution: Plants will not grow properly without adequate nutrients.
- Improper light: Insufficient sunlight slows growth and weakens plants.
- Submerging leaves: Keep leaves above water to prevent rot.
- Ignoring pH levels: Incorrect pH can affect nutrient absorption and stunt growth.
By avoiding these mistakes, you can maximize your cabbage yield and maintain healthy plants.
Final Thoughts
Growing hydroponic cabbage in recycled plastic bottles is a practical, sustainable, and rewarding method for home gardeners. This approach allows you to grow fresh, nutrient-rich cabbage year-round, even in small spaces, while saving money and reducing waste. By following the steps outlined in this guide—preparing bottles, germinating seeds, maintaining a nutrient solution, and monitoring growth—you can create a thriving mini-garden in your home.
Whether you’re an urban gardener with limited space or simply looking to eat healthier, hydroponic cabbage in recycled bottles is an easy, effective solution. Start today, and within a few weeks, you’ll enjoy crisp, fresh cabbage grown entirely by you, right in the comfort of your home. It’s a simple, sustainable, and highly satisfying way to cultivate your own food while contributing to a greener planet.