Fresh, leafy greens are a staple in any healthy kitchen, but constantly buying them from the store can be both expensive and inconvenient. Imagine having a lush supply of nutritious greens at your fingertips—ready to pick whenever you need them. With Malabar spinach, this dream becomes a reality. By growing it the right way, you can enjoy fresh, vibrant greens all year round without ever worrying about running out.
In this guide, we’ll show you step-by-step how to grow Malabar spinach effectively, maximize its yield, and enjoy a continuous supply of homegrown vegetables.
Why Grow Malabar Spinach
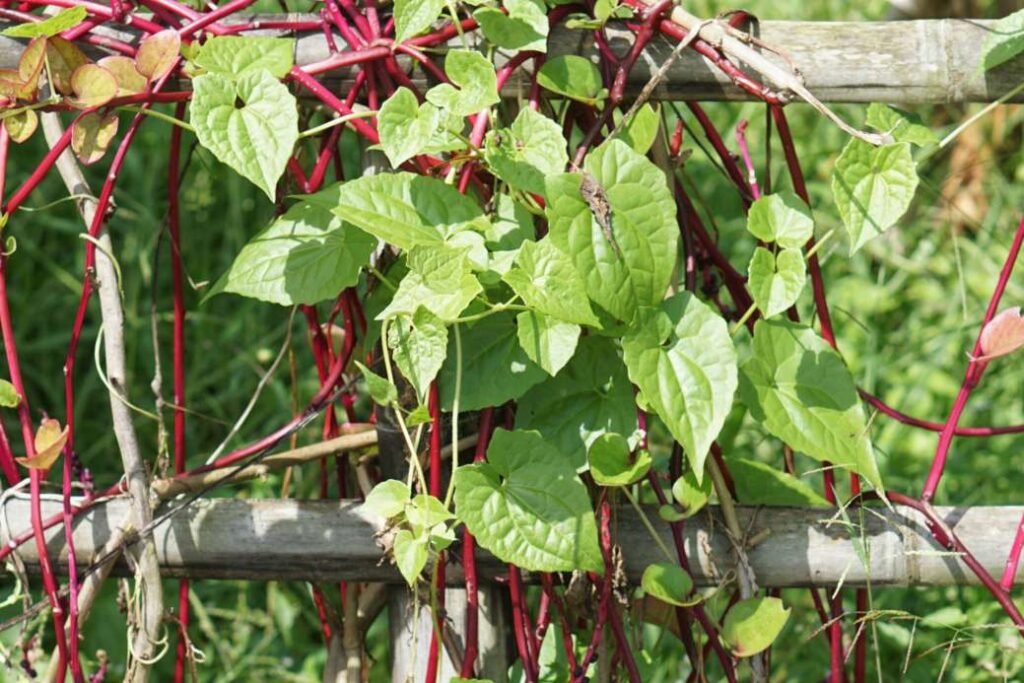
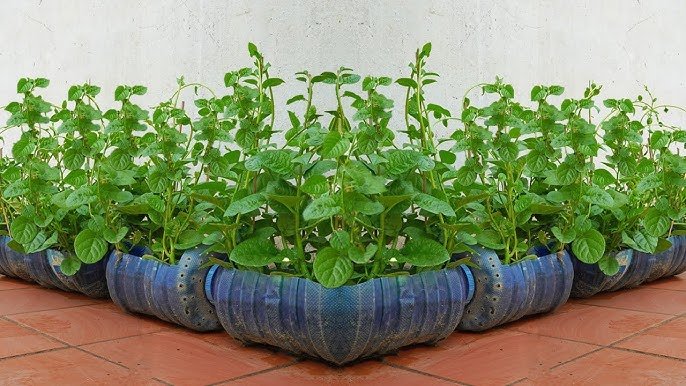
Malabar spinach, also known as Basella alba, is a tropical climbing vine that thrives in warm climates. It’s slightly different from regular spinach, with thick, succulent leaves and stems that are ideal for stir-fries, soups, salads, and juices. Growing Malabar spinach at home comes with several advantages:
- Nutritional Benefits: Rich in vitamins A and C, iron, calcium, and antioxidants.
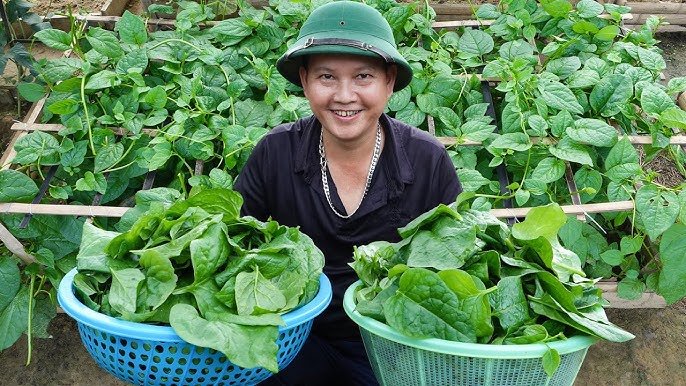
- Continuous Harvest: Unlike many leafy greens, Malabar spinach grows rapidly and can be harvested multiple times.
- Heat Tolerant: Thrives in hot weather when traditional spinach struggles.
- Low Maintenance: A hardy plant that grows vigorously with minimal care.
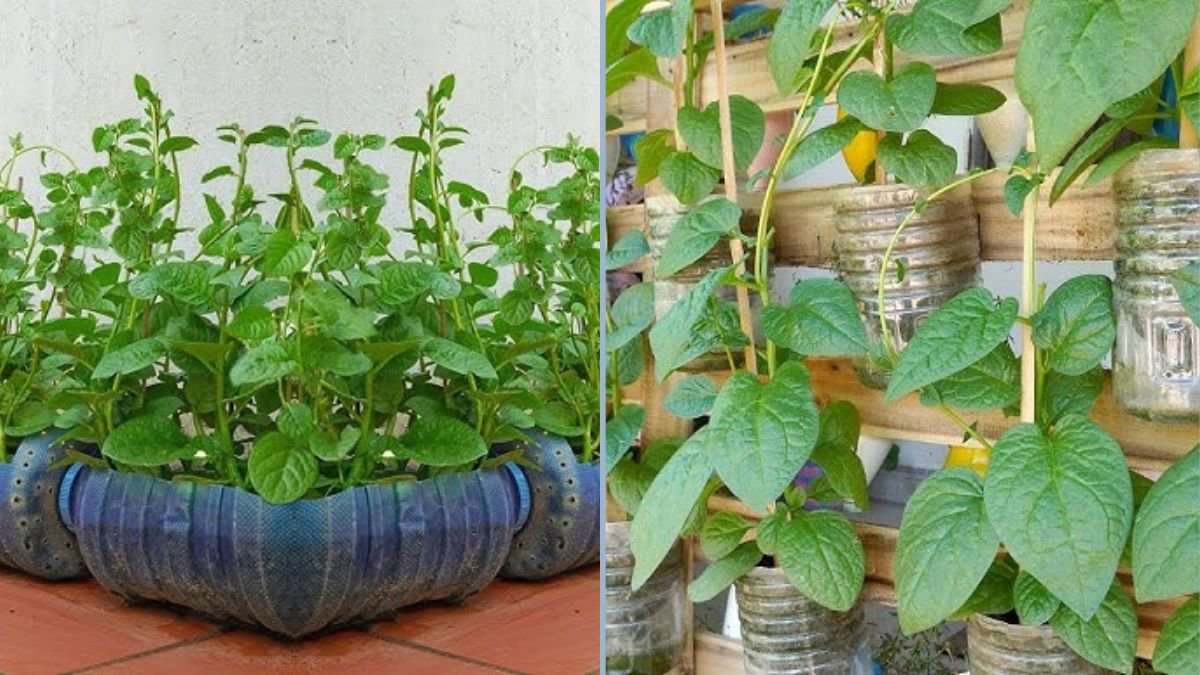
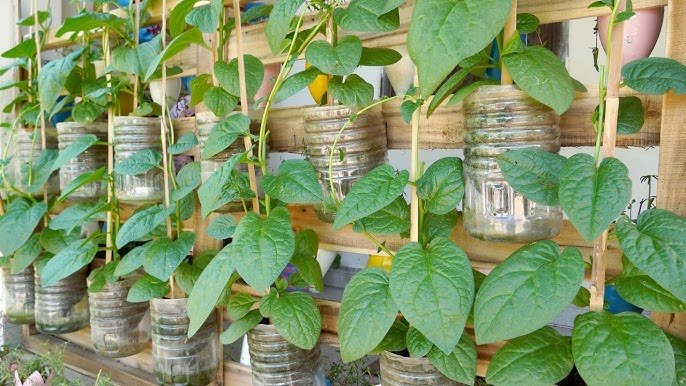
- Space-Saving: Can be grown vertically on trellises, walls, or fences, making it perfect for small yards or balconies.
With these benefits, Malabar spinach is a perfect choice for anyone looking to reduce grocery trips and enjoy fresh greens at home.
Understanding Malabar Spinach Growth
Understanding how Malabar spinach grows helps you cultivate it more effectively:
- Climbing Vine: The plant naturally climbs, so providing vertical support allows for more growth in less space.
- Rapid Growth: Under optimal conditions, leaves and stems can be harvested in 3–4 weeks.
- Sunlight Needs: Prefers full sun but can tolerate partial shade.
- Water Requirements: Requires consistent watering but can withstand short dry spells once established.
- Soil Preference: Thrives in well-draining, fertile soil rich in organic matter.
Knowing these basics ensures you can maximize the plant’s growth potential and yield.
Step 1: Choosing the Right Location

To grow Malabar spinach effectively:
- Sunlight: Choose a spot that receives 6–8 hours of sunlight daily for optimal growth.
- Support Structure: Since it’s a climbing vine, a trellis, fence, or vertical pole is ideal. Vertical growth increases yield and makes harvesting easier.
- Accessibility: Place it where you can easily reach it for regular harvesting and watering.
Proper site selection is the foundation of a productive Malabar spinach garden.
Step 2: Preparing the Soil
Healthy soil ensures strong plants and continuous harvest:
- Soil Type: Well-draining loamy soil is best. Malabar spinach can tolerate slightly sandy or clay soils if amended with compost.
- Soil Fertility: Mix in compost or well-rotted manure to provide nutrients for vigorous growth.
- pH Level: Slightly acidic to neutral soil (pH 6–7) works best.
A nutrient-rich soil bed encourages lush foliage and rapid growth, reducing the need for additional fertilizers.
Step 3: Planting Malabar Spinach
Malabar spinach can be grown from seeds or cuttings:
- Seeds: Sow seeds directly in soil or start in seed trays. Soak seeds in water for 12–24 hours to speed up germination.
- Cuttings: Take 6–8 inch stem cuttings from a healthy plant and plant them directly in soil.
- Spacing: Plant seeds or cuttings 12–18 inches apart to allow proper airflow and light penetration.
With proper planting, Malabar spinach establishes quickly and starts producing leaves in just a few weeks.
Step 4: Providing Support
Because Malabar spinach is a climbing vine, support is crucial for high yields:
- Trellises: Bamboo poles, wooden frames, or metal trellises work perfectly.
- Fences and Walls: Let the vines climb existing fences or walls to save space.
- String Supports: Tie vines loosely to vertical strings for guidance and stability.
Vertical support prevents sprawling, encourages upward growth, and makes harvesting easier.
Step 5: Watering and Fertilizing
For maximum growth:
- Watering: Keep soil consistently moist, especially during dry spells. Water at the base to avoid wetting foliage, which can lead to fungal issues.
- Fertilizing: Apply a balanced organic fertilizer or compost every 3–4 weeks to sustain nutrient levels.
- Mulching: Use straw or shredded leaves to retain moisture, reduce weeds, and regulate soil temperature.
Consistent care ensures fast growth and continuous leaf production.
Step 6: Harvesting Malabar Spinach
Malabar spinach is highly productive and can be harvested multiple times:
- Timing: Leaves can be harvested when they reach 3–5 inches long.
- Technique: Pinch or cut the outer leaves, leaving the inner shoots to continue growing.
- Frequency: Harvest regularly every 1–2 weeks to stimulate new growth.
Regular harvesting prevents the plant from becoming too woody and encourages continuous production.
Tips for an Overflowing Supply
- Succession Planting: Plant seeds or cuttings in intervals to maintain a steady supply throughout the season.
- Pruning: Trim older, tougher leaves to encourage tender, new shoots.
- Vertical Maximization: Train vines upward to save space and produce more foliage per square foot.
- Pest Control: Watch for aphids and caterpillars; handpick or use organic sprays if needed.
- Fertilize Lightly: Avoid over-fertilizing, which can lead to excessive foliage but reduced flavor.
These simple tips ensure that you never run out of Malabar spinach and always have fresh leaves ready for cooking.
Benefits of Growing Malabar Spinach at Home
- Continuous Supply: Leaves and stems grow rapidly, providing fresh greens throughout the season.
- Nutritional Boost: Rich in vitamins, minerals, and antioxidants.
- Cost Savings: Reduce grocery trips and expenses.
- Space Efficiency: Vertical growth allows for abundant production in small areas.
- Low Maintenance: Hardy plant that requires minimal care and thrives in warm climates.
Growing Malabar spinach at home transforms your kitchen into a sustainable source of healthy vegetables.
Culinary Uses for Malabar Spinach
Fresh Malabar spinach can be used in countless dishes:
- Stir-Fries: Quickly sauté leaves with garlic, soy sauce, or spices for a nutritious side dish.
- Soups and Stews: Add to soups, curries, or stews for flavor and nutrition.
- Salads: Use young, tender leaves in fresh salads.
- Smoothies and Juices: Blend for a vitamin-rich drink.
- Pickling or Fermentation: Preserve surplus leaves for later use.
Having a continuous supply of fresh Malabar spinach allows you to experiment with diverse, healthy meals at home.
Final Thoughts
Malabar spinach is one of the easiest and most productive leafy greens you can grow at home. By planting seeds or cuttings, providing vertical support, maintaining consistent watering and fertilization, and harvesting regularly, you can enjoy fresh, nutritious leaves all year round.
Even small-space gardeners, apartment dwellers, or beginners can achieve impressive results with this hardy, fast-growing plant. By following these simple steps, you’ll never have to worry about running out of fresh vegetables, and your kitchen will always have vibrant, homegrown greens ready to use.
Start today, implement this method, and transform your home into a mini vegetable oasis with Malabar spinach as your star crop!