Bell peppers are among the most popular vegetables in the world. Their vibrant colors, crisp texture, and sweet flavor make them perfect for salads, stir-fries, stuffing, and countless other recipes. Yet, for many home cooks, buying bell peppers at the store can be costly, and often they are less fresh than you’d like.
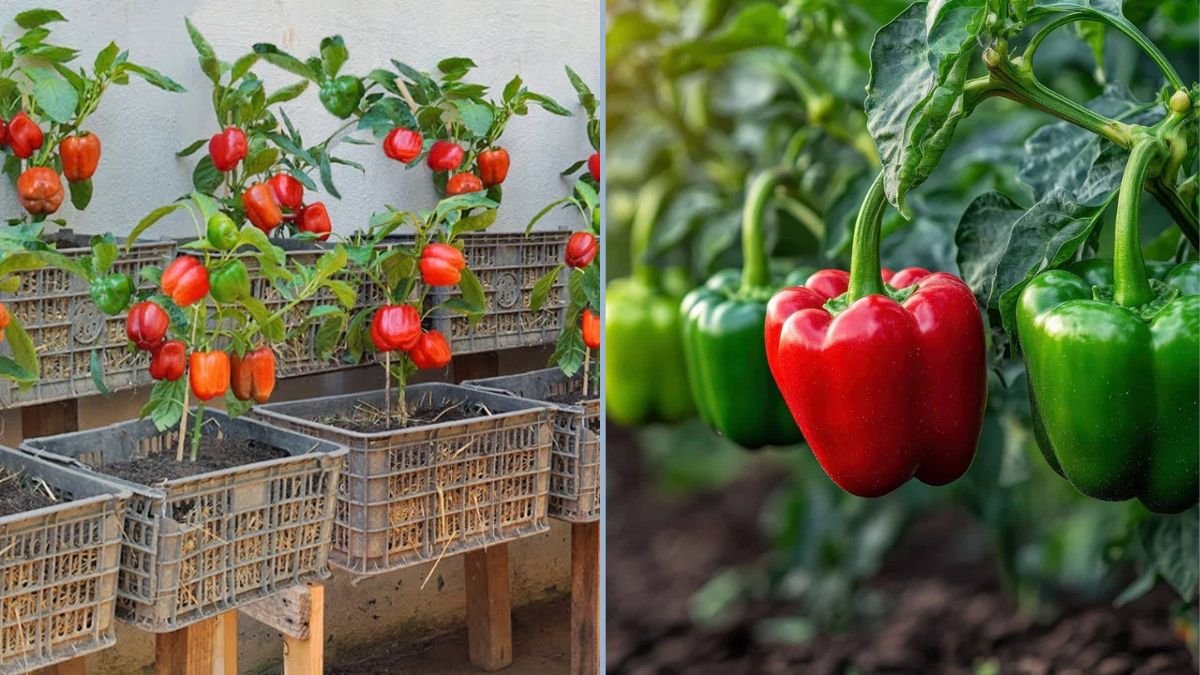
What if you could grow your own bell peppers at home and enjoy an overflowing harvest without spending a fortune? With the right techniques, you can produce abundant, healthy peppers from a single planting, ensuring your kitchen never runs short. This guide will walk you through a step-by-step approach to growing bell peppers successfully in a home garden, balcony, or even a small container.
Why Grow Bell Peppers at Home
Growing bell peppers at home has several advantages:
- Freshness and Flavor: Homegrown peppers are sweeter, juicier, and more flavorful than store-bought varieties.
- Cost Savings: Buying peppers frequently can add up; growing your own drastically reduces grocery costs.
- Nutritional Benefits: Bell peppers are rich in vitamins A, C, and K, antioxidants, and fiber.
- Continuous Supply: With proper care, you can harvest peppers multiple times a season.
- Sustainability: Growing your own vegetables reduces packaging waste and reliance on store-bought produce.
A small investment of time and space can lead to a year-round supply of fresh, healthy bell peppers.
Understanding Bell Pepper Growth
Bell peppers are tropical plants, which means they thrive in warm weather and full sunlight. Understanding their growth habits is key to a productive harvest:
- Sunlight Requirements: Bell peppers need 6–8 hours of direct sunlight per day.
- Soil Preference: They prefer well-draining, fertile soil enriched with organic matter.
- Watering Needs: Consistent moisture is crucial, but waterlogging can harm roots.
- Growth Cycle: Bell peppers typically take 60–90 days from transplanting to first harvest, with multiple flushes possible in one season.
- Spacing: Proper spacing prevents overcrowding, improves air circulation, and reduces disease.
The key to maximizing yield is combining healthy soil, consistent care, and proper plant management.
Step 1: Choosing the Right Variety
Bell peppers come in various colors, sizes, and growth habits. Selecting the right variety ensures better productivity:
- Sweet Bell Peppers: Red, yellow, and orange varieties are sweeter and ideal for fresh dishes.
- Compact or Dwarf Varieties: Perfect for container or small-space gardening.
- Early-Maturing Varieties: These mature faster and allow multiple harvests in a single season.
Pick a variety suited to your climate, space, and intended use to maximize results.
Step 2: Preparing the Soil
Healthy soil is the foundation of a productive bell pepper garden:
- Soil Mix: Combine garden soil, compost, and organic fertilizer for nutrient-rich soil.
- Drainage: Ensure soil drains well to prevent root rot. Raised beds or containers are ideal for controlling soil conditions.
- pH Level: Bell peppers thrive in slightly acidic to neutral soil with a pH of 6.0–7.0.
Rich, well-draining soil encourages strong root development, healthy foliage, and abundant fruiting.
Step 3: Starting Seeds or Transplants
Bell peppers can be grown from seeds or young plants:
- Starting Seeds Indoors: Sow seeds 8–10 weeks before the last frost date. Keep in a warm, sunny location or under grow lights.
- Transplanting: Once seedlings have 4–6 leaves and temperatures are consistently above 60°F (15°C), transplant them into your garden or container.
- Spacing: Space plants 18–24 inches apart in rows or containers to allow ample airflow and room for growth.
Strong seedlings give you a head start for a fast-growing, high-yielding crop.
Step 4: Providing Support
Bell peppers can become top-heavy when loaded with fruit, so support is important:
- Stakes or Cages: Use bamboo stakes, tomato cages, or garden trellises to support growing plants.
- Tying Plants: Gently tie stems to the support to prevent breakage.
- Pruning Lower Leaves: Remove lower leaves touching the soil to prevent disease and improve airflow.
Supporting your plants ensures healthier growth and more peppers per plant.
Step 5: Watering and Fertilizing
Consistent care leads to continuous fruiting:
- Watering: Keep soil evenly moist, especially during flowering and fruit set. Avoid overwatering.
- Fertilizing: Use a balanced fertilizer or compost tea every 2–3 weeks to provide nitrogen for foliage and phosphorus/potassium for fruit development.
- Mulching: Apply straw or shredded leaves to conserve moisture, suppress weeds, and regulate soil temperature.
Regular care ensures stronger plants that produce an overflowing harvest of peppers.
Step 6: Pest and Disease Management
Bell peppers are prone to certain pests and diseases, but proper care can prevent most issues:
- Common Pests: Aphids, whiteflies, and caterpillars. Handpick or spray with neem oil for control.
- Diseases: Fungal infections like powdery mildew can be prevented by proper spacing, pruning, and avoiding overhead watering.
- Monitoring: Inspect plants regularly and remove affected leaves to maintain healthy growth.
Healthy plants produce more fruit, reducing losses and increasing overall yield.
Step 7: Harvesting Bell Peppers
Knowing when and how to harvest is key to maximizing production:
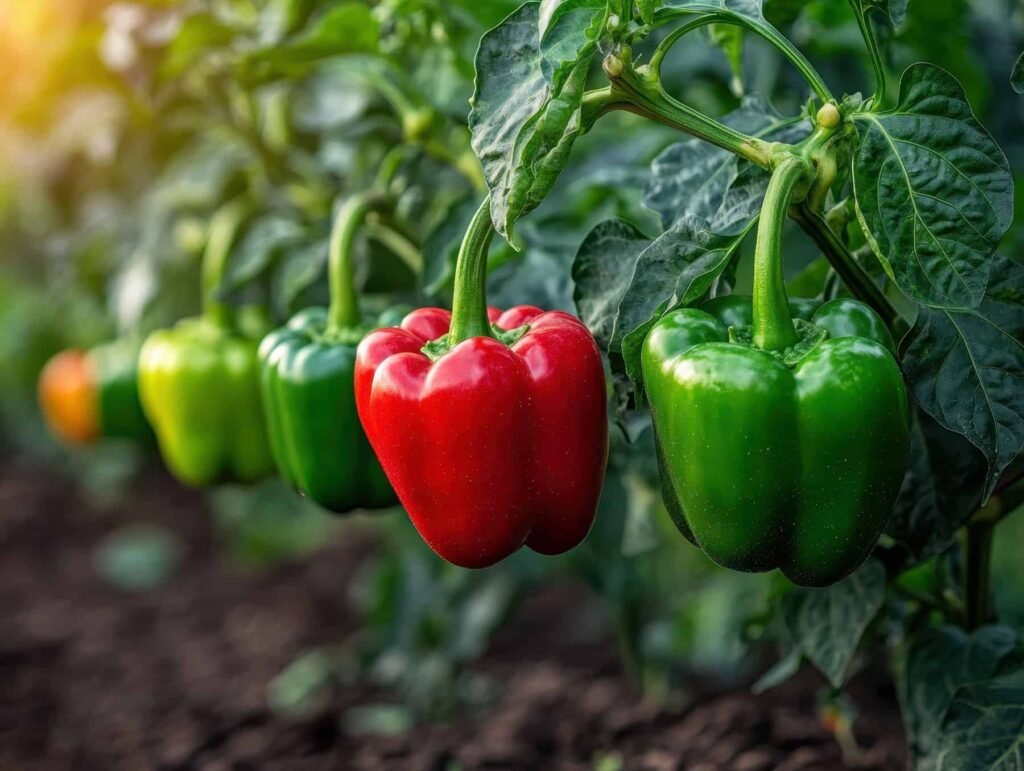
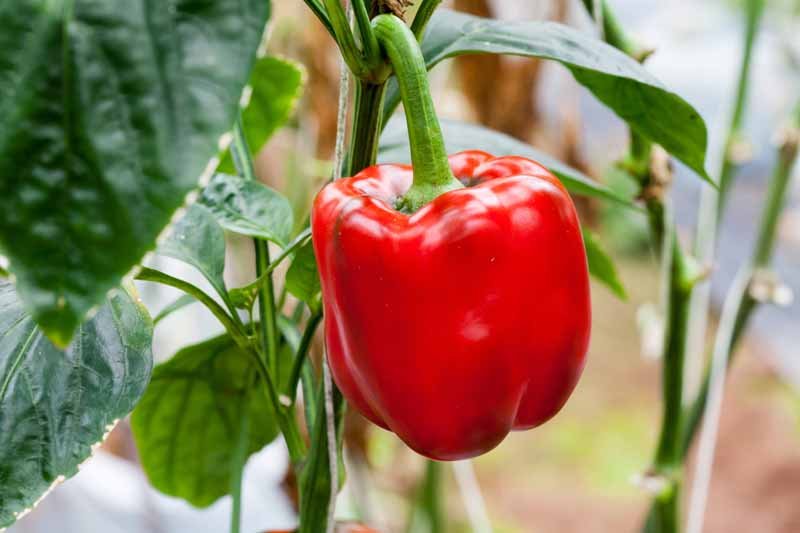
- Timing: Pick peppers when they reach full size and desired color. Green peppers mature faster, but colored varieties have sweeter flavor.
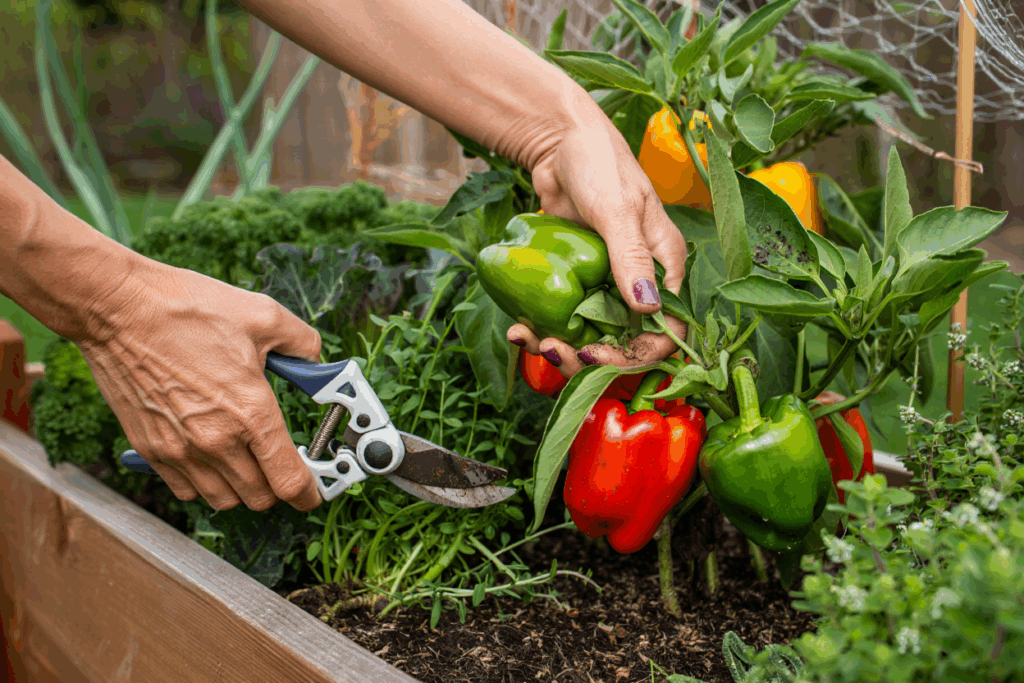
- Technique: Use scissors or garden shears to cut fruit from the plant, leaving a short stem attached.
- Regular Harvesting: Frequent picking encourages plants to produce more peppers continuously.
By harvesting consistently, you can maintain a steady supply of fresh peppers throughout the growing season.
Tips for an Overflowing Harvest
- Succession Planting: Plant seeds or seedlings in intervals to ensure continuous production.
- Sunlight Maximization: Place containers or beds where plants receive maximum sunlight.
- Prune Wisely: Remove damaged or yellowing leaves to direct energy into fruit production.
- Pollination: Encourage pollinators like bees or hand-pollinate flowers to increase fruit set.
- Container Gardening: Use large pots for balcony or small-space gardeners; this allows for flexible placement and control over soil quality.
With these tips, even small-space gardeners can enjoy bountiful bell pepper harvests.
Culinary Uses for Homegrown Bell Peppers
Having a steady supply of homegrown peppers opens up countless culinary possibilities:
- Salads: Slice fresh peppers for crunchy, colorful salads.
- Stir-Fries: Add to vegetable or meat stir-fries for flavor and nutrition.
- Stuffed Peppers: Fill with rice, meat, or vegetables for a hearty meal.
- Roasting and Grilling: Roast peppers for sauces, dips, or side dishes.
- Pickling: Preserve surplus harvest to enjoy later.
Fresh homegrown peppers elevate the flavor and nutritional value of your meals significantly.
Benefits of Growing Your Own Bell Peppers
- Continuous Supply: With proper care, plants produce multiple flushes of fruit.
- Freshness: Crisp, flavorful peppers straight from your garden.
- Cost Savings: Grow more than you buy and reduce grocery bills.
- Nutritional Boost: Homegrown peppers retain more vitamins and antioxidants.
- Sustainable Gardening: Reduce your carbon footprint and packaging waste.
A small home garden or container setup can supply your kitchen with fresh, vibrant peppers for months.
Final Thoughts
Bell peppers are no longer a luxury vegetable you need to buy at the store. With this simple, effective method, you can grow your own peppers at home and enjoy an overflowing harvest with minimal effort. The key is to select the right variety, provide fertile soil, maintain consistent watering and fertilizing, support your plants, and harvest regularly.
Even beginners or gardeners with limited space can achieve impressive results. A few healthy plants can supply your family with fresh bell peppers for weeks, transforming your cooking and reducing grocery bills.
Start today, implement these tips, and watch your homegrown bell peppers thrive—delivering flavor, nutrition, and satisfaction straight from your garden.