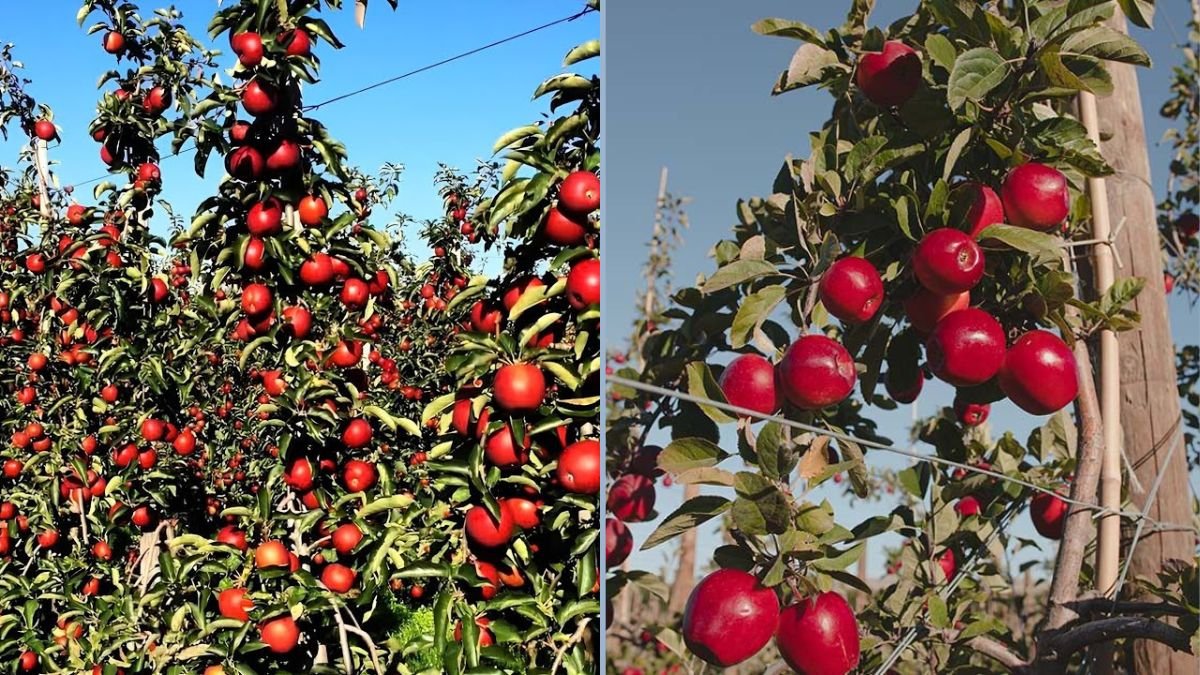
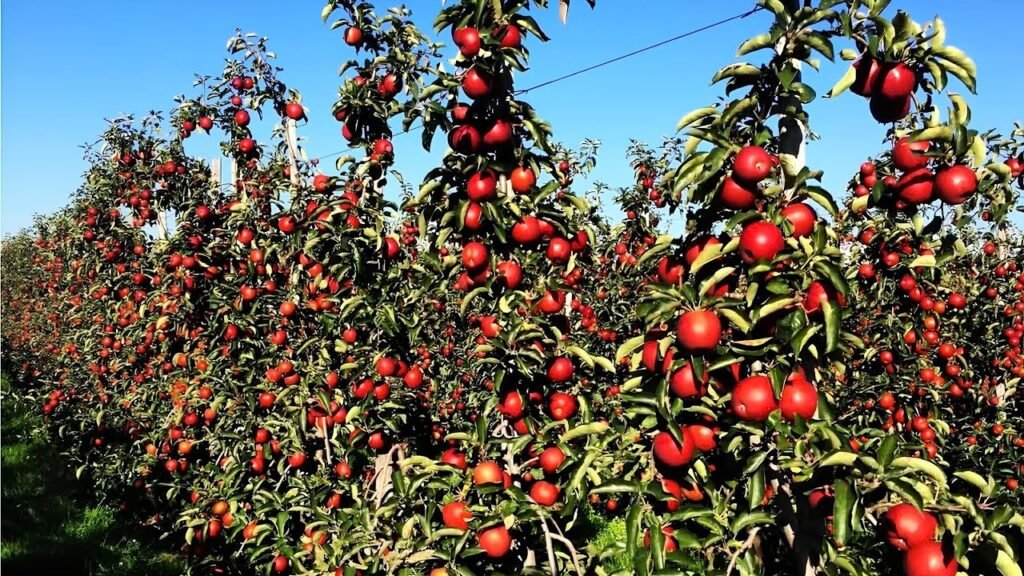
Apple orchards are a hallmark of New Zealand’s fertile landscapes, producing some of the world’s most delicious and sought-after varieties. From crisp, juicy Fuji apples to sweet and aromatic Royal Gala, the country’s temperate climate provides ideal conditions for apple cultivation.
Growing apples in New Zealand is not just an agricultural pursuit—it’s a passion. With the right knowledge, gardeners and farmers can cultivate healthy apple trees, achieve high yields, and enjoy fresh, organic fruit from their own backyard or orchard.
In this guide, we’ll explore everything from planting and caring for apple trees to harvesting techniques, specifically tailored to the unique climate and conditions of New Zealand.
Why Grow Apples in New Zealand?
- Ideal Climate:
- New Zealand’s temperate climate, with cool winters and moderate summers, is perfect for apple trees.
- High-Quality Fruit:
- Apples grown here are renowned for their crisp texture, sweetness, and shelf life.
- Diverse Varieties:
- Many varieties thrive in NZ, including Fuji, Gala, Braeburn, Pink Lady, and Honeycrisp.
- Economic and Personal Benefits:
- Apples are a high-value crop, suitable for commercial orchards or small home gardens.
- Homegrown apples are fresh, pesticide-free, and cost-effective.
Step 1: Choosing the Right Apple Varieties

Selecting the right apple variety is crucial for success:
- Climate Compatibility:
- Cool regions (like Central Otago or Nelson) are ideal for Fuji and Braeburn.
- Warmer regions (like Hawke’s Bay) suit Gala and Royal Gala.
- Pollination Requirements:
- Many apple varieties are self-sterile and require cross-pollination.
- Plant at least two compatible varieties nearby for optimal fruit set.
- Purpose:
- Decide whether you want apples for eating fresh, cooking, or cider production.
- Each variety has specific flavor profiles, textures, and storage qualities.
Pro Tip: Consult local nurseries or horticultural guides to choose varieties suited to your region’s microclimate.
Step 2: Preparing the Planting Site
Apple trees need well-drained soil and plenty of sunlight:
- Soil Type:
- Loamy soil rich in organic matter is ideal.
- pH range: 6.0–7.0 (slightly acidic to neutral).
- Sunlight:
- Minimum 6–8 hours of full sun daily.
- Drainage and Airflow:
- Avoid low-lying areas prone to waterlogging.
- Good airflow reduces fungal diseases like apple scab or powdery mildew.
- Spacing:
- Standard trees: 4–5 meters apart.
- Dwarf trees: 2–3 meters apart.
- Adequate spacing ensures sunlight penetration and airflow.
Pro Tip: Raised beds or mounded soil can improve drainage and root health.
Step 3: Planting Apple Trees
- Bare-Root vs. Potted Trees:
- Bare-root trees are cheaper and establish well in winter.
- Potted trees can be planted year-round and often produce faster.
- Planting Technique:
- Dig a hole twice as wide as the root ball.
- Place the tree so that the graft union is 5–10 cm above the soil level.
- Backfill with soil mixed with compost and water thoroughly.
- Initial Care:
- Stake young trees to provide support.
- Mulch around the base to retain moisture and suppress weeds.
Pro Tip: Plant in late winter to early spring for the best establishment before the growing season.
Step 4: Watering and Fertilization
- Watering:
- Young trees need regular watering (1–2 times per week) to establish roots.
- Mature trees require deep watering during dry spells.
- Fertilization:
- Apply well-rotted compost or organic fertilizer in early spring.
- Supplement with nitrogen-rich fertilizer for leafy growth and potassium/phosphorus during flowering and fruiting.
Pro Tip: Avoid over-fertilizing, as excessive nitrogen promotes leafy growth at the expense of flowers and fruit.
Step 5: Pruning and Tree Training
Pruning is essential for healthy apple trees and high yields:
- Timing:
- Prune during winter dormancy (July–August in NZ).
- Techniques:
- Remove dead, damaged, or crossing branches.
- Thin shoots to allow sunlight penetration.
- Shape the tree for a central leader or open vase form.
- Benefits:
- Reduces disease risk.
- Improves airflow.
- Encourages flowering and fruit production.
Pro Tip: Regular pruning maintains tree size and makes harvesting easier.
Step 6: Pollination and Flower Management
Apple trees rely on insect pollinators like bees:
- Cross-Pollination:
- Plant compatible varieties close together.
- Ensure a healthy bee population in your area.
- Flower Care:
- Remove excess flowers if necessary to prevent fruit overcrowding.
- Thin fruitlets after fruit set to ensure larger, healthier apples.
Pro Tip: Flower thinning improves fruit size and reduces the likelihood of branches breaking under the weight of too many apples.
Step 7: Pest and Disease Management
- Common Pests:
- Codling moth, aphids, and apple maggots.
- Use pheromone traps, neem oil, or organic insecticides for control.
- Diseases:
- Apple scab, powdery mildew, fire blight.
- Preventative sprays and proper pruning reduce incidence.
- Organic Practices:
- Encourage natural predators like ladybugs.
- Mulch and maintain soil health to boost tree resilience.
Pro Tip: Early detection and timely intervention are key to keeping apple trees healthy.
Step 8: Harvesting Apples in New Zealand
- Timing:
- Harvest depends on variety and location.
- Common NZ apple harvest months:
- Early varieties (Gala, Golden Delicious): February–March
- Mid-season (Braeburn, Fuji): March–April
- Late varieties (Pink Lady): April–May
- Signs of Ripeness:
- Firmness and color changes (variety-specific).
- Sugar content and aroma improve as apples ripen.
- Harvesting Technique:
- Twist gently or use scissors to avoid damaging branches.
- Avoid shaking trees to prevent bruising fruit.
Pro Tip: Store apples in a cool, dry place to extend shelf life. Controlled atmosphere storage in NZ commercial orchards preserves quality for months.
Step 9: Storage and Post-Harvest Care
- Short-Term Storage:
- Keep apples in a cool, ventilated area.
- Avoid stacking too many layers to prevent bruising.
- Long-Term Storage:
- Refrigeration or cool rooms extend freshness.
- Separate damaged or overripe fruit to prevent spoilage.
Pro Tip: Proper post-harvest handling ensures maximum flavor, sweetness, and shelf life.
Step 10: Benefits of Growing Apples in NZ
- High-Quality, Organic Fruit: Enjoy fresh apples free from chemicals.
- Economic Opportunity: Backyard orchards can supplement income.
- Sustainable Gardening: Apples are perennial, reducing yearly planting costs.
- Health Benefits: Rich in fiber, antioxidants, and vitamins.
- Recreational and Educational Value: Apple cultivation teaches patience, horticulture skills, and connection to nature.
Conclusion
Growing and harvesting apples in New Zealand is a fulfilling and rewarding experience. By selecting the right varieties, preparing the soil properly, and following best practices for watering, fertilization, pruning, pollination, and pest management, gardeners can enjoy abundant, high-quality apples from their own backyard or terrace orchard.
With patience, care, and knowledge of New Zealand’s unique climate, apple trees not only produce delicious fruit but also contribute to sustainable gardening, economic savings, and personal satisfaction. Whether you’re an urban gardener or a commercial grower, following these tips will ensure a fruitful apple-growing journey.
Start planting today, and experience the joy of fresh, homegrown New Zealand apples that are crisp, juicy, and packed with flavor!