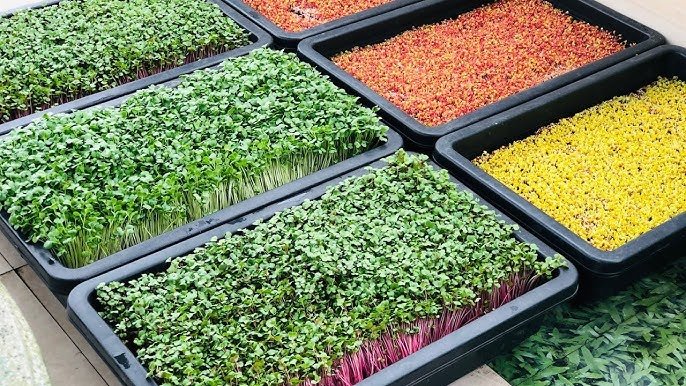
Sprouts are one of the healthiest and easiest foods to grow at home. Packed with vitamins, minerals, and enzymes, sprouts are an excellent addition to salads, sandwiches, and smoothies. Many people shy away from growing sprouts because they think it’s complicated or worry about failure. The good news is that there’s a “standard” method for growing sprouts that virtually guarantees success. In this guide, we will walk you through a step-by-step approach to grow sprouts at home, from choosing seeds to harvesting fresh, nutrient-packed sprouts.
Why Grow Sprouts at Home

There are several reasons why homegrown sprouts are better than store-bought:
- Freshness: You can harvest sprouts when they are at their peak of freshness.
- Nutrition: Homegrown sprouts are rich in vitamins C, A, K, iron, and fiber.
- Cost-effective: A small packet of seeds can produce weeks of fresh sprouts.
- Easy and fast: Sprouts grow quickly, often in just 3–7 days.
- No chemicals: By growing at home, you avoid pesticides or preservatives.
Sprouts are also versatile, adding crunch and flavor to a wide range of dishes.
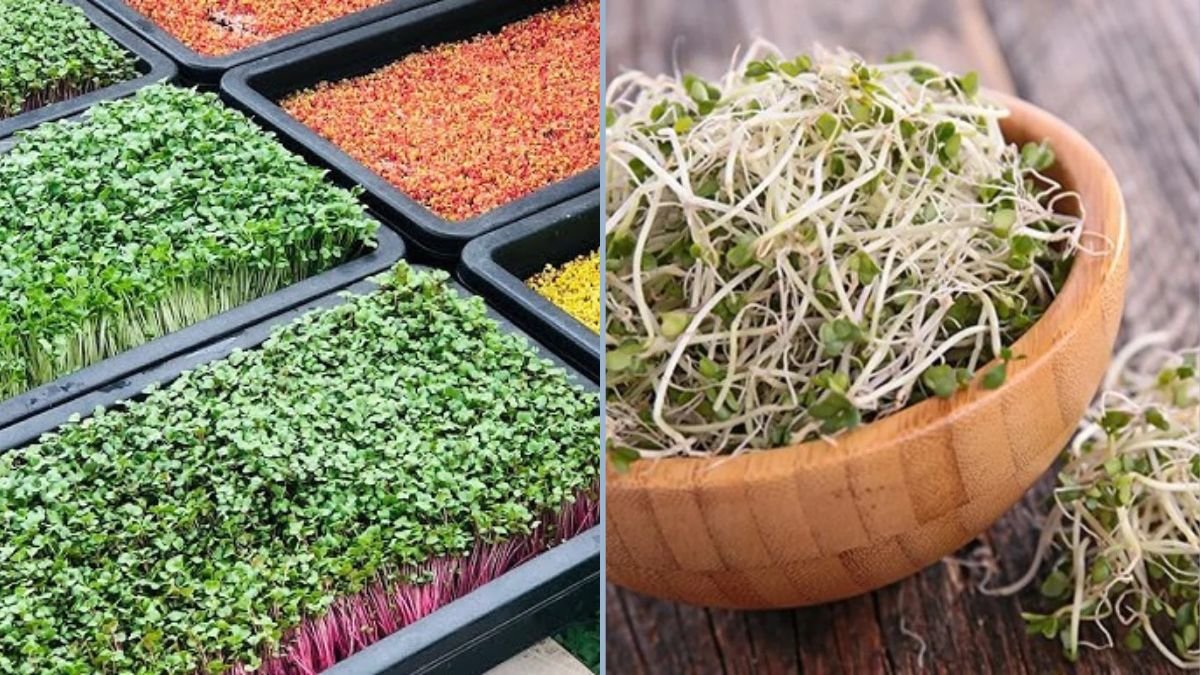
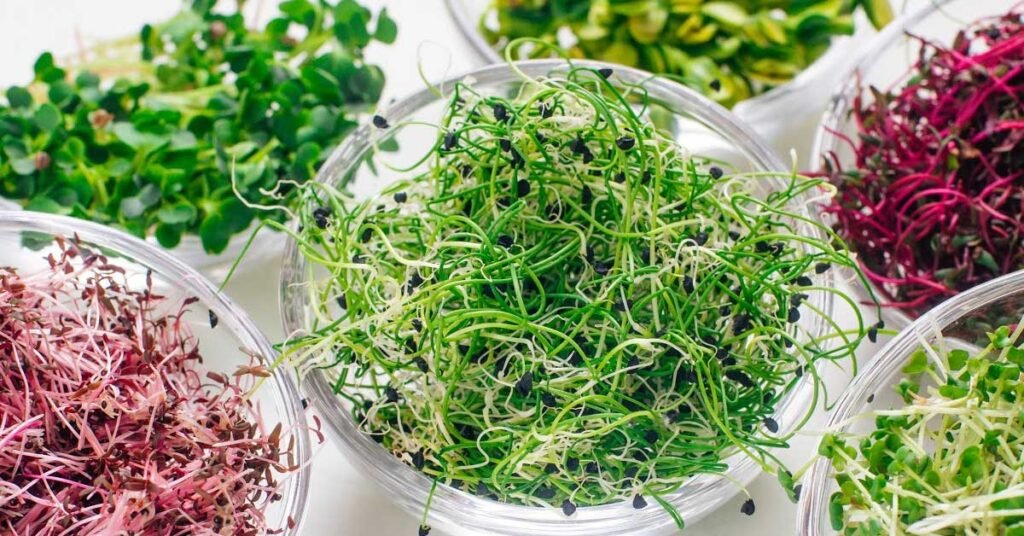
Choosing the Right Seeds
Success starts with selecting high-quality seeds. Not all seeds are suitable for sprouting, so choose those labeled as “sprout-friendly.” Popular seeds for sprouting include:
- Alfalfa seeds: Mild flavor, crunchy texture, perfect for salads.
- Mung beans: Popular in Asian dishes, slightly sweet, and protein-rich.
- Broccoli seeds: Nutrient-dense, with antioxidants and a mild, peppery taste.
- Lentils: Large, hearty sprouts with a satisfying crunch.
- Radish seeds: Spicy flavor, small sprouts packed with vitamins.
Choose organic seeds whenever possible to avoid chemical treatments that may inhibit germination or growth.
Equipment Needed
The great thing about sprouts is that you don’t need fancy equipment. The basics include:
- Glass jars or sprouting trays: Mason jars with mesh lids are ideal. Trays with drainage holes also work well.
- Clean water: Filtered or boiled water is preferred.
- Mesh or cheesecloth: To cover jars and allow airflow.
- A dark, warm space: Seeds germinate best in a slightly warm, dark environment.
With these simple tools, anyone can start sprouting at home.
Step 1: Soaking the Seeds
Soaking seeds is essential to kickstart germination:
- Measure about 1–2 tablespoons of seeds for a small jar.
- Rinse the seeds thoroughly to remove dust and debris.
- Place the seeds in a jar and cover them with double the amount of water.
- Soak seeds for 6–12 hours, depending on the seed type (mung beans and lentils need longer; alfalfa and broccoli need less).
Soaking softens the seed coat, activates enzymes, and prepares seeds to sprout successfully.
Step 2: Draining and Rinsing
After soaking, proper drainage and rinsing are key to preventing mold and ensuring 100% success:
- Drain the water completely using a mesh lid or cheesecloth.
- Rinse seeds gently with fresh water and drain again.
- Tilt the jar at an angle to allow excess water to drip out, while maintaining airflow.
Repeat rinsing and draining 2–3 times per day. This keeps seeds hydrated without waterlogging, preventing bacterial growth and spoilage.
Step 3: Providing the Right Environment
Seeds need the right conditions to sprout quickly:
- Temperature: 20–25°C (68–77°F) is ideal for most seeds.
- Darkness or indirect light: Most sprouts germinate best in dark or dimly lit areas. Avoid direct sunlight during germination.
- Air circulation: Keep jars tilted to ensure airflow and prevent mold formation.
By controlling these factors, you significantly increase your chances of sprouting success.
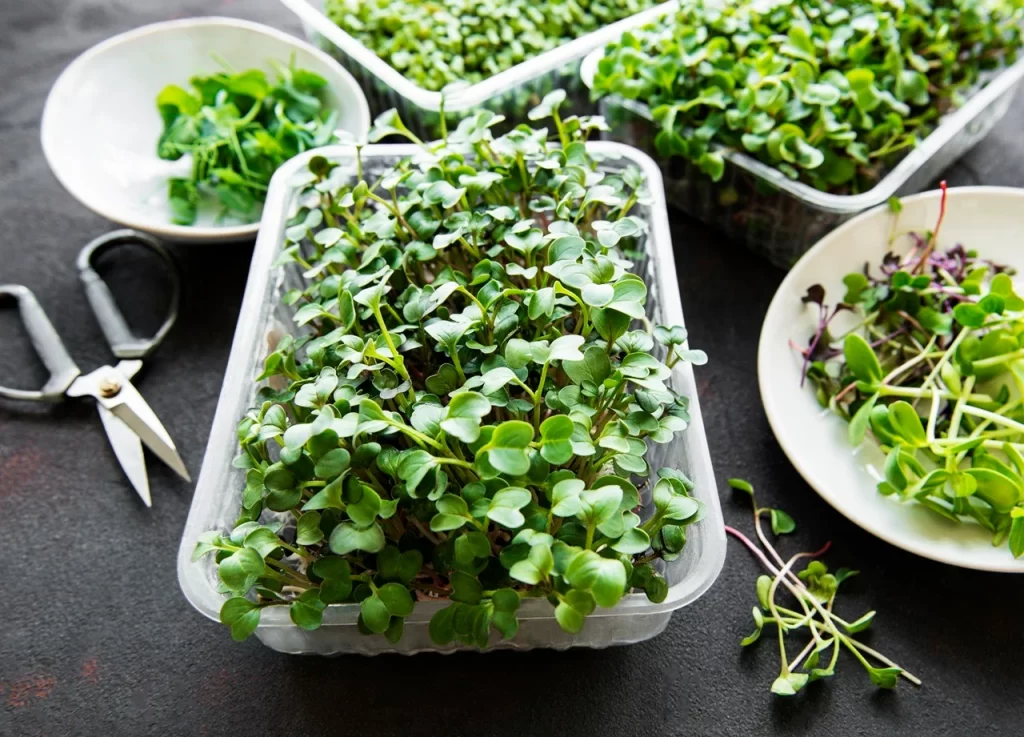
Step 4: Sprouting and Growing
Sprouting usually takes 3–7 days depending on the seed:
- Continue rinsing and draining 2–3 times daily.
- Observe growth: seeds will begin to split and small white tails will appear.
- Once sprouts reach the desired length (usually 1–3 inches), they are ready for the next step.
During this stage, patience is key. Sprouts grow quickly, but overwatering or neglecting airflow can lead to mold or spoilage.
Step 5: Exposing to Light
After initial germination, some sprouts benefit from brief light exposure to develop chlorophyll and turn slightly green:
- Place sprouts in indirect sunlight or under fluorescent light for a few hours daily.
- Avoid strong direct sunlight, which can dry out sprouts.
- Light exposure improves nutritional content and flavor without stressing the young sprouts.
Green sprouts are richer in vitamins and have a fresher, crisper taste.
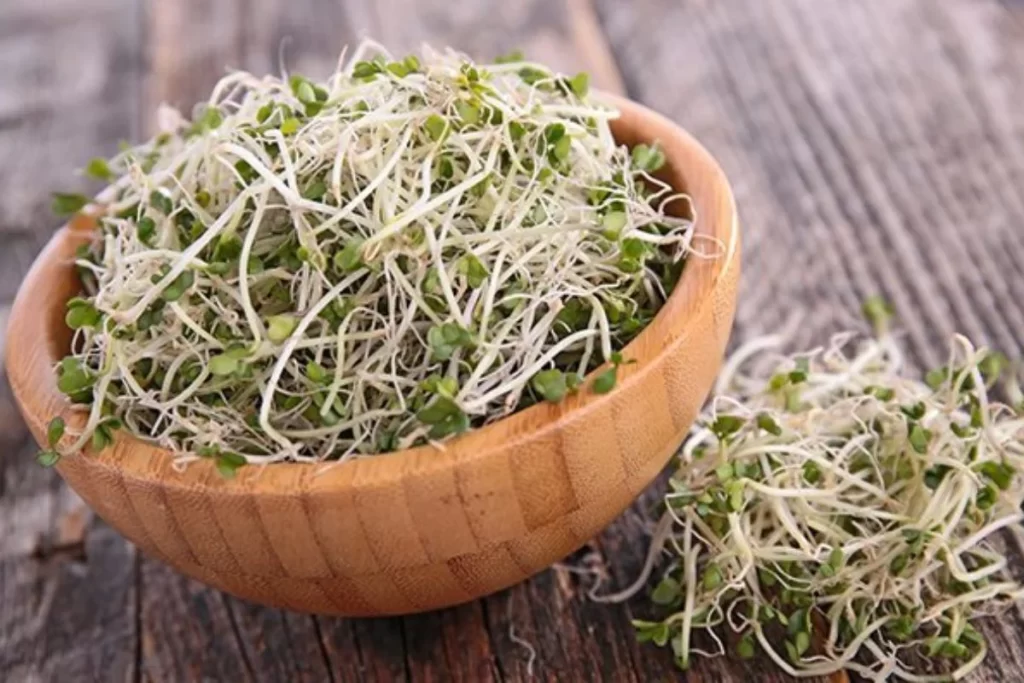
Step 6: Harvesting Sprouts
Knowing when to harvest ensures maximum flavor and nutrition:
- Most sprouts are ready 3–7 days after soaking.
- Look for crisp, white roots with small green leaves beginning to form.
- Rinse sprouts thoroughly before consumption to remove seed coats and any residual bacteria.
- Store harvested sprouts in a clean container in the refrigerator for up to 5–7 days.
Harvesting at the right time ensures the sprouts are tender, flavorful, and nutrient-dense.
Step 7: Tips for 100% Sprouting Success
- Use fresh seeds: Old seeds may fail to germinate.
- Clean equipment: Sterilize jars and trays before use to prevent mold or bacteria.
- Avoid overcrowding: Too many seeds in one jar can restrict airflow.
- Monitor moisture: Keep sprouts damp but not soggy.
- Rotate jars: Gently shake jars to prevent seeds from sticking together.
- Choose the right variety: Some seeds sprout faster and more reliably than others.
Following these tips dramatically increases the likelihood of a successful, healthy batch of sprouts every time.
Health Benefits of Sprouts
Sprouts are considered a superfood due to their dense nutritional profile:
- Rich in vitamins: A, C, K, and B-complex vitamins.
- High in minerals: Iron, calcium, magnesium, and zinc.
- Digestive aid: Enzymes in sprouts help improve digestion.
- Boost immunity: Nutrient-dense sprouts help strengthen the immune system.
- Low in calories: Ideal for healthy snacks or weight management.
Incorporating sprouts into daily meals is an easy way to boost overall health.
Using Sprouts in Your Diet
Sprouts are incredibly versatile and can be enjoyed in many ways:
- Salads: Toss fresh sprouts with vegetables and dressing.
- Sandwiches and wraps: Add crunchy texture and flavor.
- Smoothies: Blend lightly for added nutrition.
- Soups and stir-fries: Cook lightly to retain nutrients.
Experiment with different types of sprouts to find your favorite flavors and textures.
Conclusion
Growing sprouts at home doesn’t have to be complicated. By following the most standard method—choosing quality seeds, soaking properly, maintaining moisture and airflow, and harvesting at the right time—you can achieve 100% success. Sprouts are fast-growing, nutritious, and incredibly versatile, making them an excellent addition to any diet.
With minimal equipment and effort, anyone can enjoy fresh, homegrown sprouts year-round. This simple yet effective method guarantees healthy sprouts without the worry of mold, spoilage, or failure. Whether you are a seasoned gardener or a beginner, mastering the art of sprouting is rewarding, affordable, and incredibly satisfying.
Start today and experience the joy of growing your own nutritious sprouts at home!