Ginger, a fragrant and flavorful root, is a staple in kitchens worldwide. Beyond its culinary uses, ginger is also celebrated for its medicinal properties, including anti-inflammatory benefits, improved digestion, and immune system support. The best part? You don’t need a sprawling farm or tropical climate to grow this versatile plant. With the right techniques, you can grow ginger successfully no matter where you live—whether in a small apartment, a balcony garden, or a backyard plot. This guide will walk you through everything you need to know about growing ginger at home.
Why Grow Ginger at Home?
Growing ginger at home comes with several advantages:
- Fresh and Flavorful: Homegrown ginger is more aromatic and flavorful than store-bought roots.
- Chemical-Free: You control what goes into your soil or containers, ensuring pesticide-free ginger.
- Cost-Effective: Growing ginger saves money, especially since fresh ginger in stores can be expensive.
- Sustainable Gardening: Growing your own ginger reduces packaging waste and food miles.
- Year-Round Access: Unlike seasonal store-bought ginger, homegrown ginger is available whenever you need it.
Understanding Ginger Growth
Before planting, it’s important to understand how ginger grows:
- Ginger is a rhizome, meaning the part we eat is an underground stem.
- It thrives in warm, humid conditions, but with the right techniques, it can grow indoors or in cooler climates.
- Ginger grows slowly and typically takes 8–10 months to reach maturity.
- The plant prefers partial shade, well-draining soil, and consistent moisture.
Materials Needed to Grow Ginger Anywhere
Whether you have a backyard garden, balcony, or indoor space, the materials required are simple:
- Fresh ginger root (preferably organic, with visible “eyes” or buds)
- Potting soil rich in organic matter
- Containers or pots with drainage holes (for indoor or balcony growing)
- Fertilizer (organic compost or balanced liquid fertilizer)
- Mulch (optional, to retain moisture)
- Watering can or spray bottle
Optional: Grow lights if growing indoors without sufficient sunlight.
Step 1: Choosing the Right Ginger Root
Selecting healthy ginger root is the first step for successful growth:
- Choose fresh ginger with firm skin and no signs of mold or rot.
- Look for small bumps or eyes, as these are the growth points where new shoots will emerge.
- Avoid overly large or dried-out roots, as they may be too old to sprout effectively.
Pro Tip: Organic ginger is preferable, as non-organic ginger may be treated with growth inhibitors.
Step 2: Preparing Ginger for Planting
Once you have your ginger root:
- Cut the root into pieces about 1–2 inches long, each with at least one growth bud.
- Allow the cut pieces to air dry for a day or two to form a protective callus, which prevents rotting once planted.
- Soak the pieces in warm water for a few hours to stimulate growth before planting (optional but effective).
Step 3: Choosing the Right Growing Method
Ginger can be grown both indoors and outdoors, making it versatile for any living situation.
Indoor Growing:
- Use wide, shallow pots (ginger grows horizontally rather than deep).
- Ensure containers have good drainage to prevent root rot.
- Place pots in a bright area with indirect sunlight, or use grow lights for 10–12 hours per day.
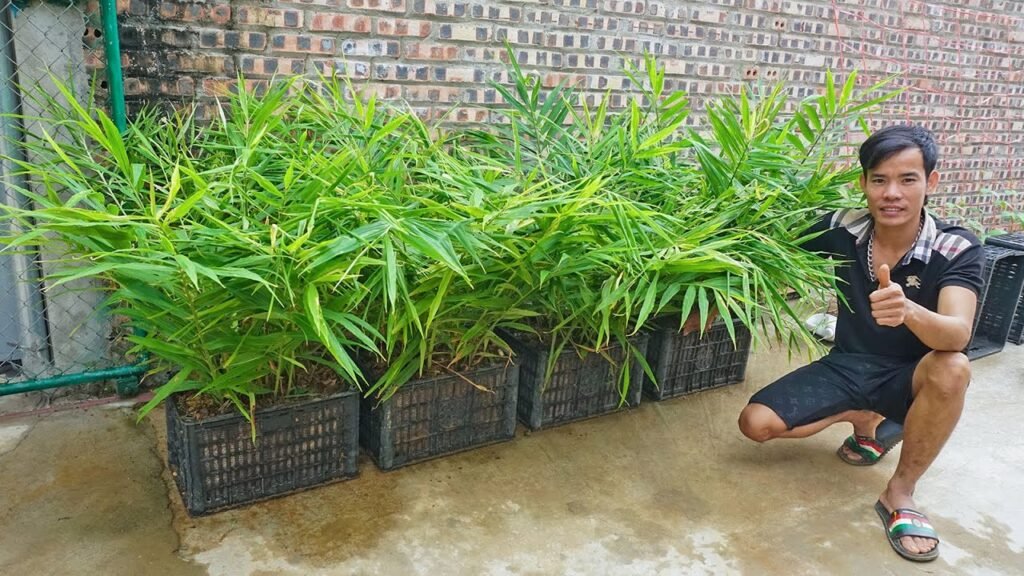
Outdoor Growing:
- Choose a partially shaded area with loose, well-draining soil.
- Raised beds or garden rows are ideal for better drainage and airflow.
- Protect ginger from heavy rain or frost using mulch or garden covers.
Step 4: Planting Ginger
Planting ginger is straightforward but requires attention to detail:
- Fill your container or bed with nutrient-rich, well-draining soil.
- Place ginger pieces with buds facing upwards, about 2–4 inches deep.
- Space pieces at least 6–8 inches apart to allow for horizontal growth.
- Water lightly to settle the soil around the roots without making it soggy.
Tip: Ginger is slow to sprout, so don’t worry if you don’t see shoots for 2–3 weeks.
Step 5: Caring for Ginger
Proper care is essential to ensure healthy growth:
Watering:
- Keep the soil consistently moist but not waterlogged.
- Water lightly every few days or as needed, depending on climate and humidity.
Fertilizing:
- Use organic compost or liquid fertilizer every 4–6 weeks.
- Fertilize more during active growth (spring and summer) and less during dormancy (late fall/winter).
Temperature and Light:
- Ideal temperature is 70–85°F (21–29°C).
- Indoors, place ginger near a window or under grow lights for 10–12 hours of light daily.
Mulching:
- Apply a layer of straw, shredded leaves, or mulch to retain moisture and regulate soil temperature.
Step 6: Controlling Pests and Diseases
Ginger is relatively pest-resistant but can face occasional problems:
Common Pests:
- Aphids
- Root knot nematodes
- Spider mites
Prevention and Control:
- Inspect plants regularly and remove pests by hand or with neem oil.
- Avoid overwatering to prevent fungal infections.
- Maintain good airflow around plants to reduce humidity-related diseases.
Disease Management:
- Use well-draining soil to prevent root rot.
- Rotate planting areas if growing ginger outdoors in the same soil.
Step 7: Harvesting Ginger
Ginger can be harvested at different stages depending on your needs:
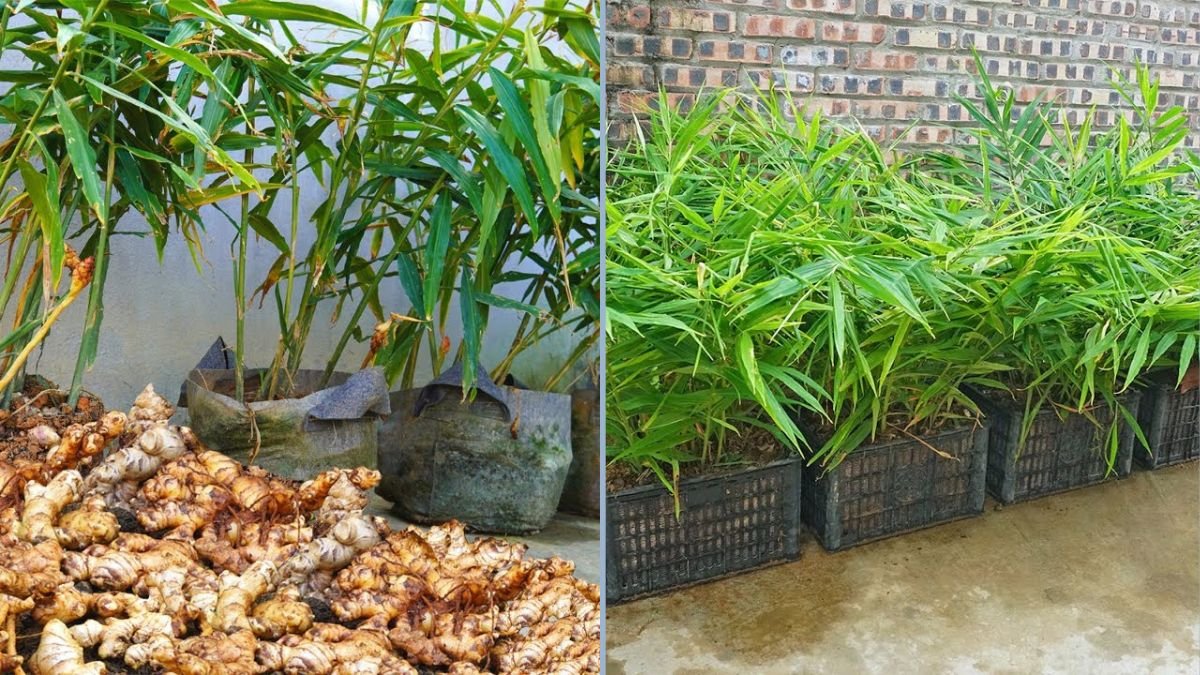
- Young ginger (small, tender roots) can be harvested after 3–4 months. It has a milder flavor and thinner skin.
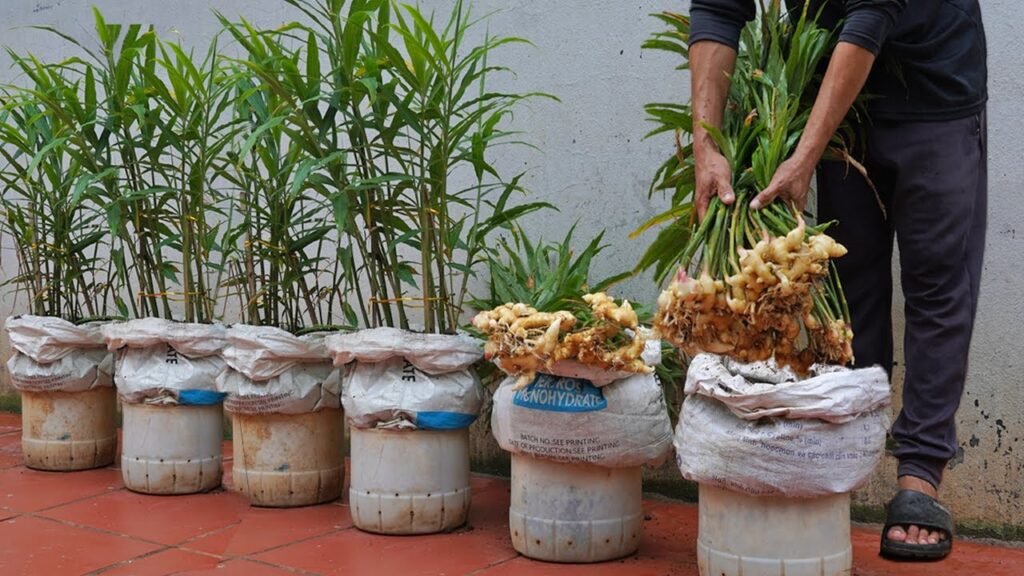
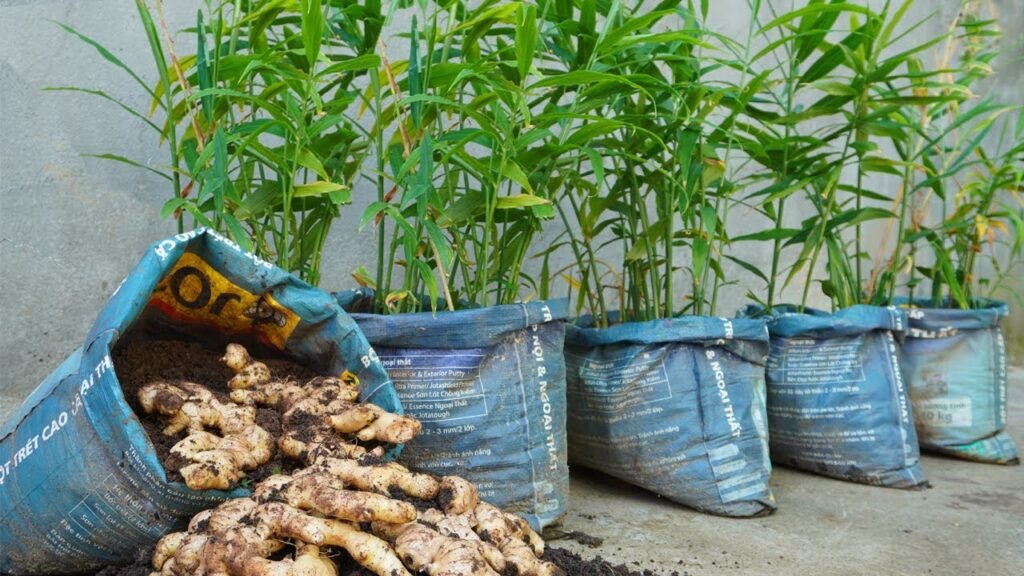
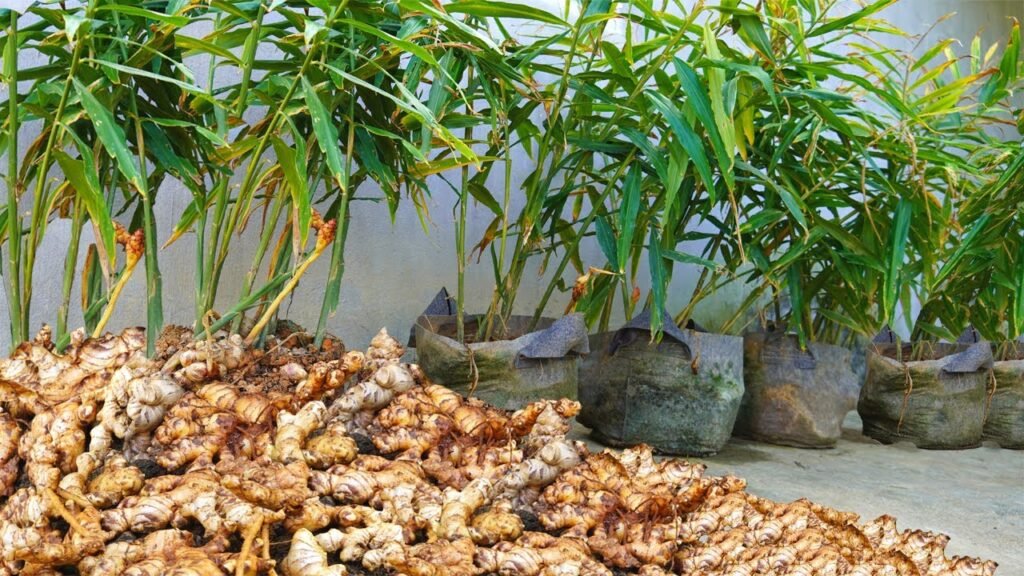
- Mature ginger (8–10 months) has fully developed roots, stronger flavor, and thicker skin suitable for storage.
Harvesting Tips:
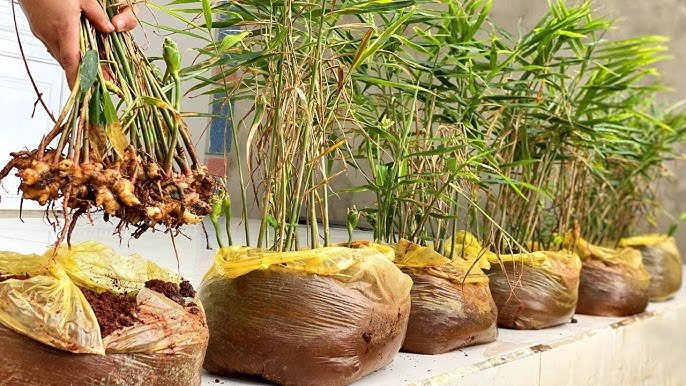
- Carefully dig around the plant to avoid damaging the rhizomes.
- Leave some ginger in the soil to continue growing for the next harvest.
- Wash and dry the harvested ginger before storage.
Step 8: Storing Ginger
Proper storage prolongs the freshness of your homegrown ginger:
- Store unpeeled ginger in a cool, dry place for up to a month.
- Refrigerate ginger in a sealed bag for up to 2–3 months.
- Freeze ginger in slices or grated form for long-term storage.
Step 9: Tips for Growing Ginger Anywhere
- Start Indoors in Cold Climates: Begin in pots and move outdoors during warmer months.
- Use Shallow, Wide Containers: Ginger grows horizontally; deep pots are unnecessary.
- Keep Soil Moist, Not Wet: Overwatering is the main cause of root rot.
- Provide Partial Shade: Too much direct sunlight can burn the leaves.
- Harvest Gradually: Pick ginger in stages to encourage continuous growth.
Why This Method Works Anywhere
The beauty of this method is its versatility:
- Small apartments? Use containers on windowsills or under grow lights.
- Cooler climates? Start indoors and transfer outside when temperatures rise.
- Limited outdoor space? Use pots, raised beds, or even vertical gardening techniques.
By adjusting light, temperature, and container choice, you can successfully grow ginger in almost any environment.
Conclusion
Growing ginger at home is easier than many people think. With a few simple materials, proper care, and patience, you can enjoy fresh, flavorful, and chemical-free ginger regardless of your living situation. From indoor containers to backyard beds, this versatile plant can thrive in nearly any environment with the right conditions.
Not only does homegrown ginger enhance your culinary creations, but it also provides medicinal benefits and a rewarding gardening experience. By following this step-by-step guide, you can cultivate your own ginger supply, save money, and enjoy the satisfaction of harvesting a versatile, healthy, and aromatic plant right at home.
Whether you live in a small apartment, a suburban backyard, or a rural farm, ginger can grow with you—bringing flavor, health, and joy to your kitchen year-round.