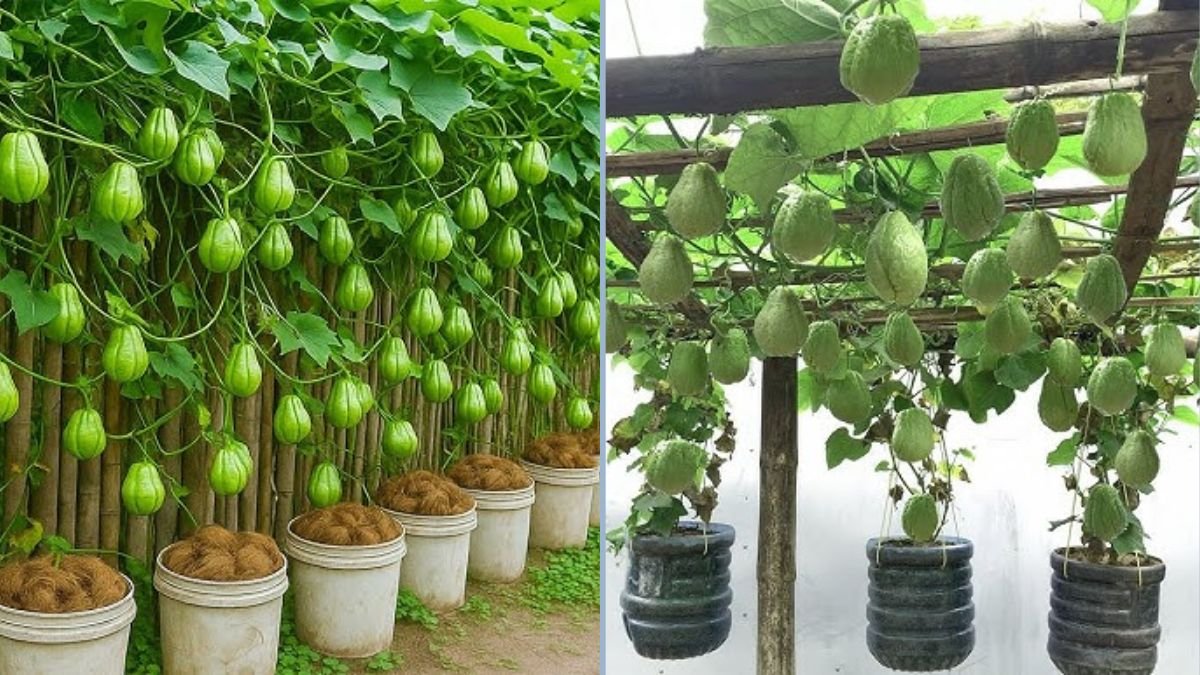
Chayote, also known as vegetable pear or mirliton, is a versatile, nutrient-rich plant that is easy to grow and highly productive. Its crisp texture and mild flavor make it perfect for stir-fries, soups, salads, and even pickling. While many people discard dried coconuts after use, they can actually serve as a perfect growing medium for chayote. This innovative method is sustainable, space-saving, and surprisingly effective, transforming kitchen waste into a productive mini-garden.
In this guide, we’ll explore how to grow chayote using dried coconuts, step by step, so you can enjoy fresh, homegrown vegetables without wasting resources.
Why Grow Chayote at Home?
Growing chayote at home has several advantages:
- Freshness and Flavor: Homegrown chayote is crisp, juicy, and more flavorful than store-bought alternatives.
- Nutritional Benefits: Rich in vitamins C, B6, and dietary fiber, chayote supports overall health.
- Cost-Effective: Growing your own chayote reduces grocery bills.
- Space-Saving: Chayote vines climb easily, making them ideal for small gardens or balcony setups.
- Sustainable Gardening: Using dried coconuts as planters reduces waste and promotes eco-friendly practices.
By using dried coconuts, you not only grow delicious vegetables but also contribute to sustainable gardening practices.
Materials Needed
To get started, gather the following items:
- Dried coconuts (preferably with the shell intact)
- Chayote seeds or small fruits with sprouts
- Potting soil or a mix of compost and garden soil
- Watering can or spray bottle
- Twine or trellis (optional, for vine support)
- Small tools like a spoon or trowel
Optional: Mulch or additional organic matter to improve soil moisture retention.
Step 1: Preparing the Dried Coconut
Dried coconuts make excellent miniature planters, thanks to their natural drainage and nutrient retention. Here’s how to prepare them:
- Clean the Coconut: Remove any leftover coconut meat or fibers to prevent mold.
- Create Drainage Holes: Use a nail or small drill to make 2–3 holes at the bottom for proper drainage.
- Add Soil: Fill the coconut with a nutrient-rich soil mix, ideally a combination of compost and garden soil.
Pro Tip: Coconut shells provide insulation for roots, keeping them moist and protected from temperature fluctuations.
Step 2: Selecting Chayote Seeds or Sprouted Fruits
Chayote is unique because you can plant whole fruits or seeds:
- Sprouted Chayote: Choose a fruit with visible sprouts for faster growth.
- Seeds: Remove seeds from a mature chayote fruit and soak them in water for 24 hours to encourage germination.
Tip: Using sprouted fruits often yields quicker results than seeds alone, making it perfect for impatient gardeners.
Step 3: Planting Chayote in the Coconut
Planting chayote in the coconut is simple and effective:
- Place the sprouted fruit or seed in the soil-filled coconut.
- Cover lightly with soil, ensuring the sprout is exposed to light.
- Water gently to settle the soil around the root.
Tip: Plant chayote with the growing tip facing upward for optimal development.
Step 4: Positioning Your Coconut Planter
Chayote requires adequate sunlight for healthy growth:
- Place your coconut planters in a location that receives 6–8 hours of sunlight per day.
- If growing indoors, position near a bright window or use a grow light for 10–12 hours daily.
- Rotate the coconut periodically to ensure even growth.
Pro Tip: Dried coconut planters are lightweight, so they can be hung or placed on shelves for vertical gardening.
Step 5: Watering and Fertilizing
Consistent care ensures your chayote thrives:
- Watering: Keep the soil moist but avoid waterlogging. Water daily or as needed depending on the climate.
- Fertilizing: Add liquid compost tea or organic fertilizer every 2–3 weeks to provide essential nutrients.
Tip: Mulching the soil surface with dried coconut husk fibers or straw helps retain moisture and reduces watering frequency.
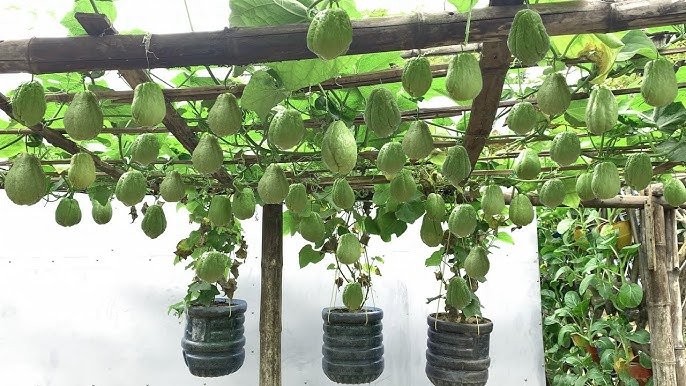
Step 6: Supporting Chayote Vines

Chayote is a climbing vine and will benefit from support structures:
- Use a trellis, pole, or netting to guide the vines upward.
- Tie the vine loosely with twine if needed to prevent breakage.
- Training the vine encourages vertical growth, improving air circulation and fruit production.
Pro Tip: Vertical growth saves space and reduces pest pressure by keeping leaves and fruits off the ground.
Step 7: Pest and Disease Management
Chayote is relatively hardy, but it can face common garden pests such as aphids, whiteflies, and caterpillars.
Organic Prevention Methods:
- Spray neem oil or soapy water to control pests.
- Inspect plants weekly for signs of damage.
- Remove damaged or diseased leaves immediately to prevent spread.
- Maintain adequate airflow and sunlight to reduce fungal infections.
Tip: Companion planting with marigolds or basil nearby can naturally deter pests.
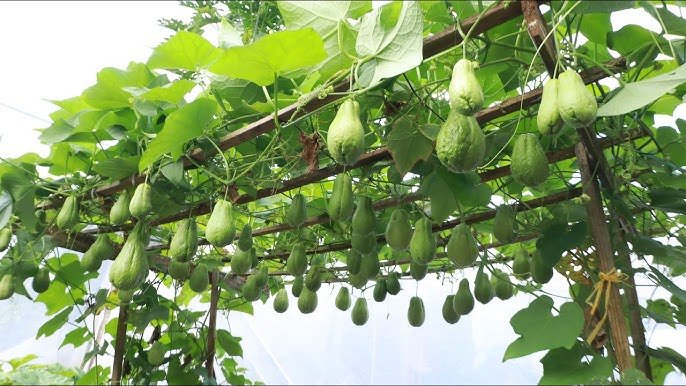
Step 8: Harvesting Chayote
Chayote grows quickly under optimal conditions and can be harvested multiple times per season:
- Fruits are typically ready 8–10 weeks after planting from sprouted fruits.
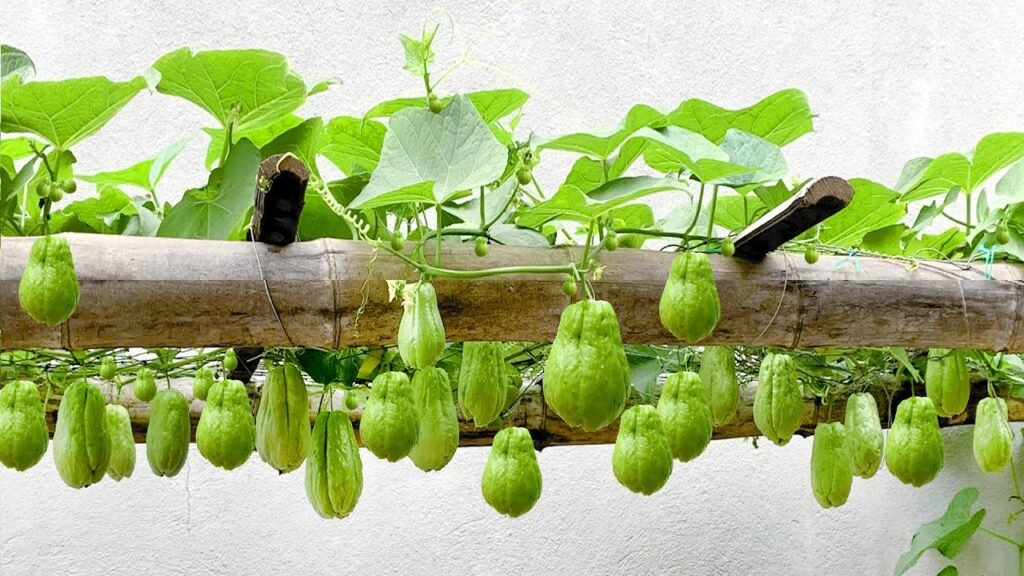
- Harvest when the fruits are firm, green, and about 4–6 inches in size.
- Cut the fruit carefully from the vine using a sharp knife to avoid damaging the plant.
Pro Tip: Frequent harvesting encourages the plant to produce more fruits throughout the season.
Step 9: Advantages of Growing Chayote in Dried Coconuts
This method offers several benefits:
- Eco-Friendly: Reduces kitchen waste by repurposing dried coconuts.
- Space-Efficient: Perfect for small gardens, balconies, or indoor setups.
- Enhanced Growth: Coconut shells retain moisture and nutrients, promoting faster growth.
- Portable: Lightweight planters can be moved easily to adjust sunlight or protect plants from harsh weather.
- Decorative: Coconut planters add a rustic and tropical charm to your garden or home.
This innovative approach combines sustainability with productivity, creating a garden that’s both beautiful and functional.
Step 10: Tips for a Thriving Chayote Garden
- Use Fertile Soil: A mix of compost and garden soil provides essential nutrients.
- Maintain Moisture: Keep soil consistently damp but not waterlogged.
- Provide Support: Train vines vertically for better growth and higher yield.
- Monitor Pests: Inspect plants regularly and use organic methods to control pests.
- Harvest Regularly: Picking fruits at the right size promotes continuous production.
- Rotate Crops: If planting multiple chayote crops, rotate planters to reduce disease risk.
By following these tips, you can turn your coconut-based planters into a productive, sustainable chayote garden.
Conclusion
Who knew that dried coconuts, often discarded as waste, could become the perfect vessel for growing chayote? This method not only repurposes kitchen scraps but also provides an efficient, space-saving, and eco-friendly solution for home gardening. By following the steps outlined—selecting healthy chayote, preparing your coconut planters, ensuring sunlight, watering correctly, providing support, and harvesting regularly—you can create a thriving, productive garden.
Whether you live in a small apartment, have a balcony garden, or a backyard space, this method allows anyone to grow chayote successfully. It’s a sustainable, rewarding, and visually appealing way to produce fresh, nutritious vegetables while reducing waste. Once you try this innovative approach, you’ll never throw away dried coconuts again!