Ginger is more than just a flavorful spice—it’s a powerful natural remedy, packed with antioxidants, anti-inflammatory compounds, and numerous health benefits. From soothing digestion to boosting immunity and adding a zesty kick to meals, ginger is a kitchen essential. But buying fresh ginger regularly can get expensive, and store-bought varieties may lack the freshness and potency of homegrown roots.
The good news? Growing ginger at home is surprisingly easy, and with a little care, you can ensure your family never runs out. This guide will reveal the secrets to cultivating fresh, aromatic ginger in your own home, whether you have a backyard, balcony, or even just a sunny windowsill.
Why Grow Ginger at Home?
- Continuous Supply: Once established, ginger can provide fresh roots year-round.
- Cost-Effective: Avoid frequent trips to the store and high prices of fresh ginger.
- Superior Freshness: Homegrown ginger is more aromatic and flavorful than store-bought.
- Health Benefits: Enjoy the full potency of natural antioxidants and nutrients.
- Beginner-Friendly: Requires minimal equipment and care, making it perfect for first-time gardeners.
Materials You’ll Need
- Fresh ginger rhizomes (with visible buds or “eyes”)
- Garden bed, raised bed, or large container (at least 12 inches deep)
- Potting soil or well-draining garden soil
- Compost or organic fertilizer
- Watering can or spray bottle
- Mulch (optional)
Step 1: Selecting the Right Ginger Rhizomes
- Choose plump, firm ginger rhizomes with healthy, visible buds or “eyes.”
- Avoid shriveled or moldy rhizomes, as they may fail to sprout.
- Organic ginger is preferred, as it is less likely to be treated with growth inhibitors.
Step 2: Preparing the Ginger for Planting
- Cut large rhizomes into smaller pieces, each with at least one visible bud.
- Let the cut pieces dry for 24–48 hours to prevent rotting after planting.
- This drying period allows the cut ends to callus, reducing the risk of fungal infections.
Step 3: Choosing the Right Location
- Ginger thrives in warm, humid conditions, ideally between 70–85°F.
- Select a spot with indirect sunlight or filtered light. Too much direct sunlight can scorch the leaves.
- Containers are ideal for indoor gardening or areas with cooler climates.
Step 4: Preparing the Soil
- Use rich, well-draining soil with plenty of organic matter.
- A mix of garden soil, compost, and sand works well to ensure proper drainage.
- Avoid heavy clay soils, which can retain too much water and cause root rot.
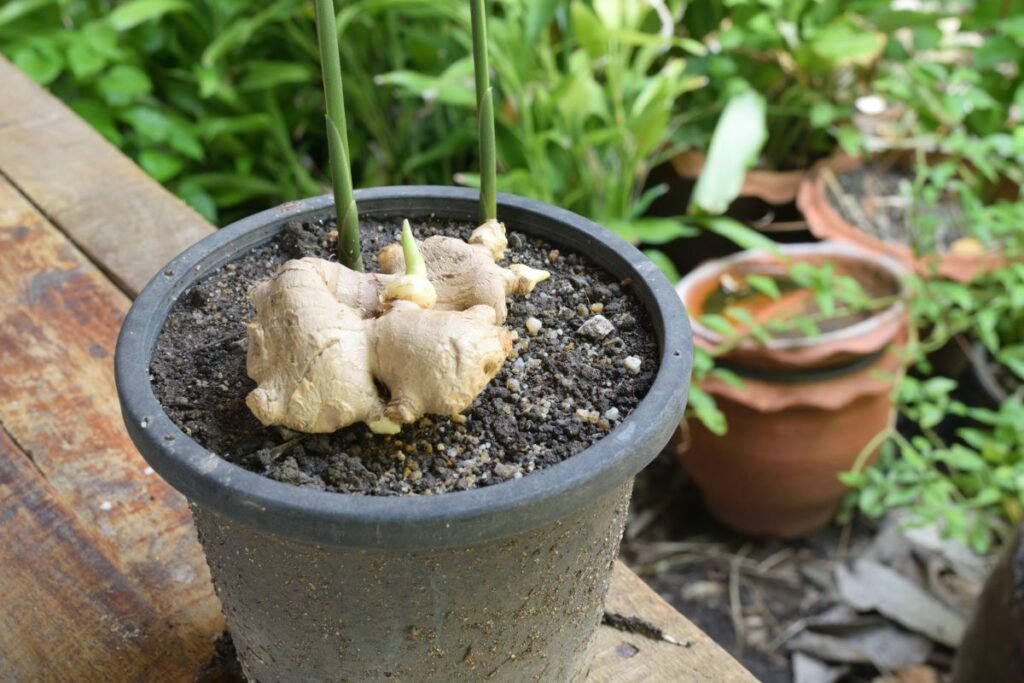
Step 5: Planting Ginger
- Place rhizome pieces horizontally, bud-side up, about 1–2 inches below the soil surface.
- Space pieces 6–8 inches apart to allow for growth and spreading.
- Cover lightly with soil and water gently to settle the soil.
Step 6: Watering and Moisture Management
- Ginger prefers consistently moist soil but not soggy conditions.
- Water lightly and regularly, keeping soil damp but not waterlogged.
- Mulching helps retain moisture and regulate soil temperature.
Step 7: Providing Proper Care
- Sunlight: Provide 2–5 hours of indirect sunlight daily.
- Temperature: Ginger grows best in warm conditions; protect from frost or cold drafts.
- Fertilization: Feed plants with compost or balanced liquid fertilizer every 4–6 weeks to encourage healthy growth.
- Pest Management: Ginger is relatively pest-resistant, but watch for aphids or spider mites. Use organic sprays if necessary.
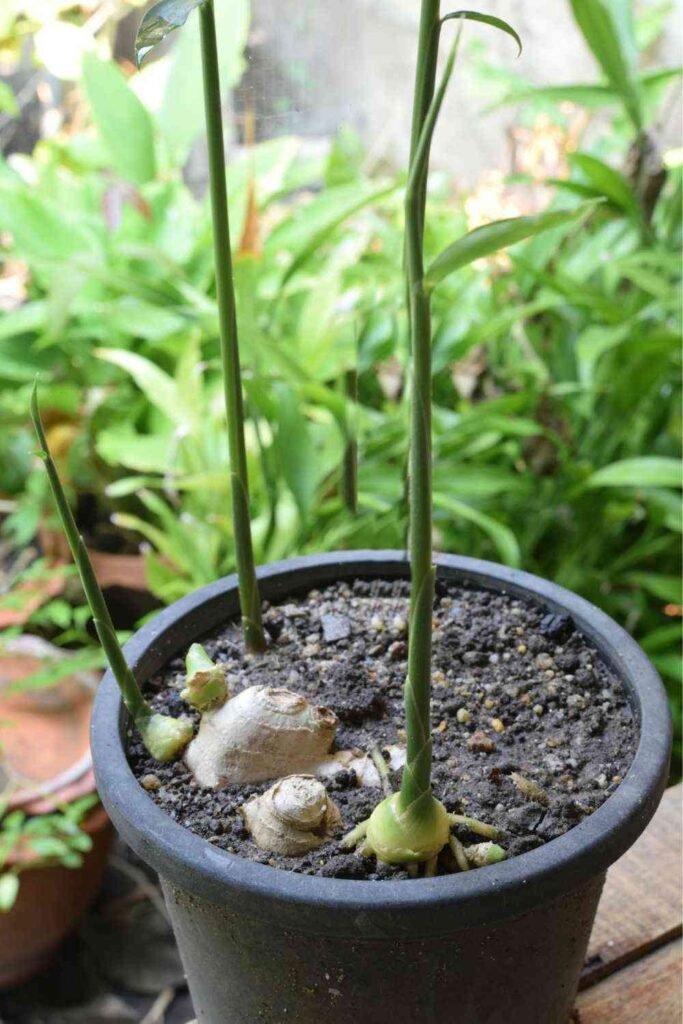
Step 8: Encouraging Vigorous Growth
- Ginger spreads horizontally through rhizomes, so allow space for expansion.
- Fertilize lightly during the growing season to promote thick, healthy roots.
- Remove yellowing or damaged leaves to maintain plant health and airflow.
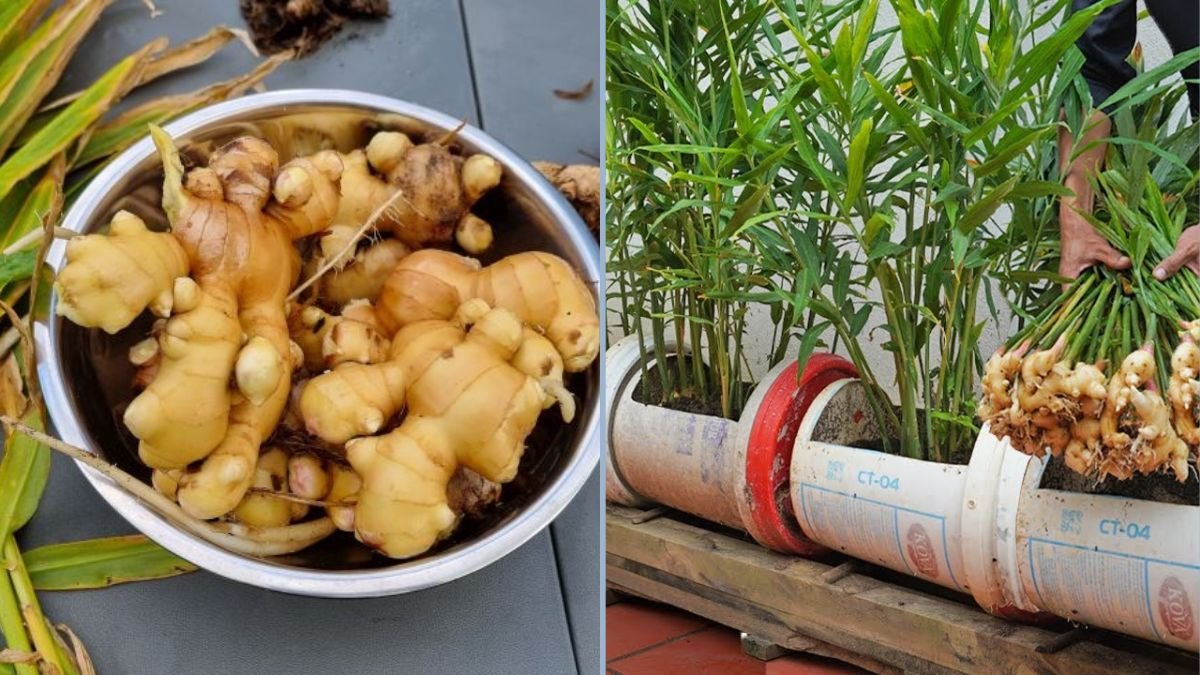
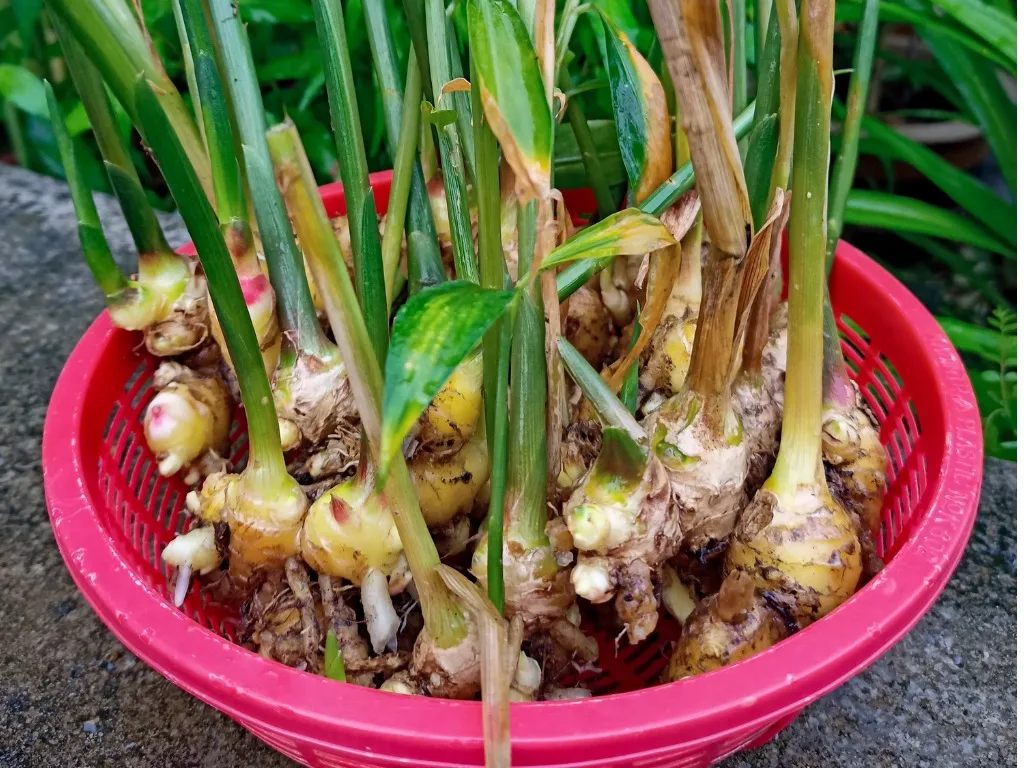
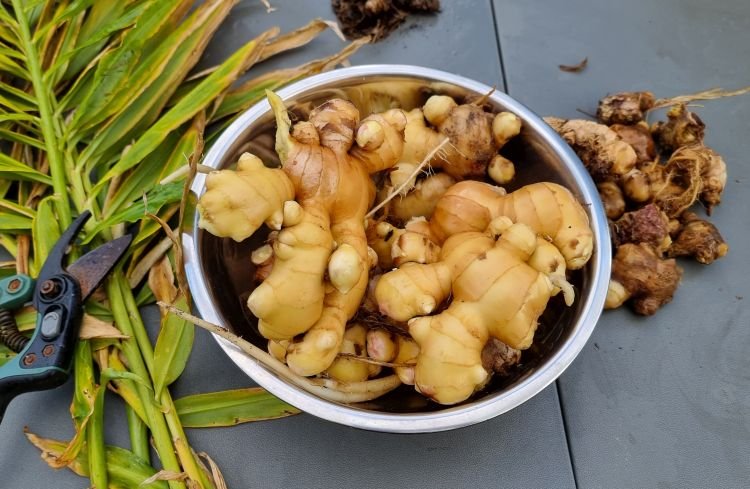
Step 9: Harvesting Ginger
- Ginger can be harvested 8–10 months after planting for mature, flavorful rhizomes.
- For a continuous supply, you can harvest young ginger (3–4 months old) for milder flavor.
- Gently dig around the base of the plant to lift rhizomes, avoiding damage to remaining roots.
- Store harvested ginger in a cool, dry place or refrigerate to extend freshness.
Tips for Maximizing Ginger Yield
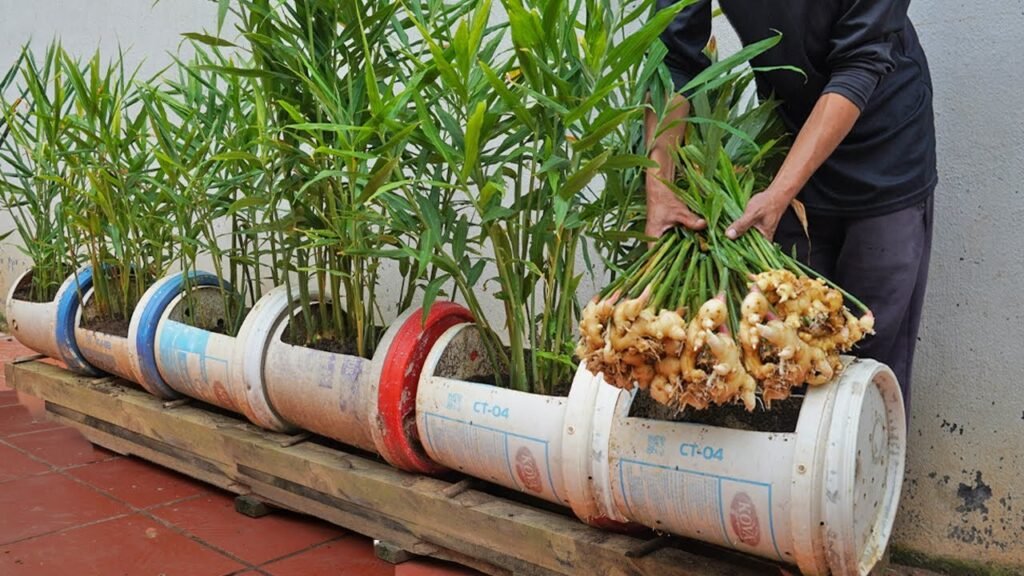
- Container Gardening: Large pots allow you to grow ginger indoors and protect it from cold weather.
- Spacing: Avoid overcrowding to ensure healthy rhizome development.
- Watering: Keep soil evenly moist; inconsistent watering can result in small or tough rhizomes.
- Mulching: Retains moisture and prevents weed growth, which competes for nutrients.
- Patience: Ginger is a slow-growing plant; allow enough time for rhizomes to reach full size.
Benefits of Growing Ginger at Home
- Freshness: Homegrown ginger is more aromatic and flavorful than store-bought.
- Health-Boosting: Ginger contains bioactive compounds that aid digestion, reduce inflammation, and strengthen immunity.
- Cost Savings: Growing your own supply reduces monthly grocery expenses.
- Sustainable Gardening: Reusing containers and cultivating your own food reduces environmental impact.
- Fun and Educational: Growing ginger is an exciting project for families and beginner gardeners alike.
Common Challenges and Solutions
- Root Rot: Caused by waterlogged soil. Ensure proper drainage and avoid overwatering.
- Slow Growth: Ginger grows slowly in cold temperatures. Maintain warmth and humidity.
- Pest Infestation: Aphids and spider mites can be controlled with neem oil or insecticidal soap.
- Yellow Leaves: May indicate nutrient deficiency. Apply organic fertilizer or compost tea.
- Small Rhizomes: Ensure enough space, consistent watering, and nutrient-rich soil for optimal growth.
Tips for Year-Round Ginger Gardening
- Indoor Growing: Use containers and place near bright, indirect sunlight to grow ginger indoors year-round.
- Succession Planting: Start new rhizomes every few months for a continuous supply.
- Companion Planting: Ginger grows well alongside leafy greens, herbs, or tomatoes in large containers.
- Storage: Keep harvested ginger in the refrigerator or freeze for long-term use.
Expanding Your Home Ginger Garden
Once you’ve successfully grown ginger, you can expand your indoor or container garden with other tropical and root crops:
- Turmeric: Similar planting and care requirements to ginger.
- Sweet potatoes: Thrive in warm, sunny containers.
- Lemongrass: Adds flavor and is easy to grow in pots.
Growing ginger alongside these plants creates a productive, health-focused kitchen garden.
Conclusion
Growing ginger at home is not only practical but also rewarding. With proper soil, consistent watering, and a warm environment, you can cultivate fresh, aromatic rhizomes that ensure your family never runs out of this superfood. By following these steps—from selecting healthy rhizomes and planting them to proper care and harvesting—you can enjoy a continuous supply of homegrown ginger year-round.
Start growing ginger today, and transform your home into a source of fresh, flavorful, and nutritious rhizomes, ready to enhance meals, teas, and health remedies anytime. With patience, care, and a little space, you’ll never need to worry about running out of ginger again!