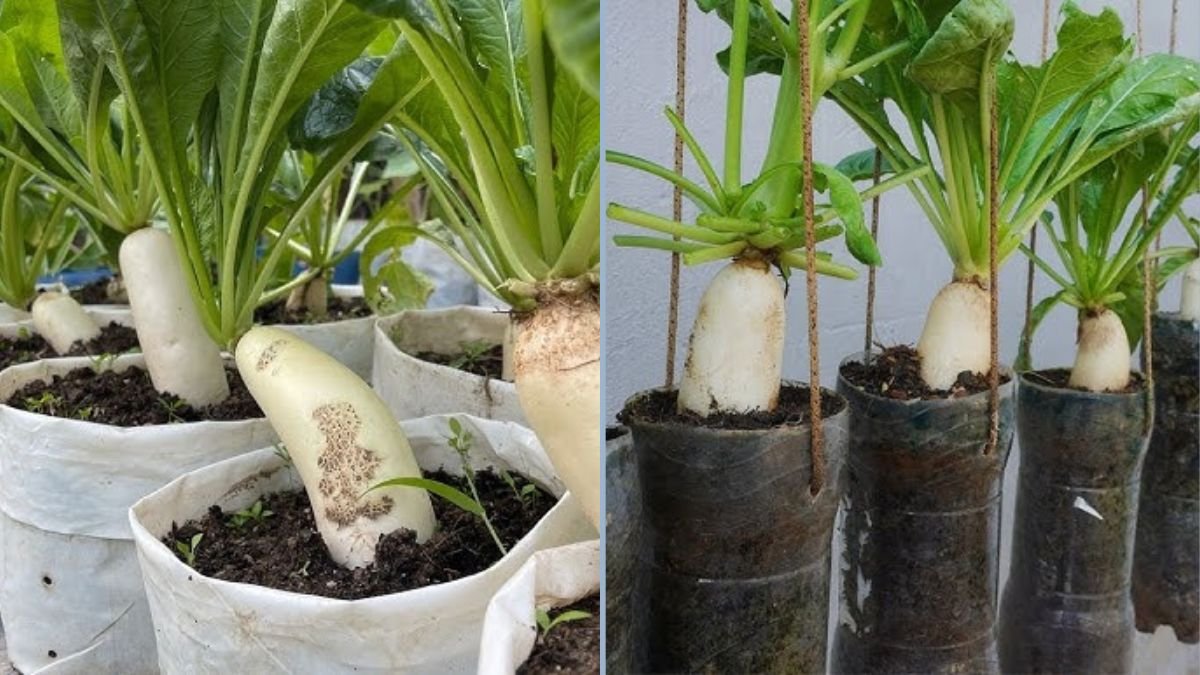
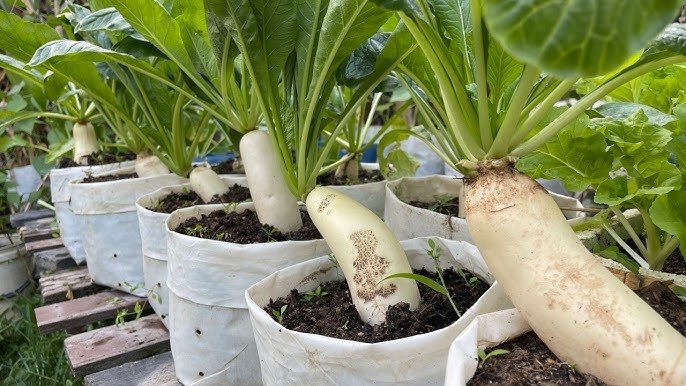
Radishes are one of the fastest-growing, most versatile vegetables you can cultivate at home. Crisp, peppery, and packed with nutrients like vitamin C, potassium, and antioxidants, they are perfect for salads, sandwiches, and garnishes. The great news is you don’t need a garden to grow them. With just a few recycled plastic bottles, you can enjoy fresh, homegrown radishes even in small apartments, balconies, or windowsills.
In this guide, we’ll explore simple, practical tips for growing radishes in plastic bottles. This method is not only space-saving and eco-friendly, but it also allows beginners and urban gardeners to enjoy a productive harvest without traditional soil beds.
Why Grow Radishes in Plastic Bottles?
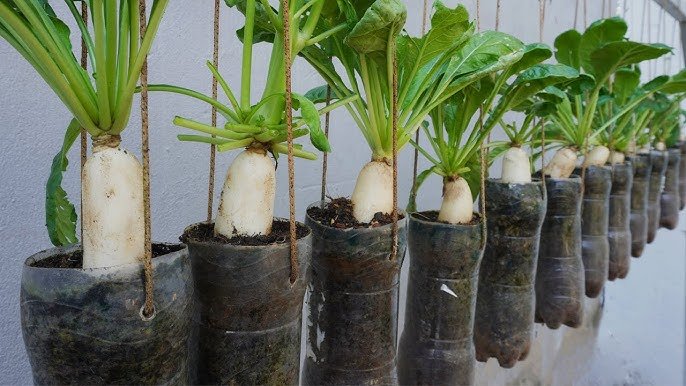
- Space-Saving: Ideal for small apartments, balconies, or rooftops where garden space is limited.
- Eco-Friendly: Reuses plastic bottles, helping reduce waste and promote sustainable gardening.
- Fast Growth: Radishes mature quickly, often ready to harvest in 3–4 weeks.
- Low Maintenance: Plastic bottle gardening reduces weeding and soil pests.
- Beginner-Friendly: A perfect project for those new to gardening.
Materials You’ll Need
- Plastic bottles (1–2 liters recommended)
- Utility knife or scissors
- Potting soil or compost-rich soil
- Radish seeds
- Small pebbles (optional for drainage)
- Watering can or spray bottle
- Cotton string or cloth (optional for self-watering system)
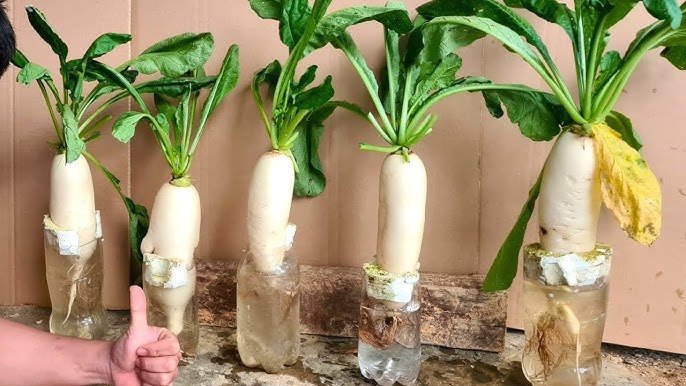
Step 1: Preparing the Plastic Bottle
- Wash the bottle thoroughly to remove residues.
- Cut the top third of the bottle to create an opening for planting seeds.
- Make small drainage holes at the bottom to prevent waterlogging.
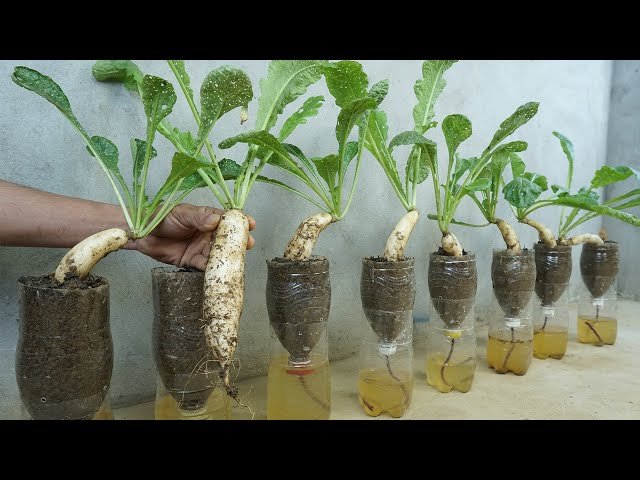
- Optional: Insert a cotton wick through the bottle neck to create a self-watering system, allowing water to gradually reach the soil.
Step 2: Adding Soil and Drainage
- Place a layer of small pebbles at the bottom for drainage (optional).
- Fill the bottle with potting soil or compost-rich soil, leaving about an inch from the top for watering and planting.
- Ensure the soil is loose and well-draining; compact soil can prevent radish roots from growing straight.
Step 3: Planting Radish Seeds
- Sprinkle radish seeds evenly across the soil surface.
- Cover seeds lightly with a thin layer of soil (about ½ inch).
- Water gently using a spray bottle or watering can to avoid washing seeds away.
- For continuous harvest, consider sowing a few seeds every week in separate bottles.
Step 4: Watering and Moisture Management
- Keep the soil consistently moist but not waterlogged.
- Radish seeds germinate best in cool, damp soil, usually within 4–7 days.
- If using a self-watering bottle, ensure the water reservoir is maintained to provide constant moisture.
- Avoid letting the soil dry out, as radishes can become tough and woody when stressed.
Step 5: Sunlight and Environment
- Place bottles in a location that receives at least 4–6 hours of indirect or direct sunlight.
- Radishes prefer cooler temperatures (50–70°F). If it’s too hot, move bottles to a shaded area to prevent bolting.
- Indoor gardeners can use grow lights for 12–14 hours daily to support growth.
Step 6: Thinning Seedlings
- Once seedlings have sprouted and grown 2–3 inches tall, thin them by snipping weaker plants at soil level.
- Leave the strongest seedlings spaced about 2 inches apart to allow adequate room for root development.
- Proper thinning improves airflow and prevents overcrowding, resulting in straighter, larger radishes.
Step 7: Caring for Radishes in Plastic Bottles
- Weeding: Minimal weeding is needed, but remove any competing plants that may appear.
- Fertilizing: Radishes generally require little fertilizer, but a balanced liquid fertilizer every 2–3 weeks can promote healthy growth.
- Pest Management: Watch for aphids or fungus gnats. Spray with mild soapy water or neem oil if necessary.
- Mulching: Optional light mulch can help retain moisture in warmer climates.
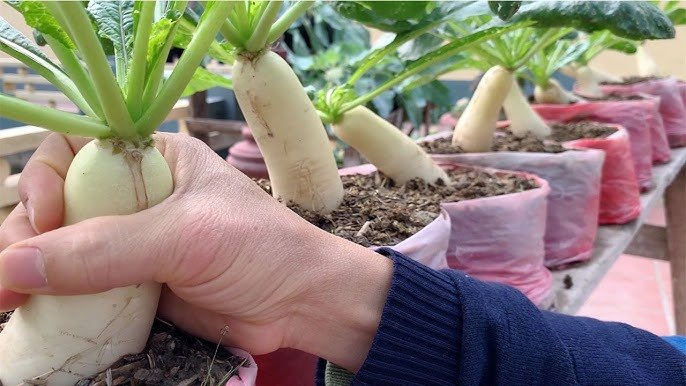
Step 8: Harvesting Radishes
- Radishes grow quickly and are often ready for harvest in 3–4 weeks.
- Harvest when roots reach 1–2 inches in diameter for optimal tenderness and flavor.
- Gently pull radishes from the soil to avoid damaging them.
- Regular harvesting encourages new growth and prevents roots from becoming too large and woody.
Tips for Maximizing Radish Growth in Bottles
- Use Deep Bottles: Radishes grow better with enough soil depth to develop long, straight roots.
- Consistent Watering: Keep soil evenly moist to avoid stress and bitterness.
- Avoid Overcrowding: Thin seedlings properly for larger, healthier roots.
- Rotate Bottles: Rotate bottles periodically to ensure even sunlight exposure.
- Succession Planting: Plant new seeds every 1–2 weeks for a continuous harvest.
Benefits of Growing Radishes in Plastic Bottles
- Fresh and Nutritious: Enjoy radishes straight from your home without chemical treatments.
- Eco-Friendly Gardening: Reduces plastic waste by repurposing bottles.
- Cost-Effective: No need for expensive garden beds or planters.
- Fast Harvest: Quick growth allows you to enjoy results in just a few weeks.
- Beginner-Friendly: Easy and low-maintenance, perfect for first-time gardeners.
Common Challenges and Solutions
- Bolting (Premature Flowering): Often caused by high temperatures. Move bottles to a cooler, shaded area if needed.
- Tough or Woody Roots: Caused by inconsistent watering or overcrowding. Keep soil moist and thin seedlings appropriately.
- Pest Damage: Aphids or fungus gnats can be controlled organically with neem oil or mild soap solutions.
- Poor Germination: Ensure seeds are planted in loose, moist soil and kept at proper temperatures.
- Curved or Deformed Roots: Occurs if the soil is compacted or roots are crowded. Use loose soil and provide adequate spacing.
Expanding Your Plastic Bottle Garden
Once you’ve mastered radishes, you can grow other vegetables in plastic bottles using similar methods:
- Lettuce and spinach
- Green onions and scallions
- Carrots and beets
- Herbs like basil, cilantro, and parsley
This method allows urban gardeners to maximize space and grow a variety of fresh, nutritious produce without a traditional garden.
Conclusion
Growing radishes in plastic bottles is a simple, fun, and eco-friendly way to enjoy fresh, homegrown vegetables without a garden. By following the steps outlined—from preparing bottles and planting seeds to proper watering, sunlight, and harvesting—you can cultivate crisp, flavorful radishes right on your balcony, windowsill, or rooftop.
This method is perfect for beginners, urban gardeners, and anyone looking to make the most of small spaces while reusing plastic responsibly. With consistent care and a little patience, you can enjoy a continuous supply of radishes and even expand to other vegetables, creating a productive, space-saving garden.
Start your plastic bottle radish garden today and experience the satisfaction of growing your own healthy, delicious vegetables—no backyard required!