Watercress is a highly nutritious leafy green, celebrated for its peppery flavor and packed with vitamins A, C, K, calcium, iron, and antioxidants. It’s perfect for salads, sandwiches, soups, and garnishes. While watercress is often associated with flowing streams and ponds, the good news is you can grow it easily at home using just water—no soil required!
In this guide, we’ll show you how to grow watercress in water, a simple, low-maintenance method that can yield fresh, vibrant vegetables quickly. With just a few simple steps and the practice of “watering three times,” you can enjoy a continuous supply of watercress in your kitchen or garden.
Why Grow Watercress in Water?
- Soil-Free Gardening: Ideal for urban spaces, apartments, or areas with poor soil quality.
- Fast Growth: Watercress grows quickly in water, often ready to harvest in 2–3 weeks.
- Continuous Supply: Regular harvesting promotes regrowth for multiple harvests.
- Minimal Maintenance: Growing in water reduces pests, weeds, and complicated soil care.
- Nutrient-Rich Greens: Enjoy fresh, vitamin-packed leaves without chemicals or fertilizers.
Materials You’ll Need
- Fresh watercress seeds or cuttings
- Glass jar, bowl, or shallow container
- Clean water
- Pebbles or small stones (optional for stability)
- Sunlight or a grow light
Step-by-Step Guide to Growing Watercress in Water
Step 1: Choosing Watercress Cuttings or Seeds
- Seeds: Purchase fresh watercress seeds from a garden store or online.
- Cuttings: Alternatively, use fresh watercress stems purchased from the market. Cuttings with roots will grow faster.
Step 2: Preparing the Container
- Select a shallow container or jar that can hold enough water for the cuttings or seeds.
- Optional: Add a layer of small pebbles at the bottom for stability. This helps hold the stems upright and supports root growth.
Step 3: Planting Watercress in Water

- Using Seeds: Sprinkle watercress seeds on the surface of the water or a thin layer of wet pebbles. Press gently to ensure they make contact with moisture.
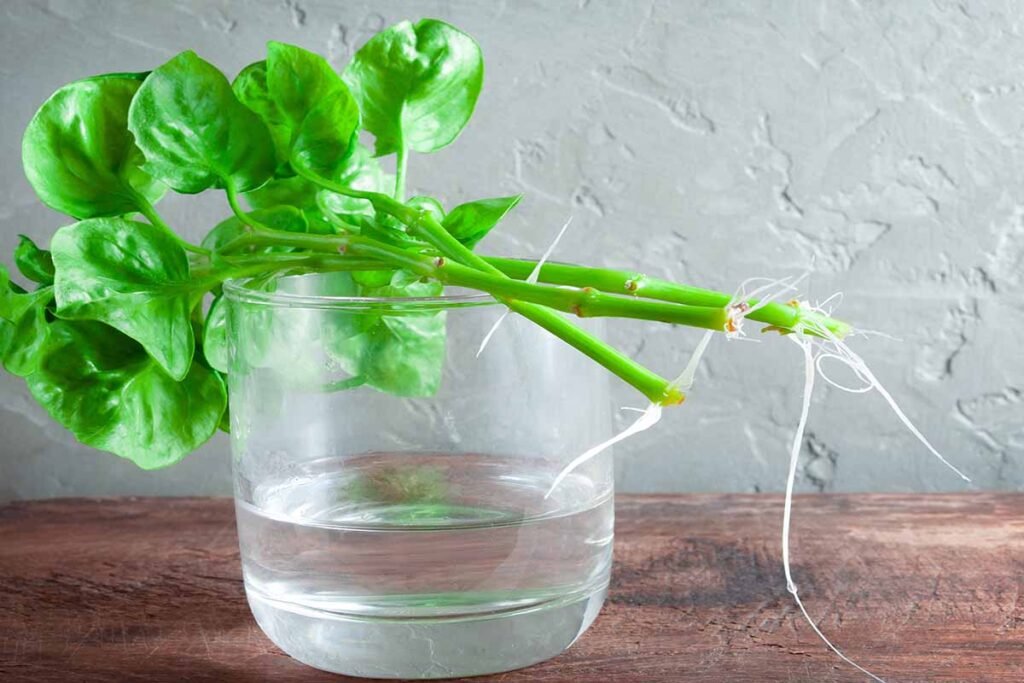
- Using Cuttings: Place watercress stems in water so the bottom ends are submerged. Make sure the leaves remain above the water to prevent rotting.
Step 4: Water Management – “Water 3 Times” Method
The key to successful watercress growth is consistent moisture. The “water 3 times” method refers to checking and refreshing the water three times during the initial growth phase:
- First Watering: Fill the container initially with fresh, clean water.
- Second Watering: After a few days, replace the water to prevent stagnation and provide fresh oxygen.
- Third Watering: Replace water again after another few days to keep conditions optimal for root and leaf growth.
- Tip: Use filtered or dechlorinated water if possible to avoid chemicals that may hinder growth.
- Keep the water level high enough to cover roots but not submerge the leaves completely.
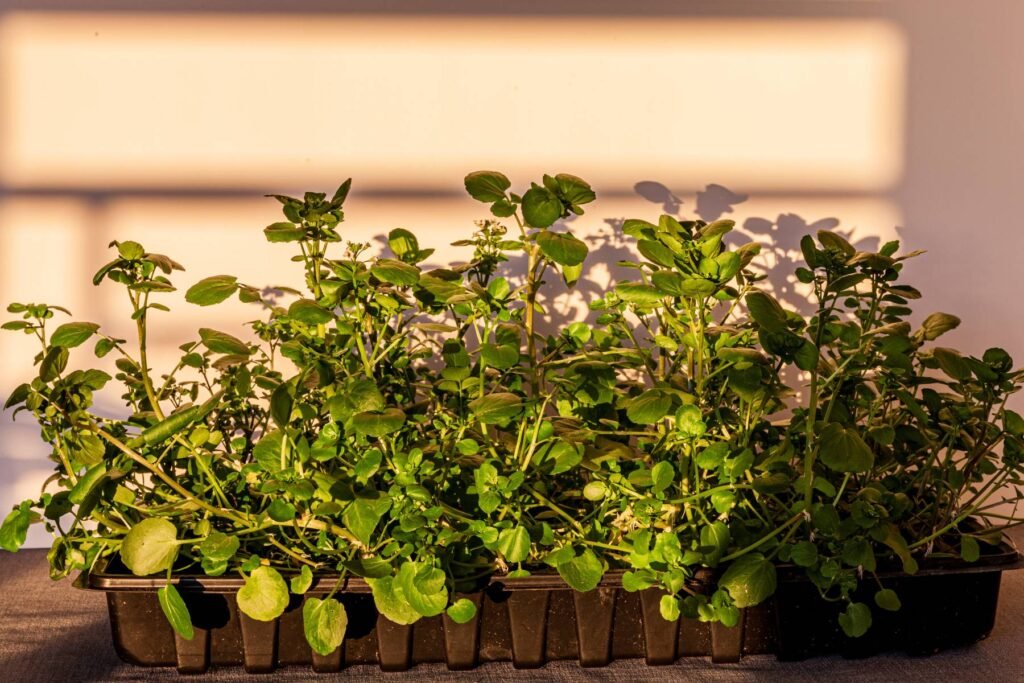
Step 5: Sunlight and Environment
- Place the container near a sunny window or in a spot receiving 4–6 hours of indirect sunlight daily.
- If sunlight is limited, use a small grow light to supplement.
- Keep the temperature moderate (65–75°F) for optimal growth.
Step 6: Ongoing Care
- Water Refreshing: Continue to change the water every 3–4 days to prevent stagnation and algae growth.
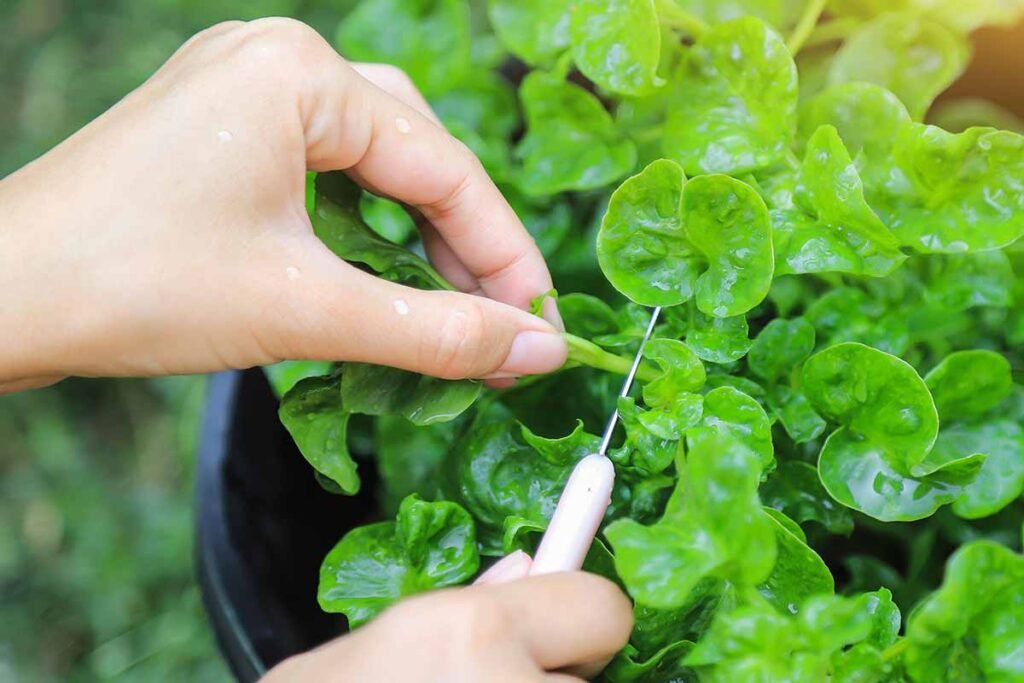
- Trimming: Snip older leaves regularly to encourage new growth.
- Support: Use small stones or pebbles to support stems as they grow taller.
- Monitoring Roots: Healthy watercress roots should be white and fibrous. If roots turn brown, refresh water more frequently.
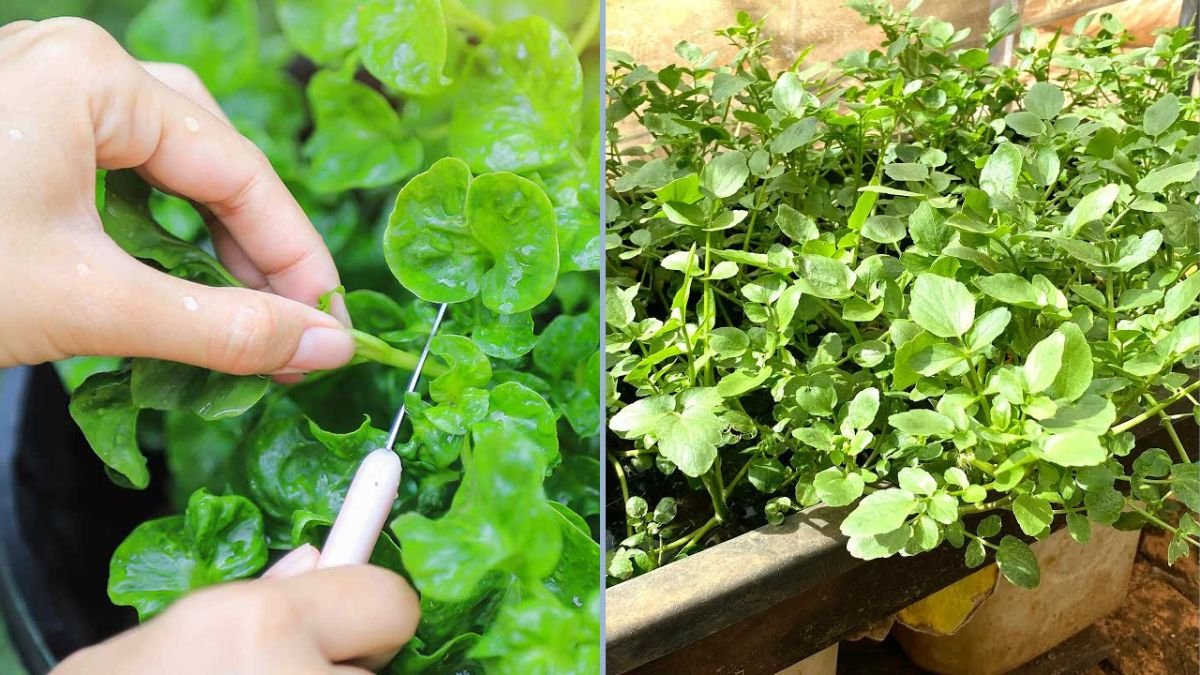
Step 7: Harvesting Watercress
- Watercress grows quickly and can be harvested in 2–3 weeks.
- Snip the top 2–3 inches of stems and leaves using scissors.
- Leave the bottom parts submerged in water; they will continue to grow for multiple harvests.
- For continuous harvest, follow a “cut-and-come-again” method: harvest outer leaves first while leaving the inner leaves intact.
Tips for Maximizing Growth and Yield
- Use Fresh Cuttings: Freshly harvested stems root faster and produce vigorous growth.
- Avoid Overcrowding: Space seeds or cuttings so that leaves have room to expand.
- Maintain Clean Water: Prevent algae buildup by changing water regularly and using clean containers.
- Monitor Temperature: Avoid placing watercress in extremely hot or cold areas.
- Harvest Regularly: Frequent harvesting stimulates new growth and prolongs the productivity of your watercress crop.
Benefits of Growing Watercress in Water
- Fast and Easy: Minimal setup and low-maintenance care make it accessible for beginners.
- Fresh and Nutritious: Enjoy vitamin-rich leaves straight from your home, free from chemicals.
- Space-Efficient: Perfect for indoor gardening, kitchen counters, or small balconies.
- Sustainable Gardening: Recycles containers and avoids soil-based issues.
- Continuous Production: Cut-and-come-again harvesting ensures a steady supply.
Common Challenges and Solutions
- Algae Growth: Regular water changes and indirect sunlight reduce algae buildup.
- Root Rot: Avoid submerging leaves and refresh water frequently.
- Slow Germination: If seeds take longer than expected, ensure water is fresh and temperature is stable.
- Leggy Stems: Insufficient light can cause tall, weak stems; increase sunlight or use grow lights.
- Crowding: Thin seedlings or cuttings if they start to overlap, ensuring adequate airflow and space.
Tips for Year-Round Watercress Gardening
- Indoor Growing: Keep watercress in jars near windows or under LED grow lights during winter.
- Succession Planting: Start new seeds or cuttings every 2–3 weeks for a continuous harvest.
- Use Nutrient Solution (Optional): A mild liquid fertilizer or compost tea can boost growth for hydroponic-style setups.
- Combine with Other Herbs: Watercress can grow alongside basil, mint, or parsley in shallow water containers.
Expanding Your Watercress Garden
Once you’ve mastered watercress, you can try growing other leafy greens using similar water-based methods:
- Lettuce
- Spinach
- Bok choy
- Herbs such as cilantro, basil, and chives
This method creates a mini indoor hydroponic system, perfect for fresh, chemical-free greens in limited space.
Conclusion
Growing watercress in water is an incredibly easy, low-maintenance, and productive way to enjoy fresh leafy greens at home. With just a few simple steps, clean water, and the “water 3 times” method, you can cultivate a continuous supply of nutrient-rich watercress for salads, soups, and garnishes.
This method is ideal for urban gardeners, beginners, and anyone who wants fast-growing, eco-friendly vegetables without relying on soil. By following the steps outlined above—from selecting seeds or cuttings to regular water changes, sunlight exposure, and harvest—you can enjoy lush, healthy watercress year-round.
Start growing watercress in water today, and experience the convenience, freshness, and satisfaction of producing your own leafy greens right in your kitchen!