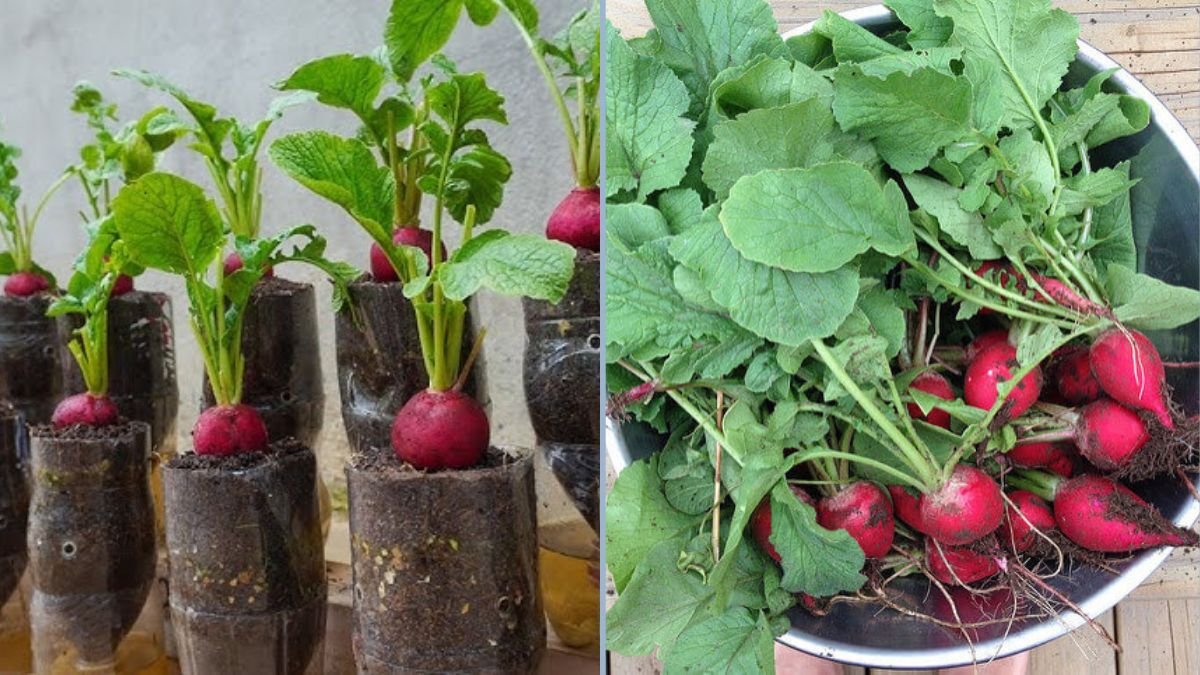
If you’re living in a city apartment with barely a balcony and wondering whether you could still grow your own crisp, peppery radishes, the answer is a resounding yes. Inspired by the YouTube video “Growing Radish in Waste Bottles | Seed to Harvest,” this blog post will walk you through everything you need to know — from preparation and planting to harvest and reuse.
Why Grow Radishes in Plastic Bottles?
Growing radishes in recycled plastic bottles is one of the simplest and most sustainable ways to bring home gardening into small urban spaces. Here’s why it works so well:
- Space efficiency: Radishes are compact root vegetables that don’t demand a large garden plot.
- Eco-friendly recycling: Repurposing waste plastic bottles helps reduce plastic waste and encourages creative sustainability.
- Quick results: Radishes are one of the fastest-growing vegetables — some varieties mature in as little as three to four weeks.
- Beginner-friendly: Their short growth cycle makes them a great starter crop for new gardeners.
- Fresh and flavorful: Nothing beats the taste of a freshly harvested radish, crisp and slightly spicy, grown right in your own home.
Materials You’ll Need
Before starting, gather a few simple materials:
- A clean plastic bottle (1.5 or 2 liters is ideal)
- Sharp scissors or a cutter
- Potting soil or a mix of garden soil, compost, and sand
- Radish seeds (choose a small or medium-root variety)
- A small watering can or spray bottle
- A sunny windowsill, balcony, or terrace space
With just these basics, you can set up a compact mini-garden that uses minimal space and materials.
Step-by-Step: From Seed to Harvest
1. Prepare the Bottle
Start by cleaning your waste bottle thoroughly to remove any residues. Cut off the top third of the bottle, leaving enough room to fill with soil. Poke or drill a few small holes at the bottom for drainage. Without proper drainage, roots can rot and plants will fail to thrive.
Optional: Add a thin layer of small stones, broken pottery, or gravel at the base to improve drainage and airflow.
2. Prepare the Soil Mix
Radishes need loose, well-draining soil to grow straight and healthy roots. The ideal mix is:
- 50% potting soil
- 30% compost or organic manure
- 20% coarse sand or cocopeat
Mix thoroughly and fill your bottle up to about 2 inches below the rim. Avoid compacting the soil — it should feel light and airy.
3. Sow the Seeds
Sprinkle your radish seeds evenly on the soil surface and cover them lightly with about half an inch (1–1.5 cm) of soil. Press gently to ensure good contact. Water lightly to moisten the surface — just enough to settle the seeds without washing them away.
If you’re planting multiple bottles, label each one with the sowing date so you can track their growth easily.
4. Sunlight and Watering
Place your bottles in a spot that gets at least 4–6 hours of sunlight daily. Radishes love cool, bright conditions, but they don’t like extreme heat.
Water your plants regularly to keep the soil moist, not soggy. Since plastic bottles can dry out faster than larger containers, check the soil every day — especially during warm weather.
A good trick: stick your finger an inch into the soil. If it feels dry, it’s time to water.
5. Thinning the Seedlings
Within 3–5 days, you’ll see tiny green shoots appear. Once the seedlings are about 2 inches tall, it’s time to thin them.
Overcrowded seedlings compete for space and nutrients, resulting in small or deformed roots. Leave about 1 to 2 inches of space between each plant. The extra seedlings can be transplanted into another bottle or used as microgreens.
6. Ongoing Care
Radishes are fast growers and need very little maintenance. However, a few small adjustments will ensure healthy growth:
- Keep the soil evenly moist throughout the growing period.
- Avoid adding too much nitrogen-rich fertilizer — it encourages leafy growth but small roots.
- If temperatures are very high, move your bottles to a slightly shaded area to prevent “bolting” (premature flowering).
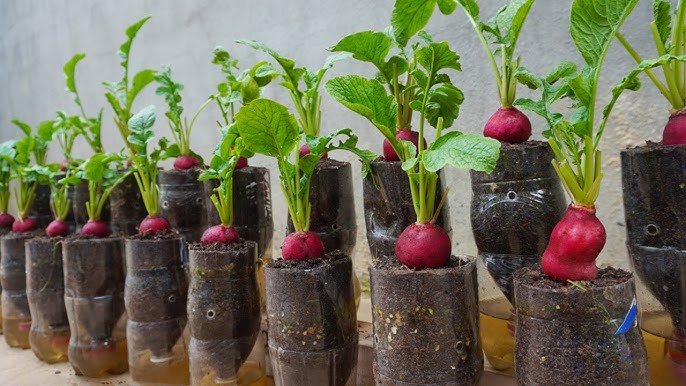
Watching Your Radishes Grow
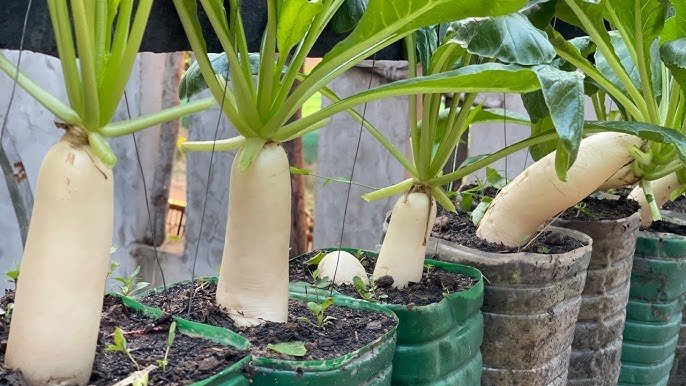
Within two weeks, you’ll notice the leaves getting larger and the root shoulders beginning to swell beneath the soil surface. You may even see the top of the radish pushing out of the soil — a good sign that your plants are healthy.
Keep an eye out for:
- Healthy leaves: Green and upright leaves indicate good growth.
- Moist soil: Consistent watering is crucial; drying out can make radishes tough or spicy.
- No pests: Occasionally check for aphids or leaf miners, which can appear in warm, humid conditions. A gentle neem oil spray can help if needed.
Harvesting Your Radishes
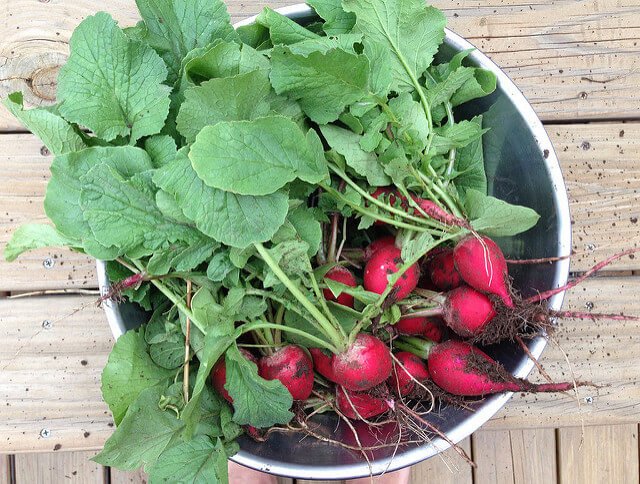
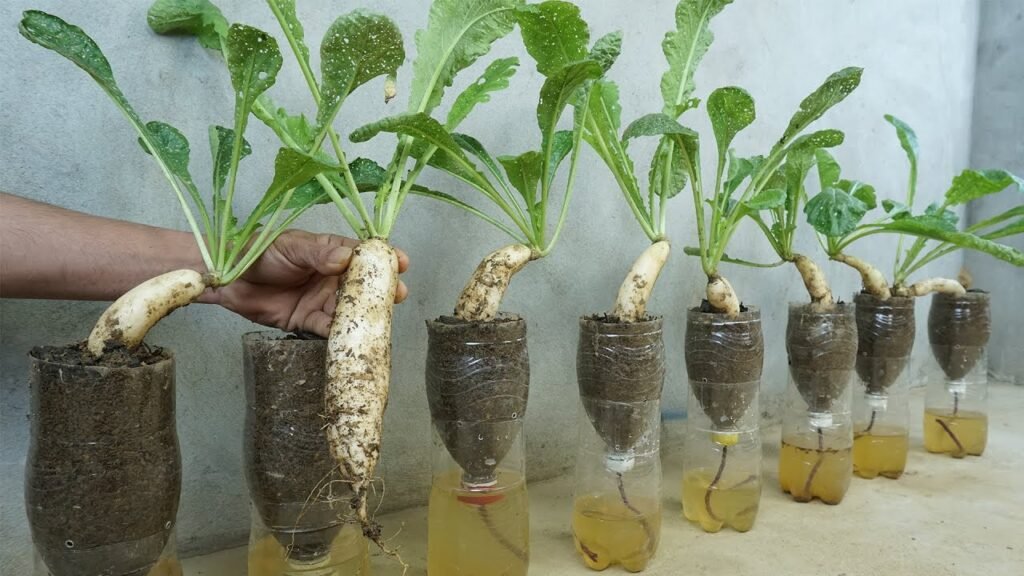
Depending on the variety, radishes are ready for harvest in about 25 to 40 days. The best way to know is by sight and touch — the visible part of the root should be firm, bright in color, and about the size of a marble or larger.
Gently pull out the plant by holding the base of the leaves and twisting slightly to release the root. Don’t leave mature radishes in the soil for too long; they can become woody, hollow, or overly spicy.
Once harvested, wash them under cool water and remove the leaves. The greens can be used too — they’re rich in nutrients and taste great sautéed or blended into soups.
Common Problems and Fixes
1. Small or misshapen roots
Likely cause: Overcrowded plants or compact soil.
Fix: Thin seedlings early and use a loose soil mix.
2. Excessive leaf growth but tiny bulbs
Likely cause: Too much nitrogen fertilizer.
Fix: Use balanced compost instead of chemical fertilizers.
3. Cracked or woody radishes
Likely cause: Irregular watering or leaving them too long before harvest.
Fix: Keep moisture consistent and harvest on time.
4. Radishes bolting (flowering early)
Likely cause: Hot temperatures or too much sun.
Fix: Grow during cooler months or move bottles to partial shade.
Why the Bottle Method Works
The bottle system is incredibly efficient for small spaces. Here’s why:
- The transparent sides help you monitor root growth and soil moisture.
- The container size is ideal for radish root depth.
- You can easily move bottles around to adjust sunlight exposure.
- You’re recycling plastic waste — an environmental win.
- It’s a self-contained system that reduces mess and soil loss.
For urban dwellers, this is one of the simplest, cheapest ways to start gardening without needing land or large pots.
Scaling Up and Experimenting
Once you’ve mastered growing radishes in bottles, you can easily expand:
- Use bigger bottles: Five-liter containers allow you to plant two or three radishes per bottle.
- Try vertical gardening: Stack or hang bottles along a balcony wall.
- Rotate crops: After harvesting radishes, reuse the soil for leafy greens or herbs.
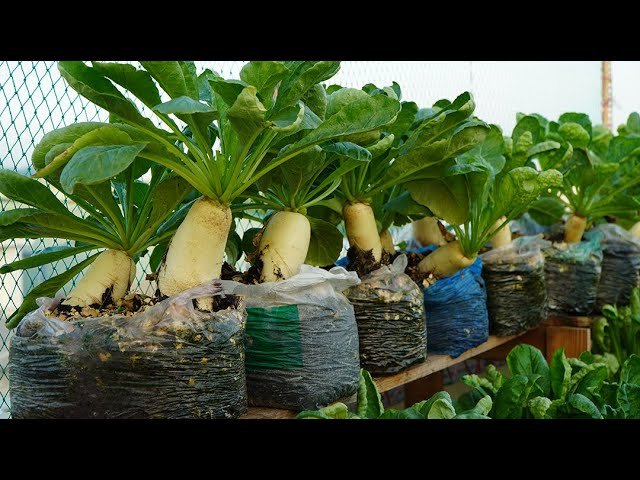
- Experiment with varieties: Try red globe, white icicle, or long daikon radishes depending on your climate and taste.
You can even plant a new batch every two weeks for a steady harvest all season long.
Final Thoughts
Growing radishes in waste plastic bottles is more than just a gardening project — it’s a statement about sustainability and creativity. You’re transforming discarded materials into a living, edible ecosystem.
Within a month, you can go from a handful of seeds to a bowl of homegrown, crunchy radishes. The process teaches patience, responsibility, and the simple joy of nurturing life in the smallest of spaces.
Even if you’ve never gardened before, this project is a perfect start. It’s affordable, educational, and rewarding — especially when you bite into that first crisp, peppery root that came from your own recycled bottle.