If you’re looking for a way to boost your health, add crunchy texture to your meals, and grow your own nutritious greens right on your kitchen counter, broccoli sprouts are a perfect choice. Packed with vitamins, minerals, and antioxidants, these tiny greens are easy to grow at home and ready to harvest in just a few days.
In this guide, inspired by the video “HOW TO GROW BROCCOLI SPROUTS IN YOUR KITCHEN!”, we’ll walk you through everything you need to know — from selecting seeds to harvesting and storing your sprouts — so you can enjoy a fresh, healthy addition to your meals year-round.
1. Why Grow Broccoli Sprouts?
Broccoli sprouts are young broccoli plants harvested just a few days after germination. While they may be small, they are nutritional powerhouses:
- High in sulforaphane, a compound linked to detoxification, cancer prevention, and heart health.
- Rich in vitamins: Vitamin C, A, K, and some B vitamins.
- Minerals: Including calcium, potassium, iron, and magnesium.
- Easy to grow: They require minimal space, no soil, and can be grown in jars or trays indoors.
Compared to mature broccoli, sprouts often contain 10–100 times more sulforaphane, making them a popular choice for health enthusiasts and home gardeners alike.
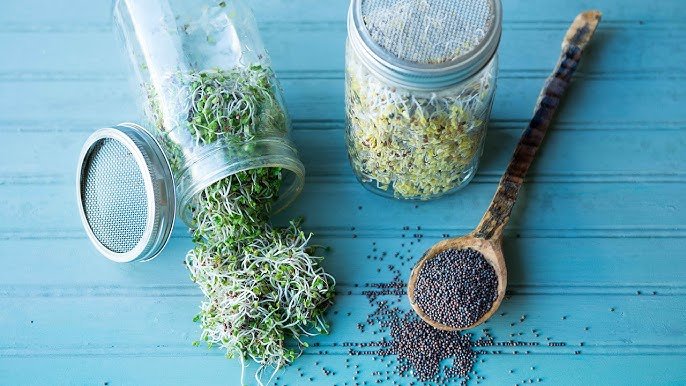
2. What You Need to Grow Broccoli Sprouts
Growing broccoli sprouts at home is simple and requires only a few items:
- Broccoli seeds (specifically labeled for sprouting to ensure safety and germination).
- A glass jar or sprouting tray: Mason jars with mesh lids work well.
- Water: Clean, filtered water is ideal to prevent contamination.
- A breathable cover: Cheesecloth, mesh screen, or a sprouting lid.
- Light: Indirect sunlight or a well-lit counter is sufficient.
- Optional: A small dish rack or jar stand to allow proper drainage and airflow.
All of these items are affordable and can be reused season after season, making sprouting a sustainable and low-cost activity.
3. Selecting Broccoli Seeds
Choosing the right seeds is critical:
- Sprouting seeds: Not all seeds are safe for sprouting. Look for seeds labeled specifically for sprouting to avoid bacterial contamination.
- Organic seeds: Organic broccoli seeds reduce exposure to pesticides.
- Fresh seeds: Older seeds may have lower germination rates, so choose a fresh batch for best results.
Avoid using grocery store broccoli seeds unless they are explicitly labeled as sprouting seeds.
4. Preparing Your Seeds
Before placing your seeds in a jar or tray, it’s important to rinse and soak them:
- Measure out 1–2 tablespoons of seeds for a standard 1-quart jar.
- Rinse seeds thoroughly under cold water.
- Soak the seeds in water for 8–12 hours (overnight works well). This softens the seed coat and kickstarts germination.
Soaking is essential because it allows the seeds to absorb water, swell, and activate enzymes that initiate sprouting.
5. Setting Up Your Sprouting Jar
After soaking, it’s time to set up your jar:
- Drain the seeds and rinse them again.
- Place them in your jar, tilting it slightly to allow excess water to drain out.
- Cover the jar with a breathable lid or mesh. This keeps seeds inside while allowing airflow.
- Store the jar in a cool, dark place like a cupboard or countertop.
At this stage, you want to create a humid, warm environment for germination while preventing standing water, which can cause mold.
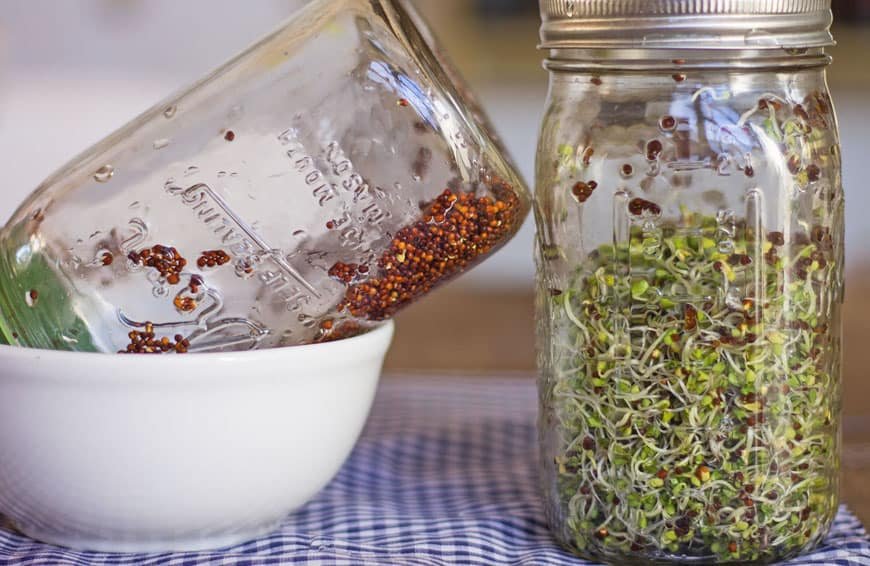
6. Rinsing and Draining Sprouts
Rinsing and draining are crucial for healthy sprouts:
- Rinse your seeds 2–3 times per day with fresh water.
- Drain thoroughly each time to prevent soggy seeds and bacterial growth.
- Gently swirl the seeds in the jar to ensure all seeds are evenly exposed to water.
Consistent rinsing ensures that sprouts grow clean and crisp while avoiding bad odors or spoilage.
7. Watching Your Sprouts Grow
Broccoli sprouts grow quickly. Within a few days, you’ll see:
- Day 1–2: Seeds swell and tiny roots emerge.
- Day 3–4: Sprouts begin to elongate; roots are visible, and tiny leaves may appear.
- Day 5–6: Sprouts reach 1–2 inches in length and are ready to harvest.
You’ll notice a fresh, mild broccoli aroma as they grow — a good indicator that the sprouts are healthy.
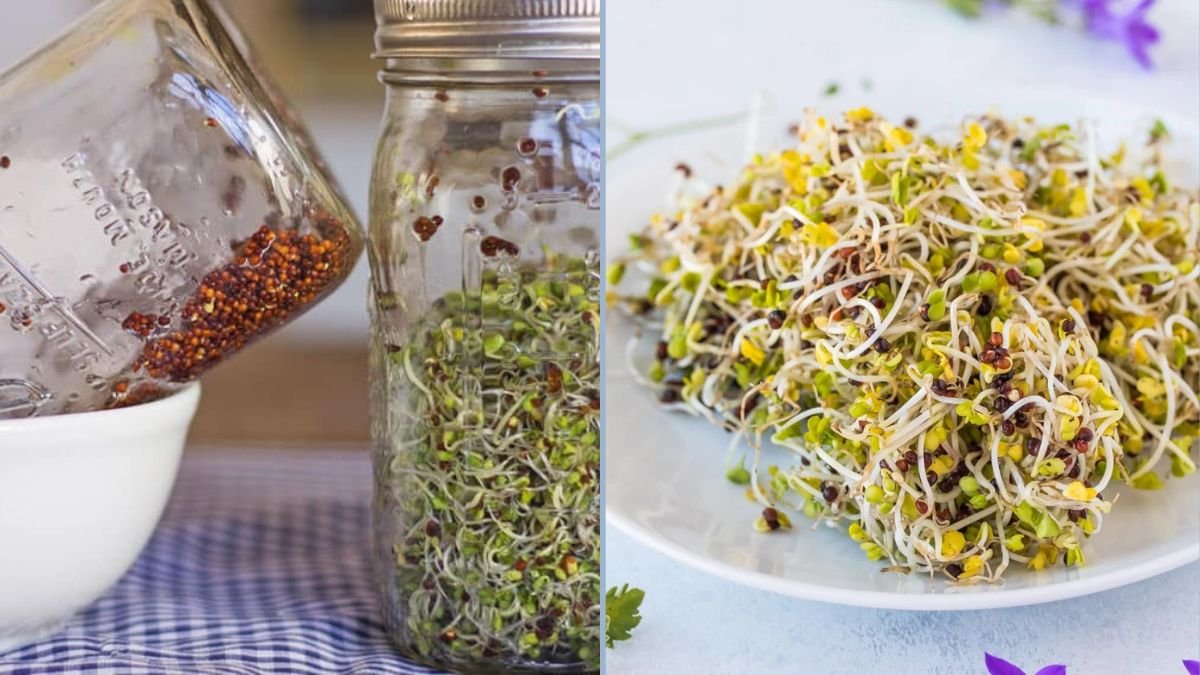
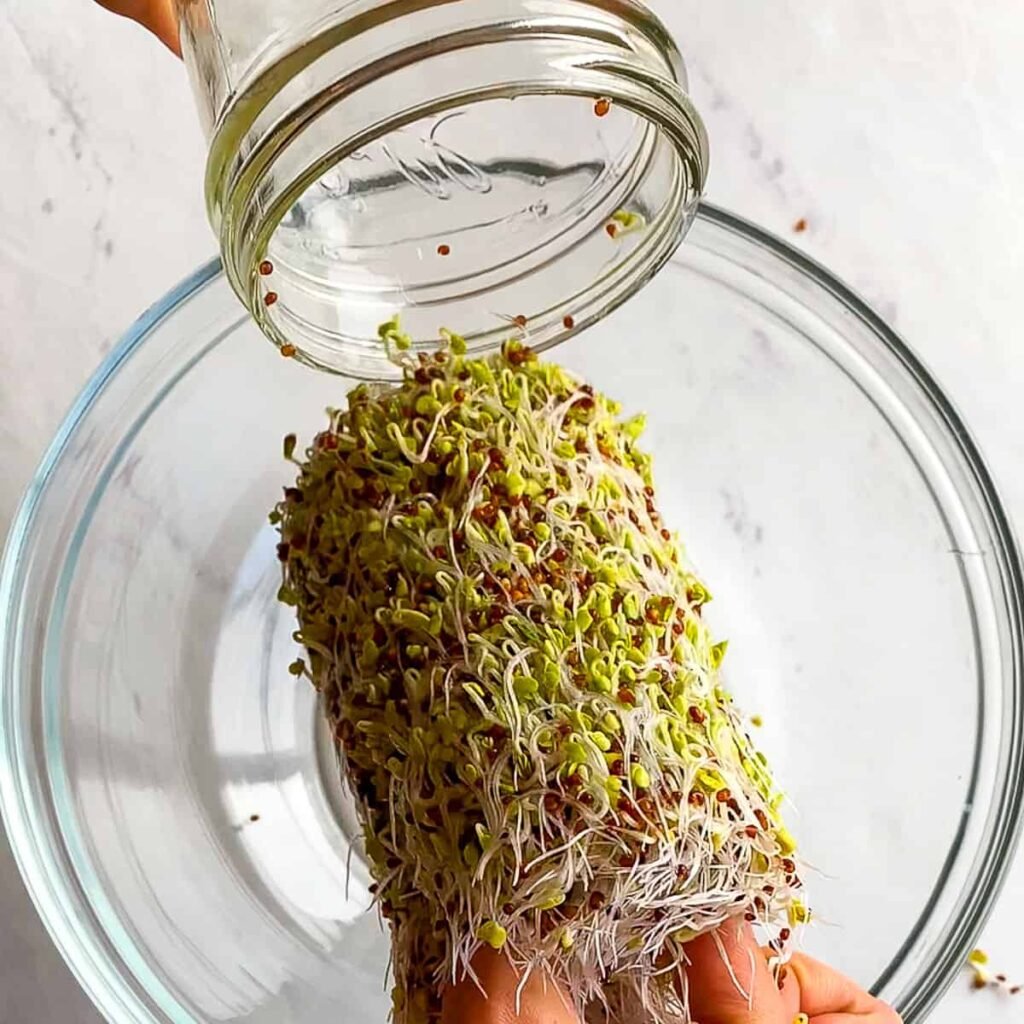
8. Harvesting Broccoli Sprouts
Harvesting is simple and can be done in just a few steps:
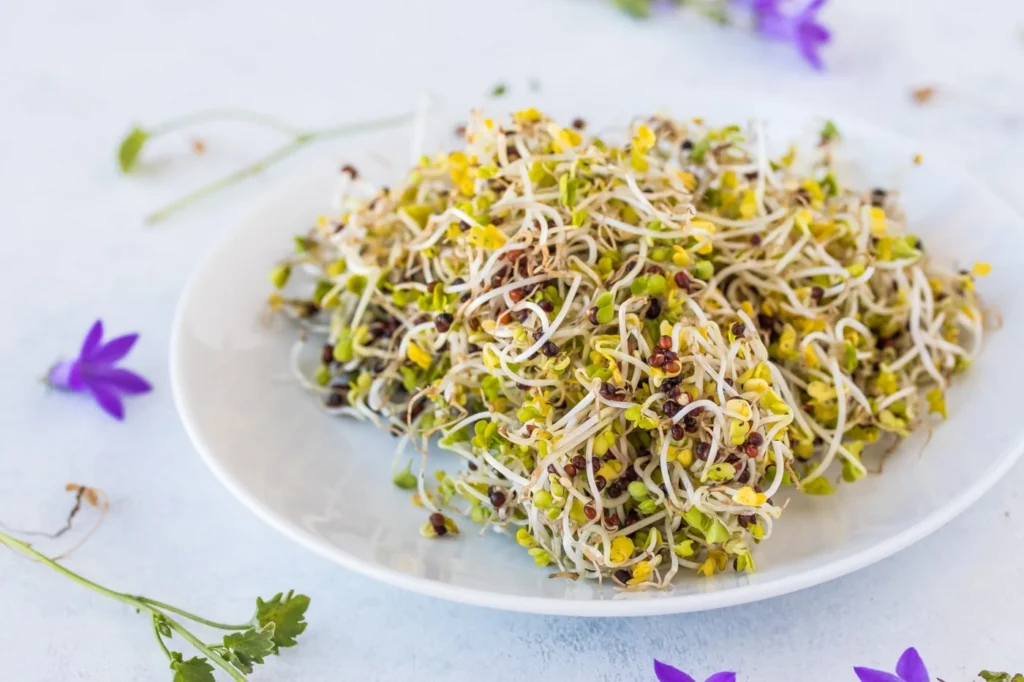
- When sprouts are 1–2 inches long and have tiny green leaves, they are ready to harvest.
- Rinse thoroughly under cold water to remove seed hulls and debris.
- Drain well and pat dry with a clean towel or use a salad spinner.
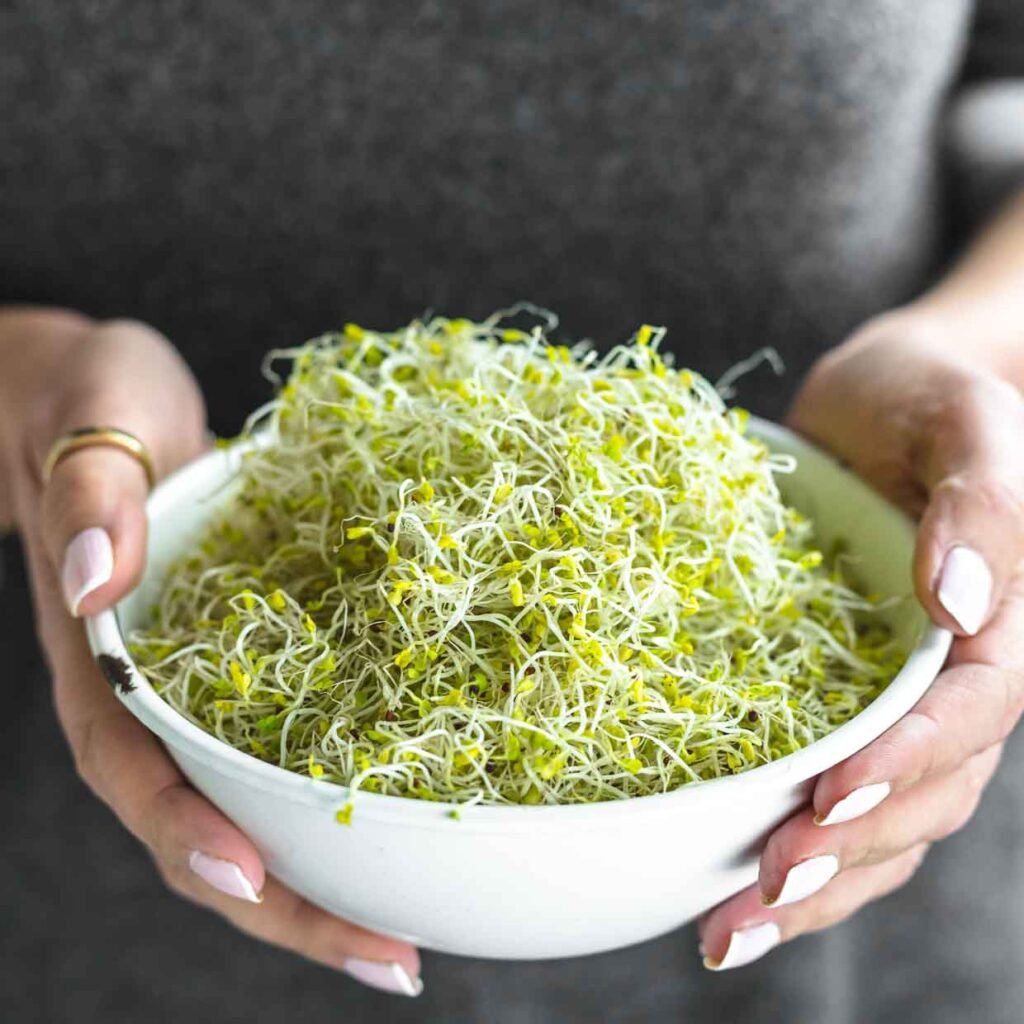
At this stage, your broccoli sprouts are crisp, tender, and packed with nutrients.
9. Storing Your Sprouts
To keep your sprouts fresh:
- Store them in a covered container or resealable bag in the refrigerator.
- They will remain fresh for 5–7 days.
- Avoid moisture accumulation in the container, which can lead to spoilage.
You can also freeze sprouts for longer storage, though fresh sprouts are more flavorful and retain maximum nutrients.
10. Using Broccoli Sprouts in Your Diet
Broccoli sprouts are incredibly versatile:
- Salads: Add a handful for crunch and nutrition.
- Sandwiches and wraps: Replace or supplement lettuce with sprouts.
- Smoothies: Blend into green smoothies for an antioxidant boost.
- Garnish: Sprinkle on soups, eggs, or grain bowls for added texture.
Their mild, slightly peppery taste pairs well with a variety of dishes, making them an easy addition to daily meals.
11. Common Problems and How to Avoid Them
While broccoli sprouts are easy to grow, some issues may arise:
A. Mold
- Often caused by poor drainage or overwatering.
- Ensure proper airflow and rinse thoroughly twice daily.
B. Seeds Not Sprouting
- Check seed viability — old or non-sprouting seeds will fail.
- Soak seeds for sufficient time and maintain consistent temperature.
C. Bitter Taste
- This can occur if sprouts are left to grow too long or are exposed to direct sunlight prematurely.
- Harvest when small and tender, and rinse well before consumption.
D. Odor
- Sprouts should smell fresh and mild.
- Bad odor indicates poor hygiene or inadequate rinsing; discard affected sprouts.
12. Tips for Best Results
- Use fresh, clean water for every rinse.
- Keep the jar in a dark area initially to encourage root growth.
- Expose sprouts to indirect light for 1–2 days before harvest to enhance green leaves and chlorophyll content.
- Rotate jars gently to prevent seeds from clumping.
- Maintain hygiene: Wash hands, jars, and lids thoroughly before starting.
13. Why Broccoli Sprouts Are a Superfood
Broccoli sprouts have gained attention in the health community due to their high sulforaphane content, a compound that supports:
- Detoxification of harmful compounds in the body
- Anti-inflammatory effects
- Antioxidant defense
- Heart, liver, and digestive health
Adding just a small handful of sprouts to your daily diet can provide significant health benefits, making them an easy and effective way to boost nutrition without major dietary changes.
14. Growing Broccoli Sprouts Year-Round
One of the best things about growing sprouts at home is that you can do it all year:
- No garden space is required.
- Sprouts grow indoors in small jars or trays, making them ideal for apartments or winter months.
- Continuous planting: Start a new jar every 2–3 days to have a constant supply of fresh sprouts.
With minimal space and effort, you can enjoy a regular supply of fresh, nutritious greens any time of year.
15. Final Thoughts
Growing broccoli sprouts in your kitchen is one of the easiest and most rewarding ways to add nutrition to your diet. They require little space, minimal equipment, and just a few days to grow. By following proper soaking, rinsing, and harvesting techniques, you can enjoy crisp, flavorful sprouts with maximum health benefits.
Whether you’re new to gardening or looking for a convenient way to grow your own superfoods indoors, broccoli sprouts are an excellent choice. Start a jar today, and in less than a week, you’ll have fresh, homegrown sprouts ready to enjoy in salads, sandwiches, smoothies, and more.