Walnut trees are majestic, long-living trees that offer delicious, nutrient-rich nuts and stunning shade for your garden. Known for their strength, longevity, and economic value, walnut trees (Juglans regia) are prized worldwide. While most people buy nursery-grown saplings, there’s something incredibly rewarding about growing a walnut tree from seed at home.
Starting from seed allows you to witness the full propagation process — from a small, hard walnut to a thriving tree that may produce nuts years later. Although it requires patience, the process is straightforward and educational, making it perfect for gardening enthusiasts, students, or anyone interested in sustainable planting.
In this guide, we’ll explore how to grow walnut seeds at home, step by step, including seed preparation, planting, care, and tips to ensure healthy growth.
1. Understanding the Walnut Seed
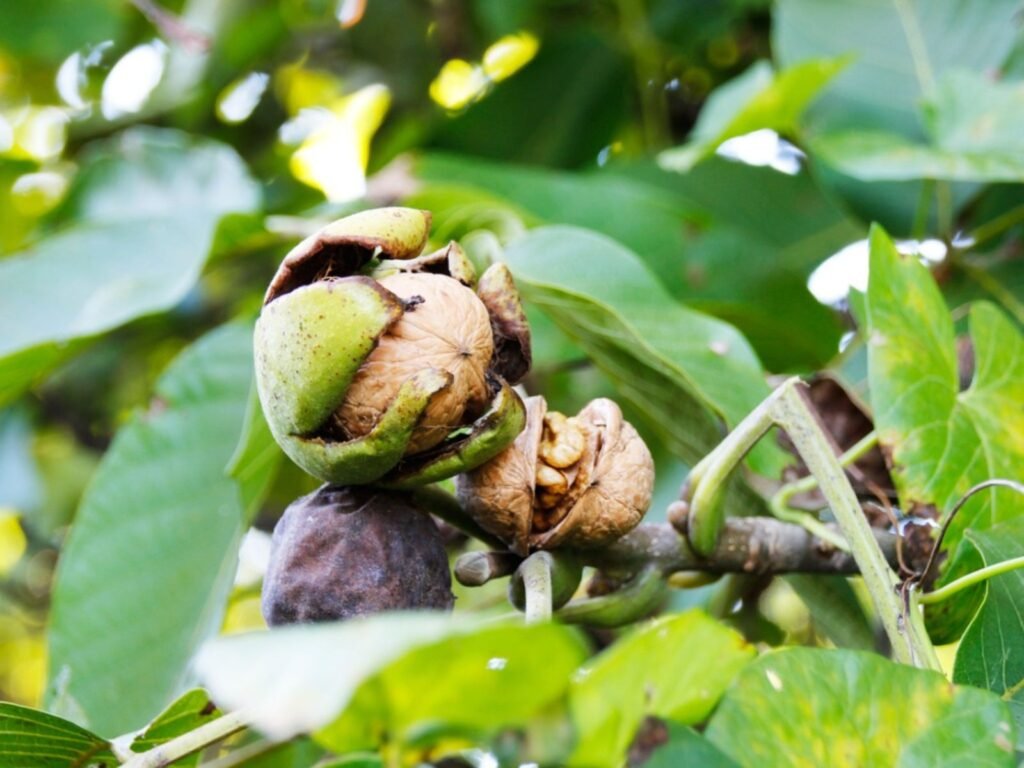
A walnut seed is encased in a hard shell, surrounded by a green husk when fresh. Inside is the kernel that will sprout into a new tree.
Key Characteristics
- Dormancy: Walnut seeds require a period of cold stratification to break dormancy. Without this, the seed may fail to sprout.
- Hard Shell: Protects the embryo but can delay germination unless treated properly.
- Nutrient-Rich: The seed contains energy for the first stages of growth.
Knowing these traits helps you prepare the seed correctly for successful germination.
2. Selecting and Collecting Walnut Seeds
The first step is to obtain healthy seeds. Here’s what to look for:
Choosing the Right Walnuts
- Pick fully mature walnuts that have fallen naturally from the tree in autumn.
- Avoid nuts that are shriveled, cracked, or show signs of mold or insect damage.
- Fresh nuts have a green husk that easily peels away to reveal the hard brown shell.
Seed Storage Before Planting
- Store seeds in a cool, dry place if you don’t plan to plant immediately.
- Keep seeds in a plastic bag with damp sand or peat moss in the refrigerator (around 2–4°C) to prevent drying out.
- Avoid storing seeds in direct sunlight or in warm conditions, as this can reduce viability.
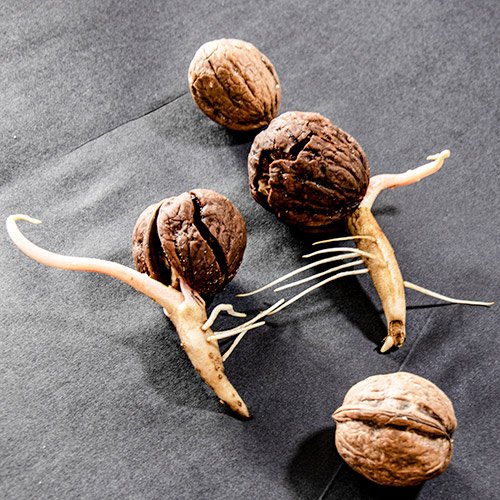
3. Preparing the Walnut Seeds for Germination
Walnut seeds have natural dormancy, which must be broken before planting. This involves stratification, a process that simulates winter conditions.
Step 1: Remove the Husk
- Peel away the green husk carefully, revealing the hard shell underneath.
- Wear gloves if the husk is messy, as some varieties may stain your hands.
Step 2: Soak the Seeds
- Soak the seeds in water for 24 hours.
- This softens the shell and jumpstarts the germination process.
Step 3: Cold Stratification
- Place the seeds in a damp medium (sand, peat moss, or vermiculite) inside a plastic bag.
- Keep the seeds in the refrigerator at 2–4°C for 2–3 months.
- Check occasionally to ensure the medium remains slightly moist, not soggy.
This cold period mimics winter, allowing the seed to break dormancy naturally.
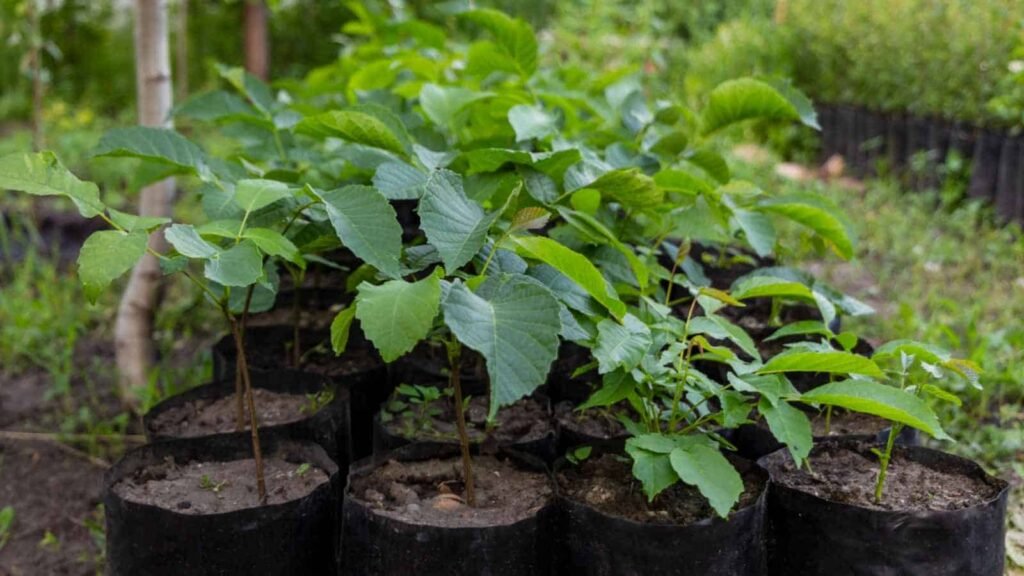
4. Choosing the Right Container and Soil
When it’s time to plant, the choice of container and soil is critical for healthy root development.
Container Selection
- Use deep pots or seed trays to accommodate the walnut’s long taproot.
- Containers should have good drainage holes to prevent waterlogging.
- A minimum depth of 12–18 inches is ideal for seedling growth.
Soil Requirements
- Walnuts prefer loamy, well-draining soil with slightly acidic to neutral pH (6–7).
- Mix compost or organic matter into the soil to provide essential nutrients.
- Avoid heavy clay or waterlogged soils, which can lead to root rot.
5. Planting the Walnut Seed
Once your seeds have been stratified, it’s time to plant them.
Step-by-Step Planting
- Fill your container with prepared soil.
- Plant the walnut seed with the pointed end facing up and the flat end down.
- Cover the seed with 1–2 inches of soil, ensuring the seed is not too deep.
- Water lightly to settle the soil, keeping it moist but not soggy.
Place the container in a location with plenty of sunlight — at least 6–8 hours daily.
6. Caring for Walnut Seedlings
Proper care during the early stages determines the tree’s long-term health.
Watering
- Keep the soil evenly moist during germination and early growth.
- Avoid overwatering; walnut seedlings are susceptible to root rot.
- Water deeply once or twice a week, allowing soil to dry slightly between waterings.
Sunlight
- Walnuts thrive in full sun, so ensure seedlings receive ample light.
- If growing indoors, supplement with a grow light to promote strong growth.
Temperature
- Young seedlings grow best in moderate temperatures (20–25°C).
- Protect seedlings from frost or sudden temperature fluctuations.
Fertilization
- Use a balanced, slow-release fertilizer once seedlings develop 3–4 true leaves.
- Avoid overfertilizing; too much nitrogen can produce weak, leggy growth.
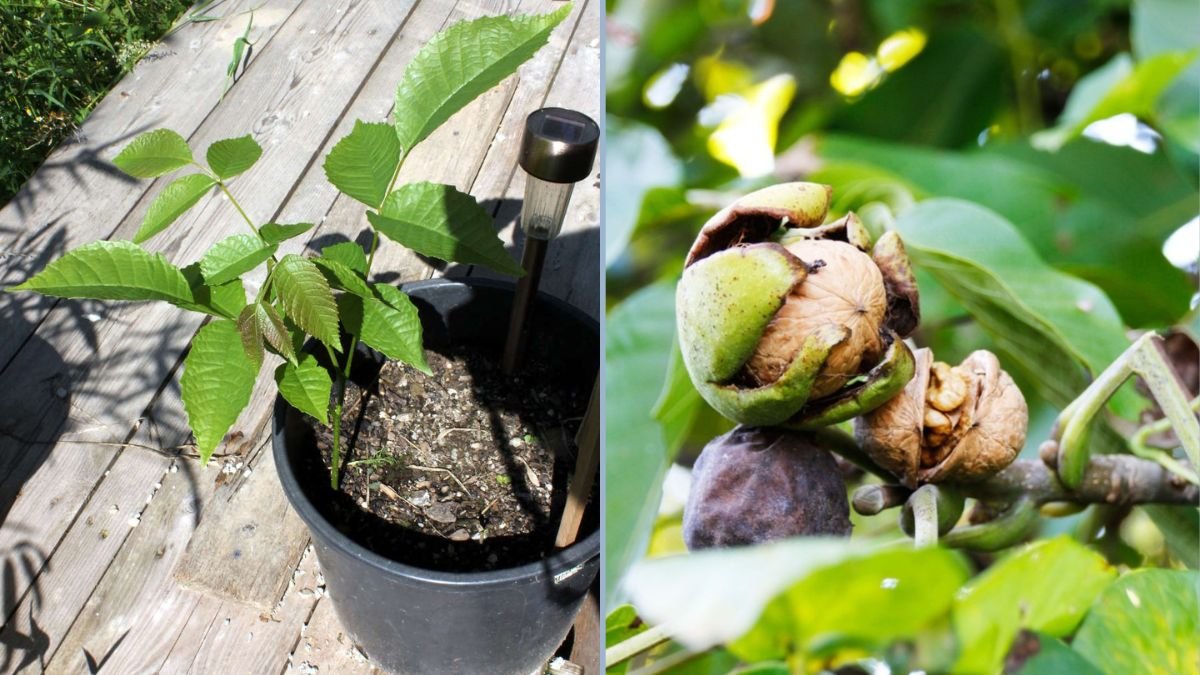
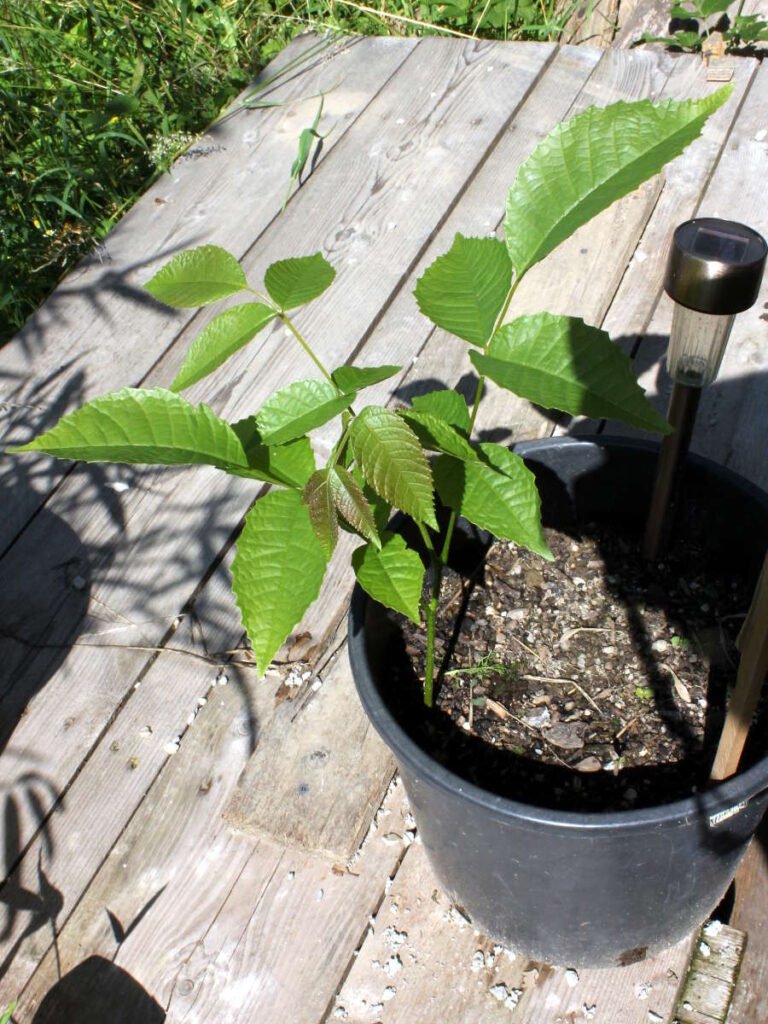
7. Transplanting Walnut Seedlings
After 6–12 months, when seedlings are strong with 4–6 leaves and a healthy root system, you can transplant them outdoors or into larger containers.
Step 1: Choosing the Location
- Walnuts need full sun and space to grow — ideally 40–60 feet between trees.
- Choose well-draining soil free from standing water.
Step 2: Preparing the Hole
- Dig a hole at least 2–3 times the size of the seedling’s root ball.
- Add compost or organic matter to enrich the soil.
Step 3: Planting
- Remove the seedling gently, preserving the root structure.
- Plant it at the same depth it grew in the container.
- Water deeply and add mulch around the base to retain moisture.
8. Pruning and Maintenance
Pruning walnut trees is important to ensure healthy structure and fruit production.
Early Pruning
- Start pruning when the seedling is 1–2 years old.
- Remove damaged, crossing, or crowded branches.
- Encourage a central leader structure for stronger growth.
Maintenance Pruning
- Prune lightly every year to improve airflow and sunlight penetration.
- Remove suckers from the base of the tree.
- Avoid heavy pruning during the fruiting season to prevent stress.
9. Common Problems and How to Solve Them
Even with careful attention, walnut seedlings can face some challenges.
1. Yellowing Leaves
- Cause: Overwatering or nutrient deficiency.
- Solution: Reduce watering and apply a balanced fertilizer.
2. Slow Growth
- Cause: Insufficient sunlight or poor soil.
- Solution: Move seedlings to a brighter location and enrich the soil.
3. Pests
- Common pests: aphids, caterpillars, or walnut husk flies.
- Solution: Use organic sprays, neem oil, or manual removal.
4. Fungal Diseases
- Symptoms: wilting, leaf spots, or stem rot.
- Solution: Ensure proper spacing, avoid overwatering, and use fungicides if necessary.
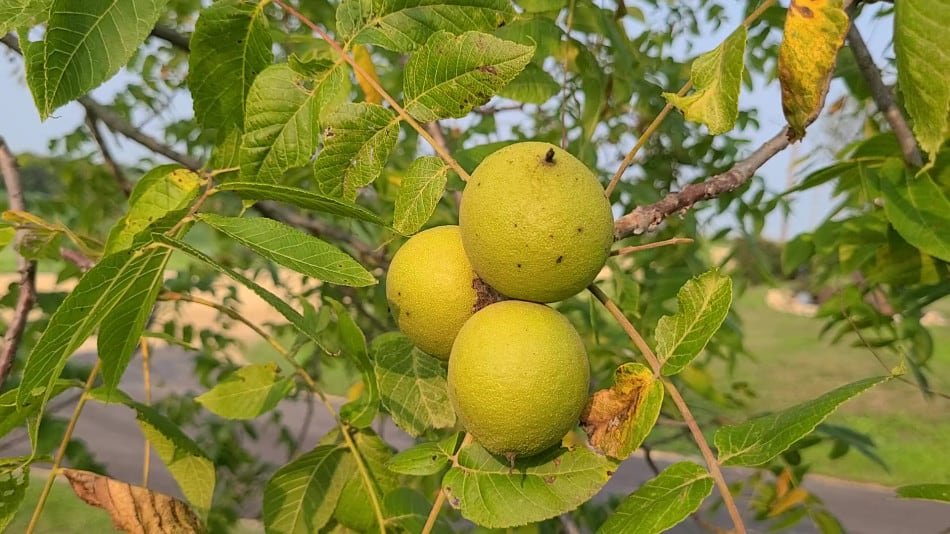
10. Harvesting Walnuts
Patience is key: walnut trees grown from seed may take 7–10 years to produce nuts. However, the reward is worth the wait.
Signs of Maturity
- Nuts start falling naturally from the tree in late summer or early autumn.
- The green husk begins to split, revealing the hard brown shell inside.
Harvesting Tips
- Collect fallen nuts promptly to prevent mold or pest damage.
- Dry the nuts for a few weeks in a shaded area before storage.
- Enjoy them fresh or use in cooking, baking, or for making walnut oil.
Conclusion
Growing a walnut tree from seed is a rewarding and educational journey. From selecting the right seeds, stratifying them, planting, and nurturing seedlings, to eventual transplanting and fruit harvesting, the process teaches patience, care, and respect for nature’s pace.
Even if your tree doesn’t produce nuts for several years, it will grow into a beautiful, shade-providing, long-living tree — a testament to your dedication and the wonders of home gardening.
Starting from a single seed, you have the power to cultivate a tree that could live for decades, providing food, beauty, and environmental benefits for generations to come.