There’s something magical about growing your own plant from a simple seed — especially when it’s an avocado. You finish eating the creamy, buttery fruit, save the pit, and before long, you’re watching a beautiful little tree sprout right in your home.
Learning how to grow an avocado from seed is easy, fun, and incredibly rewarding. Not only do you get a lush, attractive houseplant with glossy green leaves, but you also gain a deeper connection to one of nature’s most beloved superfoods.
While growing an avocado tree from seed won’t produce fruit overnight (or even in a few years), the process is a perfect introduction to home gardening — simple enough for kids and satisfying for adults. In this detailed guide, you’ll learn exactly how to grow an avocado from seed, from preparing the pit to caring for your young tree as it matures.
1. Understanding the Avocado Seed
Before diving into the steps, it helps to know what you’re working with.
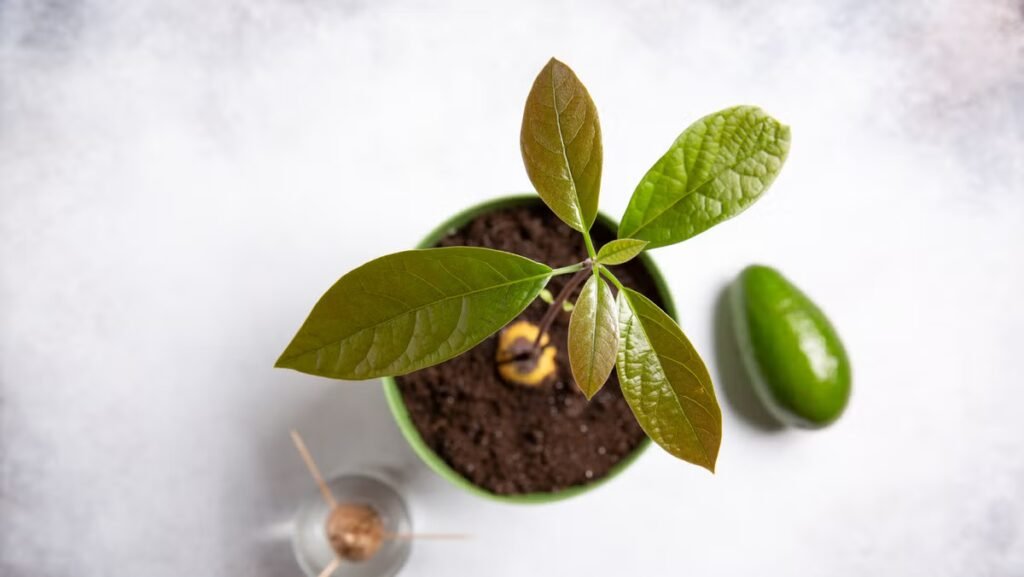
The avocado seed, or pit, is the hard inner part of the fruit — smooth, round, and roughly the size of a golf ball. Inside that shell lies the embryo of the future tree. When given the right conditions — warmth, moisture, and light — it will split open, send out a root downward, and a stem upward.
Avocado seeds can take anywhere from 2 to 8 weeks to sprout, depending on temperature and freshness. The key to success is patience and consistency.
2. Materials You’ll Need
Growing an avocado from seed doesn’t require fancy tools. You likely already have everything you need at home.
- One ripe avocado
- A knife (to open the fruit)
- Paper towels or toothpicks (depending on method)
- A glass or jar
- Potting soil
- A small pot with drainage holes
- Sunlight or a bright indoor window
Once you have these supplies, you’re ready to get started.
3. Step One: Remove and Clean the Seed
After enjoying your avocado, carefully remove the pit without cutting or damaging it. Rinse the seed under lukewarm water to remove all fruit residue — leftover pulp can cause mold during germination.
Be gentle; don’t remove the thin brown skin that covers the pit. That protective layer helps the seed stay intact and supports sprouting.
4. Step Two: Identify the Top and Bottom
Every avocado pit has a top and bottom, and knowing which end is which is crucial.
- The top (pointed end) is where the sprout will emerge.
- The bottom (flat end) is where the roots will grow.
When setting up your seed for germination, always keep the pointed end up and the flat end down.
5. Step Three: Choose Your Germination Method
There are two main methods for sprouting avocado seeds — the toothpick method and the paper towel method. Both work well, but each has its own benefits.
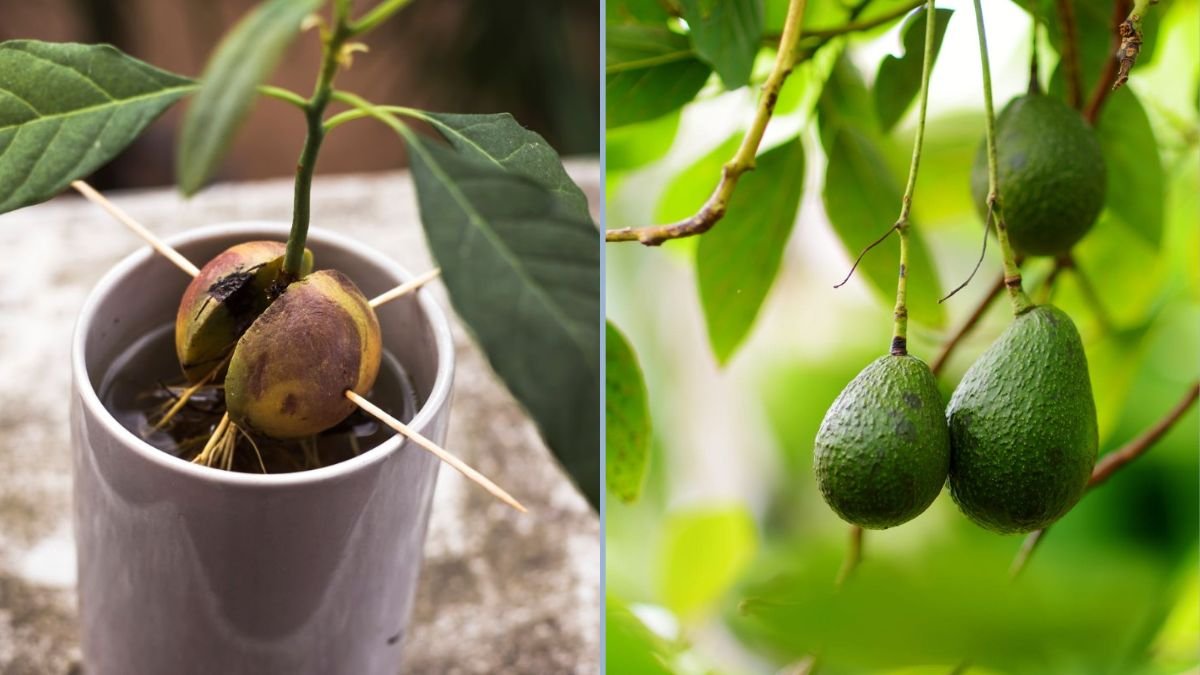
Method 1: The Toothpick and Water Method
This is the classic and most popular way to grow an avocado seed.
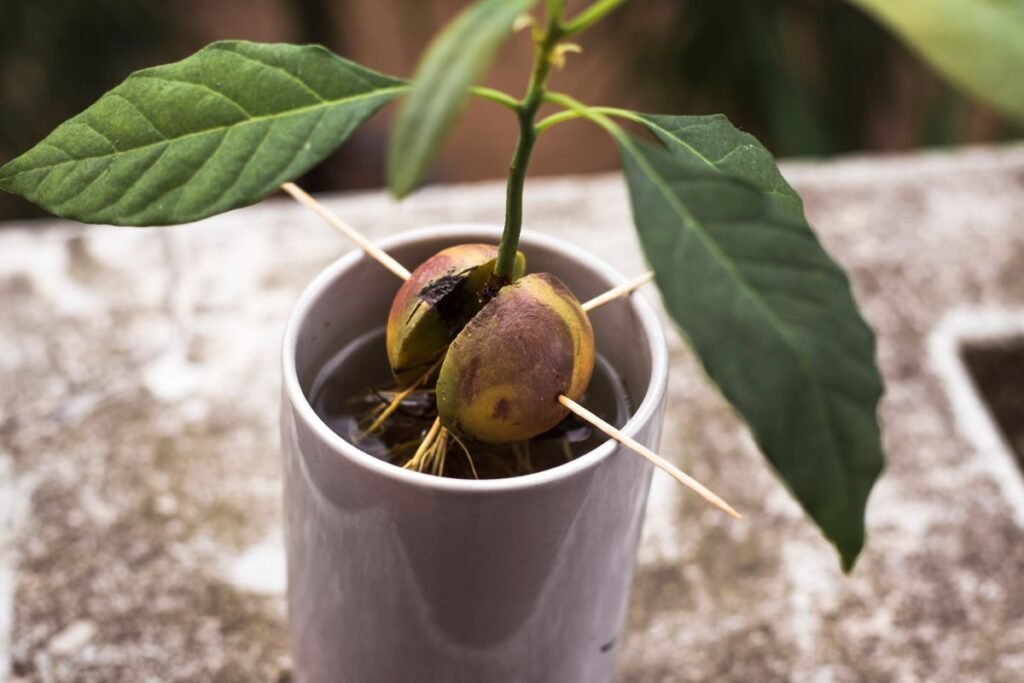
- Insert Toothpicks:
Insert 3 or 4 toothpicks evenly spaced around the middle of the seed. These will act as supports, holding the pit halfway in water. - Suspend the Seed:
Rest the toothpicks on the rim of a glass of water, with the bottom half of the seed submerged and the top half exposed to air. - Choose a Spot:
Place the glass in a warm, sunny area such as a windowsill. Avoid direct, intense sunlight that could overheat the water. - Maintain Water Level:
Keep the bottom of the seed consistently submerged. Change the water every 3–5 days to prevent bacteria and mold. - Wait for Sprouting:
Within 2 to 8 weeks, you’ll see the seed crack open. A white taproot will emerge first, followed by a small stem sprout from the top.
Once your avocado stem grows 6–8 inches tall, you’re ready to move to soil.
Method 2: The Paper Towel and Bag Method
This method provides a more controlled, humid environment and often leads to faster sprouting.
- Dampen a Paper Towel:
Moisten it with water and wring out excess — it should be damp, not dripping. - Wrap the Seed:
Enclose the clean seed in the towel, ensuring full contact. - Seal in a Plastic Bag:
Place the towel-wrapped seed inside a resealable plastic bag or container. - Store in a Warm Place:
Keep the bag in a warm, dark location such as a cupboard or on top of a refrigerator. - Check Periodically:
Every few days, open the bag to check for mold and add moisture if needed. You’ll see roots in about 3–6 weeks.
Once the root is around 3 inches long and the shoot begins to grow, it’s time to plant your seed.
6. Step Four: Planting the Sprouted Seed
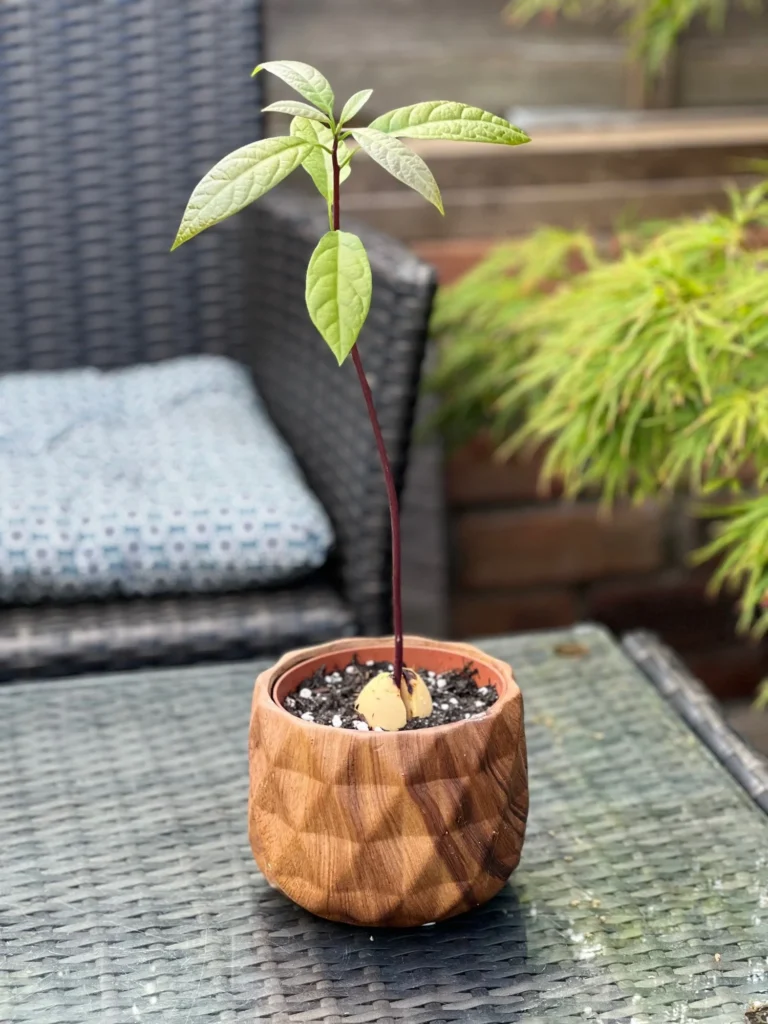
When your avocado seed has both a healthy root and a young stem, transplant it into soil to help it develop into a sturdy plant.
- Choose a Pot:
Use a 6–8 inch pot with drainage holes. Avocados hate “wet feet,” so good drainage is vital. - Prepare Soil:
Use rich, well-draining potting mix — ideally a blend for citrus or succulents. Mix in perlite or sand for aeration. - Plant Properly:
Bury the seed so the top half remains above soil level. The sprout should be exposed, while roots are covered. - Water Thoroughly:
Water the soil until it’s evenly moist, then let excess water drain out. Avoid soggy conditions. - Provide Sunlight:
Place the pot near a sunny window or in bright, indirect light. Avocados love warmth and sunshine.
7. Step Five: Caring for Your Young Avocado Plant
Once your avocado seedling takes root in soil, it’s time for regular care and maintenance. Here’s what to do:
Watering
Keep the soil consistently moist but never waterlogged. Stick your finger into the top inch of soil — if it’s dry, it’s time to water. Overwatering is the number one reason avocado seedlings fail.
Sunlight
Avocado plants need at least 6 hours of bright light each day. If growing indoors during winter, consider a grow light to supplement natural light.
Temperature
Avocados thrive in warmth. Ideal indoor temperatures are between 65–85°F (18–29°C). Protect the young tree from drafts and sudden temperature drops.
Pruning
When your plant reaches about 12 inches tall, pinch off the top leaves to encourage branching and a fuller shape. Continue pruning occasionally to manage height and promote lush foliage.
Fertilizing
After your plant is about 6 months old, begin feeding it every 4–6 weeks with a balanced liquid fertilizer diluted to half strength. During winter, reduce feeding to once every 2 months.
8. Transplanting Outdoors (Optional)
If you live in a warm climate (USDA zones 9–11), you can eventually move your avocado tree outdoors.
- Timing:
Wait until your tree is at least 1–2 years old and the weather is consistently warm. - Site:
Choose a sunny, well-drained location protected from strong winds. - Soil:
Avocados prefer loose, slightly acidic soil (pH 6–6.5). Avoid heavy clay soils that hold too much water. - Planting:
Dig a hole slightly larger than the root ball and plant the tree at the same depth it grew in the pot. Water well after planting. - Mulching:
Add organic mulch around the base to retain moisture and prevent weeds, keeping it a few inches away from the trunk.
9. Common Problems and How to Fix Them
Even though avocados are hardy, a few challenges can arise. Here’s how to handle them:
- Brown or Curling Leaves: Usually from overwatering or low humidity. Reduce watering and mist leaves occasionally.
- Slow Growth: May be due to insufficient light or nutrients. Move to a brighter spot and use a balanced fertilizer.
- Root Rot: Always ensure the pot drains well and soil isn’t waterlogged.
- Yellowing Leaves: Often a sign of poor drainage or too much fertilizer. Flush the soil with water and adjust feeding frequency.
With attentive care, most avocado plants recover quickly and grow into strong, resilient trees.
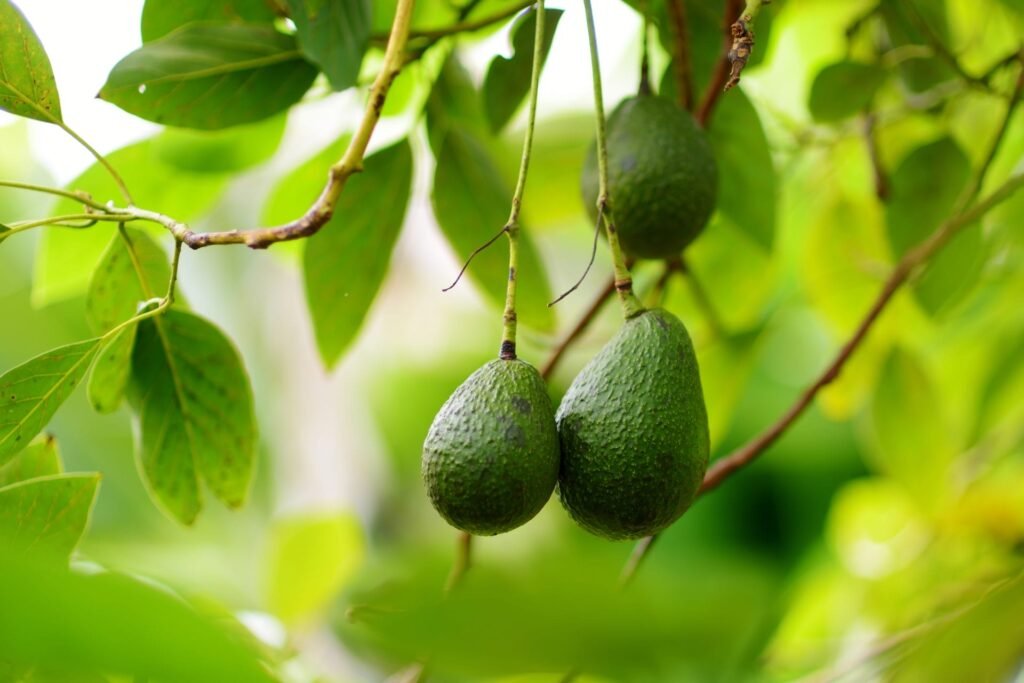
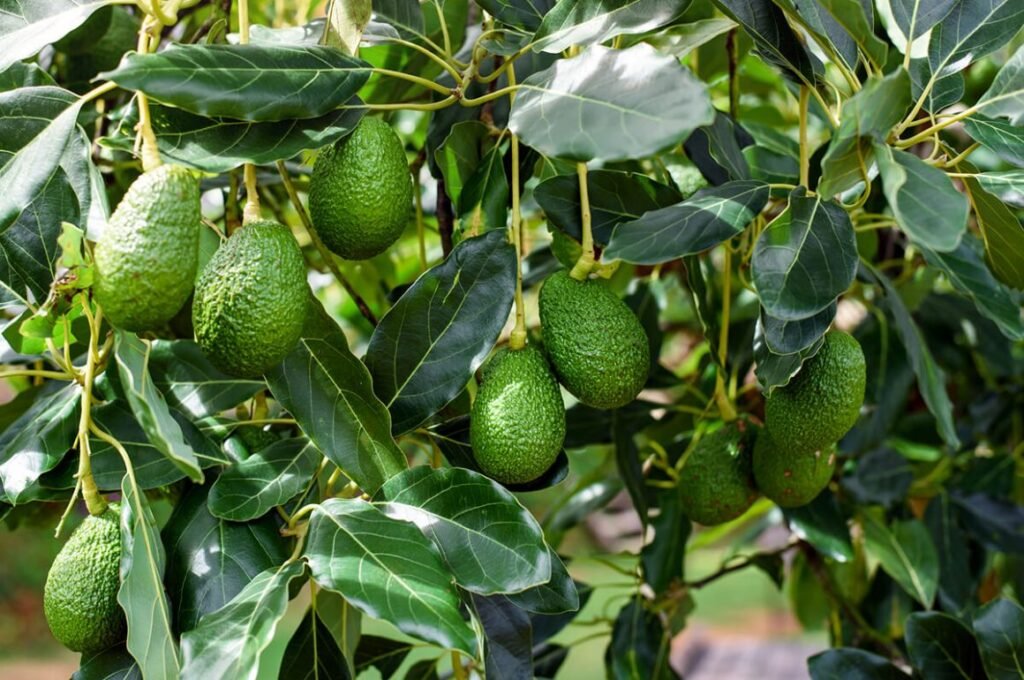
10. When Will It Bear Fruit?
This is the most common question new avocado growers ask — and the honest answer is: it takes patience.
Avocado trees grown from seed can take 5–13 years (or more) to bear fruit, and some may never produce fruit identical to the parent. However, even if your seed-grown tree never yields avocados, it still makes a gorgeous, tropical-looking houseplant.
If your main goal is fruit production, consider grafting your seedling onto a mature rootstock later — this can dramatically shorten the time to harvest.
Conclusion
Growing an avocado tree from seed is one of the simplest, most satisfying gardening projects you can do at home. It teaches patience, care, and appreciation for nature’s process — from seed to sprout to thriving green plant.
With just water, sunlight, and a little time, you can transform a leftover pit into a living reminder of how life grows in unexpected places.
So next time you enjoy an avocado, don’t toss that seed away. Instead, give it a chance — plant it, nurture it, and watch your own avocado tree come to life.
You’ll not only add beauty and greenery to your space but also gain the joy of saying, “I grew this from a seed.”