
Sprouts are one of the healthiest and most nutrient-dense foods you can grow at home. Packed with vitamins, minerals, and enzymes, sprouts are perfect for salads, sandwiches, smoothies, and even soups. They are easy to digest, promote healthy digestion, and are known to boost immunity. Despite their simplicity, many beginners struggle with sprouting seeds at home, often facing issues like mold, uneven growth, or seeds that fail to germinate.
The good news is that there’s a most standard way to grow sprouts at home that virtually guarantees success every time. With proper technique, hygiene, and care, anyone can grow fresh, healthy sprouts in just a few days. This guide will walk you step-by-step through the process, from choosing the right seeds to harvesting your sprouts.
Why Grow Sprouts at Home
There are several compelling reasons to grow your own sprouts:
- Freshness and nutrition: Homegrown sprouts are far fresher than store-bought options, and nutrients are preserved since they are consumed shortly after harvesting.
- Cost-effective: A small packet of seeds can produce multiple harvests, making it extremely economical.
- Easy and fast: Sprouts grow quickly, often within 2–5 days.
- Space-saving: You don’t need a garden; a small jar or tray is sufficient.
- Control over hygiene: Growing at home ensures your sprouts are clean and free from harmful chemicals.
Whether you want to add more greens to your diet, save money, or just enjoy a fun kitchen project, growing sprouts at home is the ideal solution.
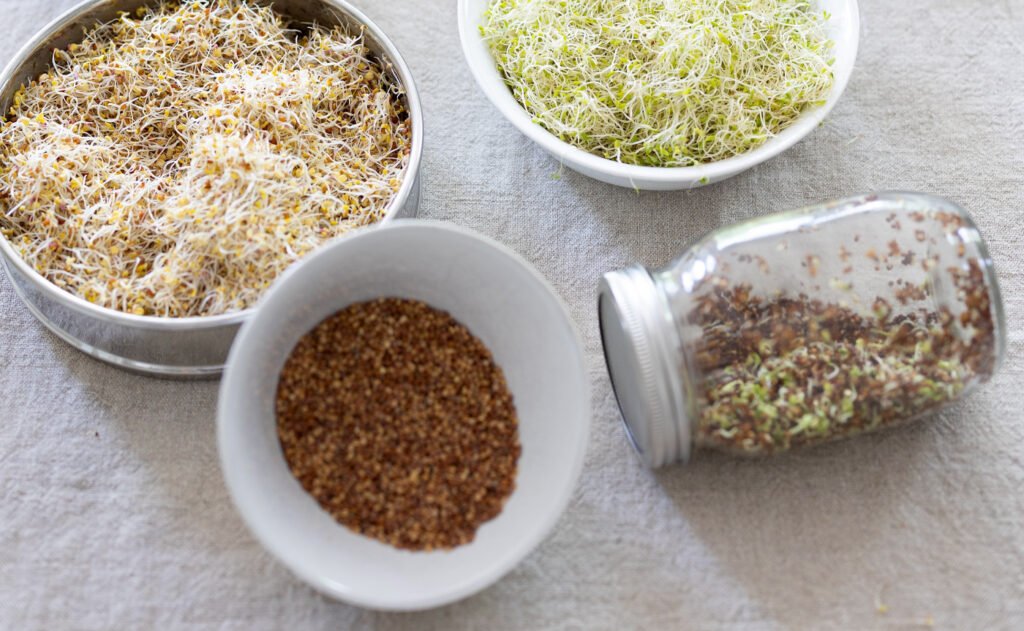
Choosing the Right Seeds
The first step to successful sprouting is selecting the right seeds. Not all seeds are suitable for sprouting, and some require different conditions. Common seeds that sprout easily include:
- Mung beans (green gram): Crisp and sweet, ideal for salads and stir-fries.
- Alfalfa seeds: Mild taste, perfect for sandwiches and smoothies.
- Lentils: High in protein and very hardy.
- Fenugreek (methi) seeds: Slightly bitter, rich in vitamins and minerals.
- Chickpeas (soaked overnight): Crunchy sprouts great for snacking or cooking.
Pro tip: Always use seeds specifically labeled for sprouting or organic seeds to avoid contamination and ensure higher germination rates.
Materials You’ll Need

To grow sprouts at home, you only need a few simple items:
- Seeds for sprouting
- A wide-mouth jar or tray (for container sprouting)
- A mesh or breathable lid (or cheesecloth with a rubber band)
- Water (preferably filtered)
- Optional: Spray bottle for misting
This minimal setup makes sprouting accessible to anyone, even in small apartments.
Step 1: Preparing the Seeds
Preparation is key to ensure a 100% success rate:
- Measure the seeds: Use around 2–3 tablespoons for a medium-sized jar.
- Rinse thoroughly: Wash seeds under running water to remove dirt or debris.
- Soak seeds: Place them in the jar and cover with water. Soak for 8–12 hours (overnight works best).
- Drain water: After soaking, drain completely using a mesh lid or cheesecloth.
Soaking softens the seed coat, jump-starts germination, and ensures even sprouting.
Step 2: The Sprouting Process
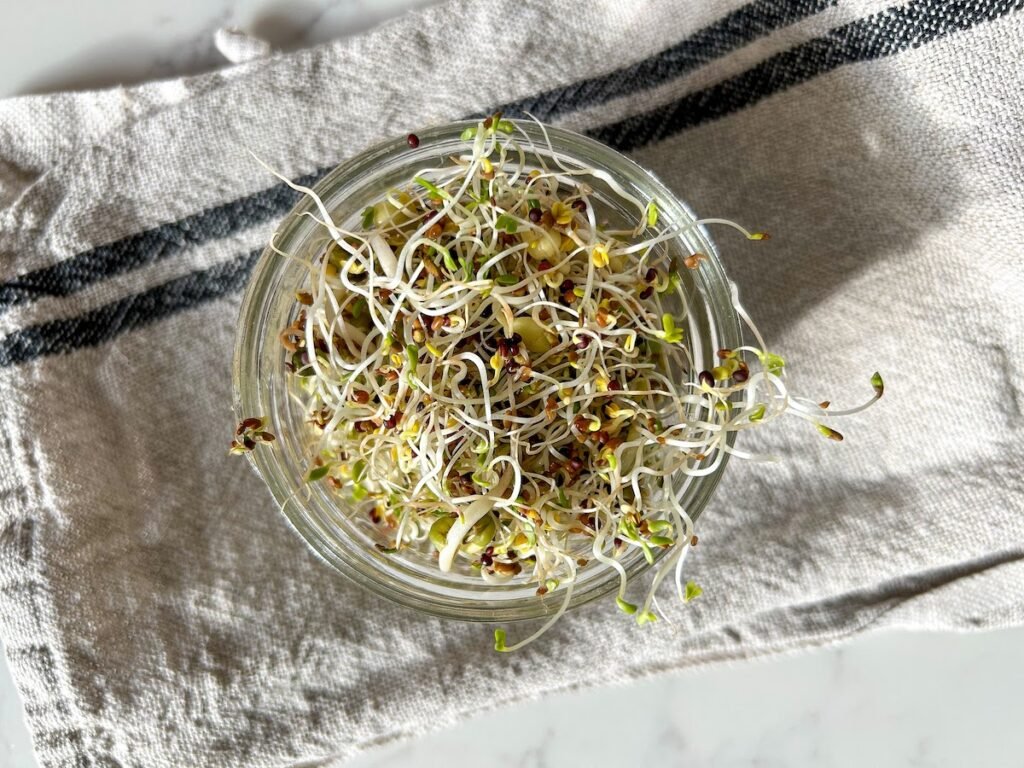
After soaking, the seeds are ready to sprout:
- Position the jar: Place it at an angle so excess water can drain, and air can circulate.
- Keep it in a dark or semi-dark area: Seeds germinate better in indirect light initially.
- Rinse and drain twice daily: Rinse seeds with fresh water twice a day, then drain thoroughly.
- Observe growth: Within 1–3 days, tiny sprouts will emerge.
Important: Do not let seeds sit in stagnant water, as this can lead to mold or rotting.
Step 3: Providing the Right Conditions
Sprouts thrive under specific conditions:
- Temperature: Keep the jar in a room-temperature environment (20–25°C / 68–77°F).
- Air circulation: Adequate ventilation prevents mold and ensures even growth.
- Moisture: Seeds should remain damp but not submerged in water.
By maintaining these conditions, your sprouts will grow quickly, uniformly, and remain healthy.
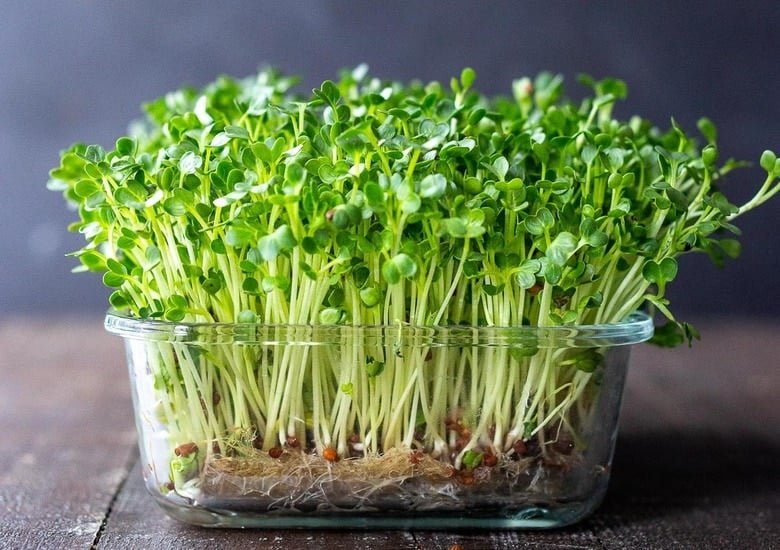
Step 4: Harvesting Sprouts
Most sprouts are ready to harvest in 3–5 days, depending on the seed type:
- Check the length: For most seeds, 1–2 inches is ideal for consumption.
- Rinse thoroughly: Remove seed coats and wash sprouts under running water.
- Drain completely: Use a colander or sieve to remove excess water.
Sprouts can be consumed raw, lightly cooked, or added to salads, sandwiches, smoothies, or soups.
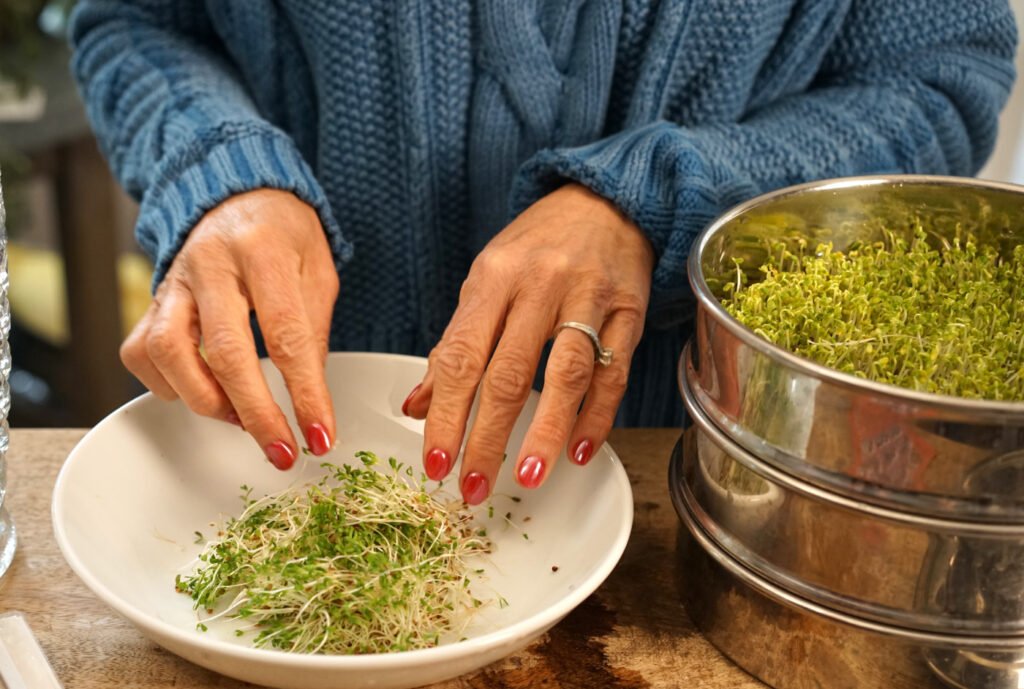
Step 5: Storing Sprouts
Fresh sprouts are best consumed immediately, but they can be stored in the refrigerator for a short period:
- Place sprouts in a covered container lined with a paper towel to absorb excess moisture.
- Keep them refrigerated for up to 4–5 days.
- Rinse before use if stored longer.
Proper storage helps retain freshness, crunchiness, and nutritional value.
Common Mistakes and How to Avoid Them
Even with a simple process, beginners can make mistakes that reduce sprout yield or quality:
- Overcrowding seeds: Too many seeds in one jar can prevent proper airflow.
- Insufficient rinsing: Not rinsing seeds regularly can cause mold and bacteria growth.
- Excess water: Leaving seeds submerged can rot them.
- Poor ventilation: Stagnant air leads to weak sprouts or foul odors.
- Using non-organic seeds: Some seeds are treated with chemicals unsuitable for sprouting.
By avoiding these common pitfalls, you can achieve a near-100% success rate.
Tips for Maximum Success
- Start small: Begin with one jar until you master the process.
- Use organic or sprouting seeds: Higher germination rates and safety.
- Label jars: Helps track different seed types and sprouting times.
- Rotate jars occasionally: Ensures even sprout growth.
- Experiment with flavors: Combine different seeds for mixed sprouts in salads or sandwiches.
With these simple tips, even beginners can consistently grow healthy, crunchy sprouts at home.
Health Benefits of Sprouts
Sprouts are considered a superfood due to their concentrated nutrients:
- Rich in vitamins: A, C, K, and B-complex vitamins.
- High in minerals: Calcium, iron, magnesium, and zinc.
- Easy digestion: Sprouting breaks down starches, making them easier to digest.
- Boosts immunity: Packed with antioxidants that help fight free radicals.
- Weight management: Low in calories and high in fiber, helping maintain a healthy diet.
Including fresh sprouts in your daily diet is a simple and effective way to improve overall health.
Creative Ways to Use Sprouts
Sprouts are versatile and can be used in many dishes:
- Salads: Mix different sprouts with fresh vegetables and a light dressing.
- Sandwiches and wraps: Add crunchy texture and nutrition.
- Smoothies: Blend lightly with fruits for a nutrient boost.
- Soups and stir-fries: Lightly cooked sprouts retain flavor and nutrients.
- Snacks: Sprouted lentils or mung beans can be seasoned for healthy snacks.
Experimenting with different seeds and recipes keeps sprouting exciting and flavorful.
Final Thoughts
Growing sprouts at home doesn’t have to be complicated. By following the most standard method—selecting quality seeds, soaking them, providing proper moisture and ventilation, and rinsing regularly—you can achieve nearly 100% success. This simple process allows you to enjoy fresh, nutritious, and crunchy sprouts in just a few days without special equipment or soil.
Sprouting is not only a cost-effective way to add superfoods to your diet but also a fun and educational activity for beginners, kids, and urban gardeners alike. Start with one jar today, and within days, you’ll have a fresh, homegrown source of nutrition right in your kitchen.
Sprouts are proof that healthy eating can be simple, affordable, and incredibly rewarding. By mastering the standard method, you can enjoy consistent, vibrant, and nutrient-rich sprouts anytime you want.