Ginger (Zingiber officinale) is a kitchen staple, prized for its spicy flavor, medicinal properties, and health benefits. While many people purchase fresh ginger rhizomes at the store, growing your own at home is both rewarding and surprisingly simple. With a few clever tricks, you can encourage ginger to root faster and produce strong, healthy plants that yield abundant rhizomes.
In this guide, we’ll cover everything from selecting store-bought ginger to planting, rooting, care, and harvesting. By following these steps, even beginners can grow ginger at home successfully and enjoy fresh, organic rhizomes whenever they need them.
Why Grow Ginger at Home?

- Freshness: Homegrown ginger is fresher, more aromatic, and more flavorful than store-bought.
- Cost Savings: Ginger rhizomes can be expensive, especially organic ones. Growing your own saves money.
- Continuous Supply: Once established, ginger can provide harvests multiple times a year.
- Pesticide-Free: You control what goes into your soil, ensuring chemical-free growth.
- Fun and Educational: Growing ginger is easy and a great way to learn about plant propagation.
Step 1: Selecting Store-Bought Ginger
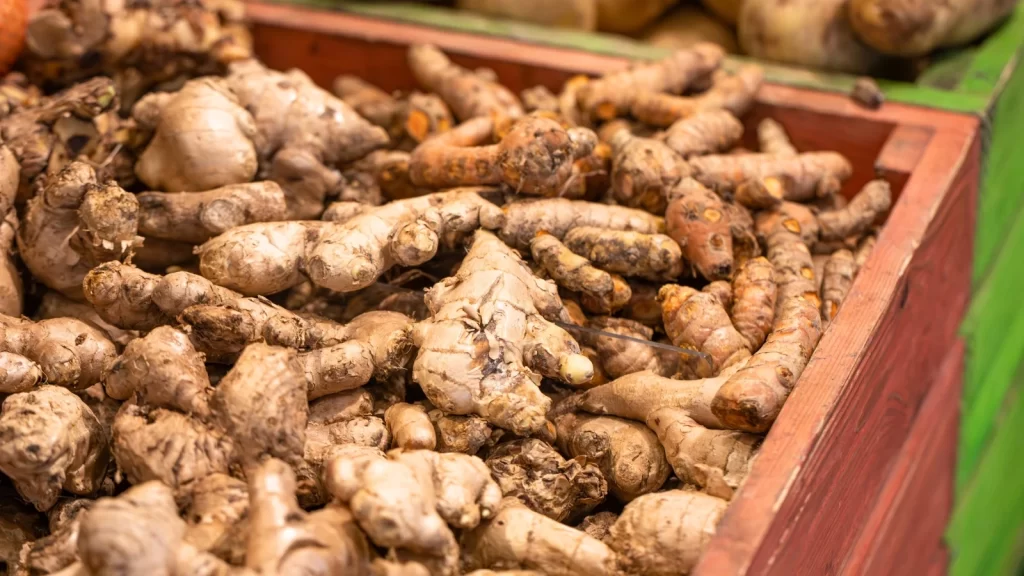
Not all store-bought ginger will grow successfully. Look for:
- Fresh, Plump Rhizomes: Avoid shriveled or dried-out pieces.
- Visible Eyes or Buds: These are the small points where roots and shoots emerge.
- Organic if Possible: Store-bought ginger is often treated with growth inhibitors. Organic rhizomes are more likely to sprout.
Pro Tip: Choose pieces with multiple “eyes” to maximize the number of shoots and future rhizomes.
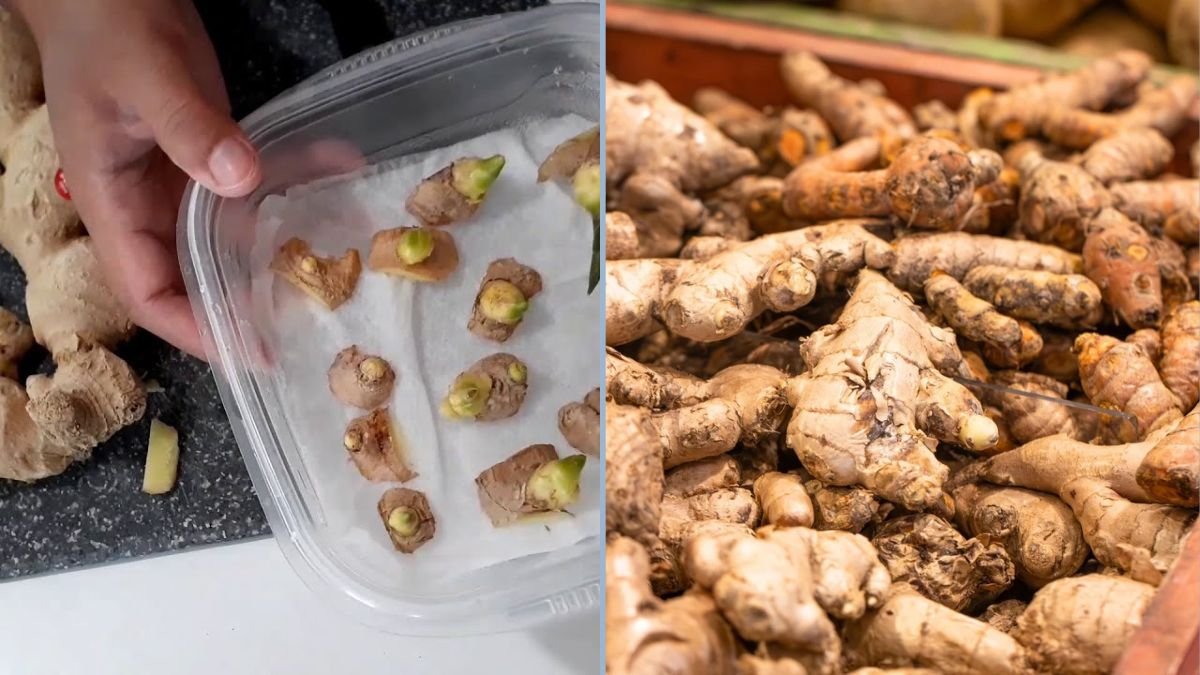
Step 2: Prepping Ginger for Planting
This is where the interesting trick to make them root faster comes in:
- Soak the Rhizome:
- Place the ginger in warm water for 12–24 hours.
- This softens the rhizome and encourages sprouting.
- Optional Pre-Sprouting:
- Wrap ginger in a damp paper towel.
- Place it in a warm, dark area for a few days until small buds appear.
Pro Tip: Ginger roots quicker when slightly sprouted before planting. This reduces the waiting period and increases success rates.
Step 3: Choosing the Right Container or Garden Spot
Ginger grows well in containers, raised beds, or garden plots. Consider:
- Containers:
- Use pots at least 12–15 inches deep for healthy root development.
- Ensure drainage holes to prevent waterlogging.
- Garden Beds:
- Well-drained, loose soil enriched with compost is ideal.
- Avoid heavy clay soils, which can rot rhizomes.
- Sunlight:
- Ginger prefers partial shade to filtered sunlight.
- Direct sun can scorch young shoots.
Pro Tip: Containers are ideal for urban gardeners and allow easy control over soil and moisture.
Step 4: Preparing the Soil Mix
Ginger thrives in nutrient-rich, loose, well-draining soil. Recommended mix:
- 2 parts garden soil or loamy soil
- 1 part compost or well-rotted manure
- 1 part sand or perlite for drainage
Tips:
- Avoid compacted soil. Loose soil encourages rhizome expansion.
- Enrich soil with organic matter to provide nutrients throughout the growing season.
Step 5: Planting Ginger
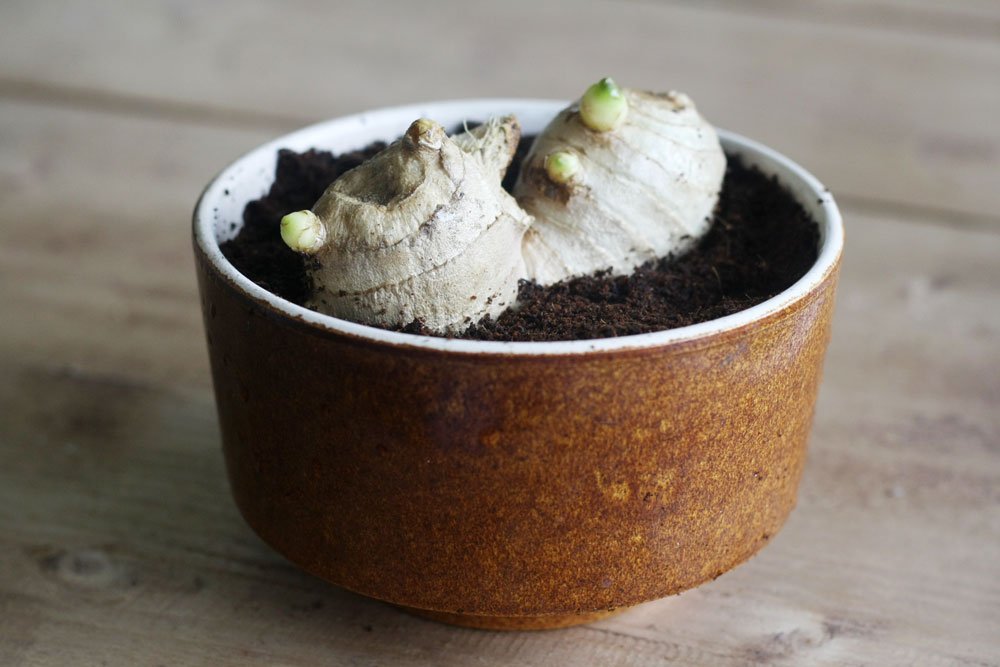
- Cutting Rhizomes:
- If the rhizome is large, cut into 2–3 inch pieces, each with at least one visible bud.
- Allow cuts to air-dry for 24 hours to form a protective callus.
- Planting Depth:
- Plant rhizomes 2–4 inches deep, buds facing upward.
- Space multiple pieces 6–8 inches apart to allow room for growth.
- Watering:
- Water lightly after planting to settle the soil.
- Keep soil slightly moist but not waterlogged.
Pro Tip: Planting ginger horizontally in shallow trenches often produces more rhizomes than vertical planting.
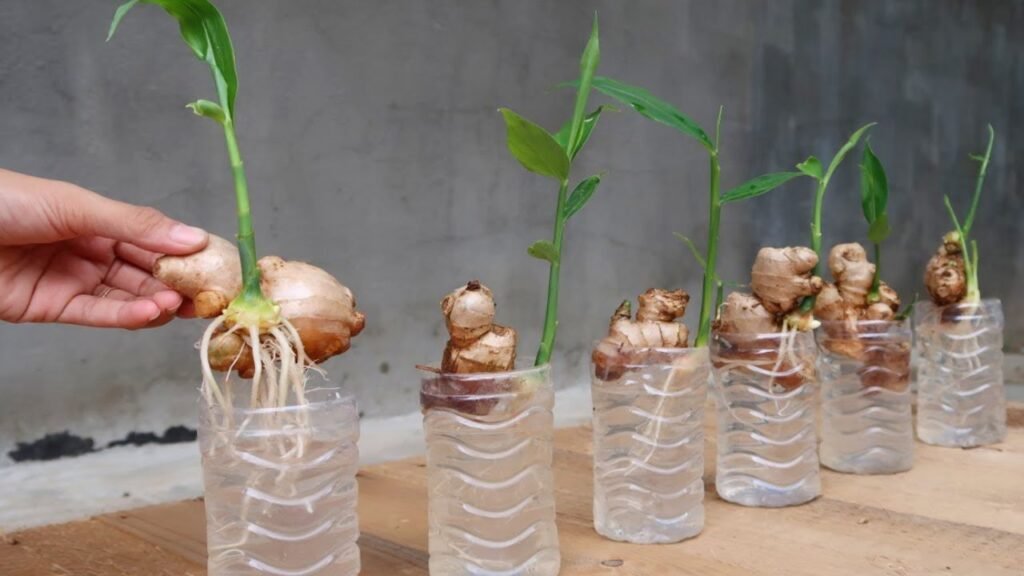
Step 6: Accelerating Root Growth
Here’s the interesting trick gardeners use to make ginger root faster:
- Warmth:
- Place the soil in a warm location (25–30°C or 77–86°F).
- Ginger roots faster in warm, humid conditions.
- Humidity:
- Cover the soil with mulch or a light layer of straw to retain moisture and encourage rooting.
- Frequent Light Watering:
- Keep soil consistently moist during early stages.
- Avoid overwatering, which can rot rhizomes.
Pro Tip: Roots typically emerge within 2–3 weeks if conditions are ideal. Pre-soaking and pre-sprouting rhizomes greatly speeds up this process.
Step 7: Caring for Ginger Plants

Once shoots emerge, proper care is essential for robust growth and high yield:
- Watering:
- Keep soil evenly moist, especially during active growth.
- Reduce watering slightly once growth slows in cooler months.
- Fertilization:
- Apply balanced organic fertilizers or compost every 4–6 weeks.
- Avoid excessive nitrogen, which promotes foliage over rhizomes.
- Mulching:
- Helps retain moisture, suppress weeds, and regulate soil temperature.
- Pest and Disease Management:
- Ginger is generally pest-resistant, but watch for aphids, nematodes, and fungal infections.
- Neem oil or organic sprays can control pests naturally.
Pro Tip: Ginger grows best in sheltered locations protected from heavy rains or wind.
Step 8: Supporting Growth
- Shallow Mulching:
- Helps keep rhizomes warm and encourages horizontal growth.
- Spacing and Thinning:
- Thin overcrowded shoots to allow light and air circulation.
- Companion Planting:
- Plant ginger alongside vegetables like peppers or leafy greens to maximize garden space.
Pro Tip: Ginger spreads laterally under the soil; giving each rhizome enough space results in larger harvests.
Step 9: Harvesting Ginger
- Timing:
- Ginger takes 8–10 months to mature for full harvest.
- For young, tender ginger, harvest after 4–6 months.
- Harvesting Technique:
- Carefully dig around the plant to avoid cutting or damaging rhizomes.
- Wash gently and store in a cool, dry place.
- Continuous Production:
- Leaving some rhizomes in the soil allows new shoots to grow for subsequent harvests.
Pro Tip: Young ginger is milder and juicier, while mature rhizomes are stronger in flavor and better for storage.
Step 10: Benefits of Growing Ginger at Home
- Fresh and Organic: Always have pesticide-free ginger on hand.
- Cost-Effective: Store-bought rhizomes are cheap, and a single piece can produce multiple harvests.
- Continuous Supply: Once established, ginger regrows every season.
- Health Benefits: Rich in antioxidants, vitamins, and anti-inflammatory compounds.
- Low Maintenance: Requires minimal inputs and thrives in containers or garden beds.
Step 11: Low-Cost Tricks for Faster Growth
- Pre-Soaking Rhizomes: Encourages quicker sprouting.
- Warm and Humid Conditions: Speed up root development.
- Mulching: Retains moisture and improves soil fertility.
- Reusing Containers: Old pots or trays are perfect for container-grown ginger.
- Organic Fertilizers: Kitchen waste like banana peels or compost boosts growth at no cost.
Pro Tip: Small, inexpensive steps can significantly reduce growth time and increase yield.
Conclusion
Growing store-bought ginger at home is easy, cost-effective, and highly rewarding. By selecting fresh rhizomes, pre-soaking or pre-sprouting them, planting in nutrient-rich soil, and maintaining warm, humid conditions, you can accelerate rooting and ensure strong plant growth. With proper care, your ginger garden can provide a continuous supply of fresh, aromatic, and healthy rhizomes right from your backyard or balcony.
Start today using this quick-rooting trick, and enjoy the satisfaction of homegrown ginger for cooking, teas, and natural remedies—all at minimal cost.