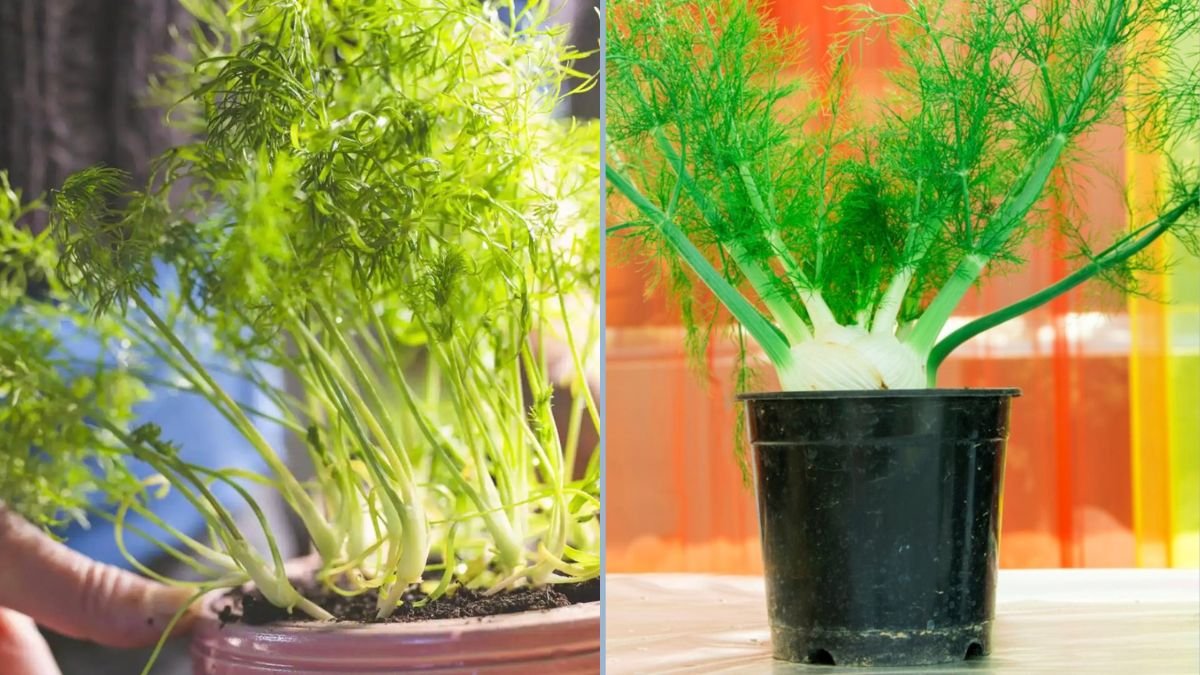
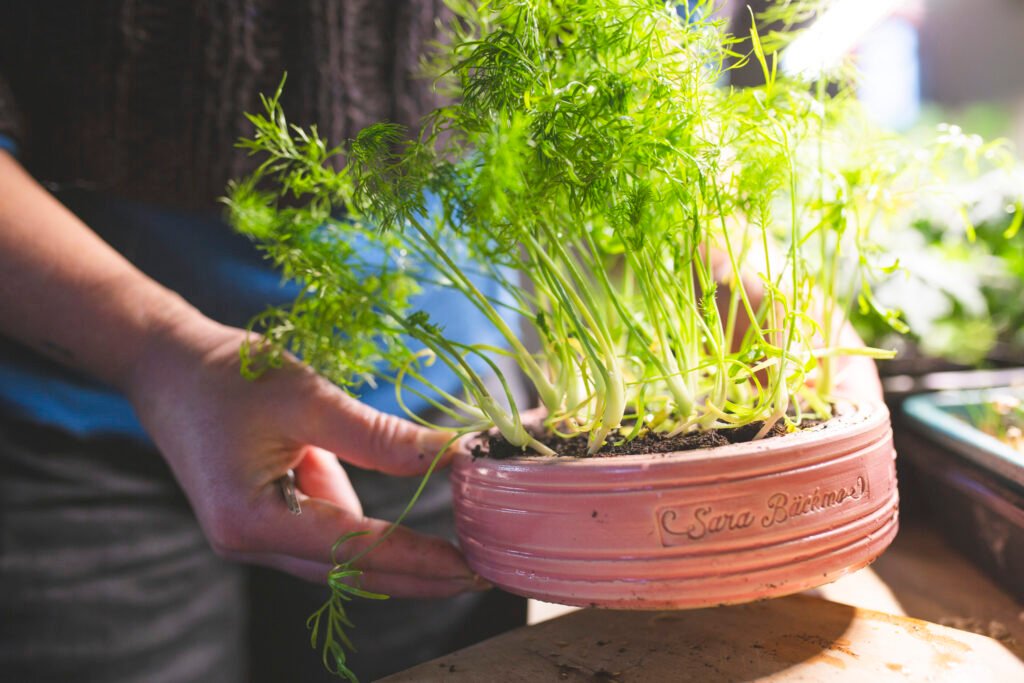
Growing fresh herbs and vegetables at home is a rewarding experience, especially when space is limited. Fennel, a versatile and aromatic herb, is perfect for kitchen gardens. Its bulb can be used in salads, soups, or roasted dishes, while the feathery fronds make an excellent garnish. The good news is that you don’t need a large garden plot to grow fennel bulbs—recycled plastic bottles can serve as an innovative, space-saving solution. In this guide, we’ll walk you through the process of planting fennel bulbs in plastic bottles, making home gardening accessible, sustainable, and fun.
Why Grow Fennel at Home?
Fennel is not only flavorful but also packed with nutrients. Growing it at home offers several advantages:
- Freshness: Homegrown fennel has a stronger aroma and flavor than store-bought bulbs.
- Cost-Effective: Buying fennel frequently can be expensive; growing your own saves money.
- Sustainability: Regrow fennel from seeds or small bulbs and reduce food waste.
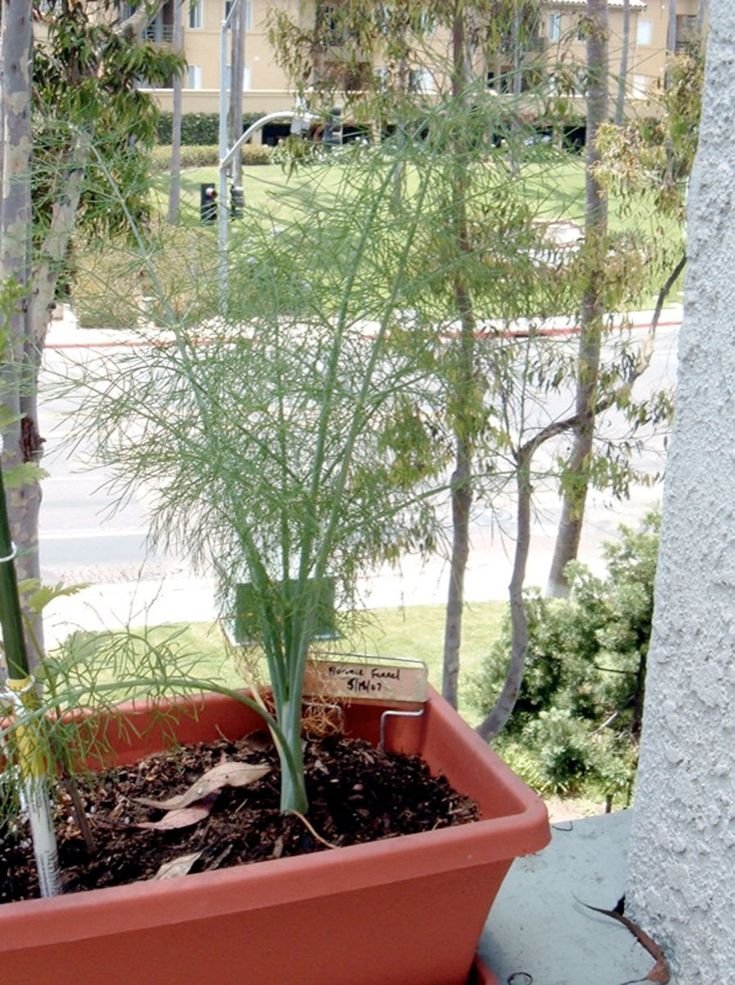
- Decorative: Fennel’s tall stalks and feathery leaves can add a touch of greenery to your kitchen or balcony.
For kitchen gardeners with limited space, using recycled bottles is a brilliant way to cultivate this aromatic plant while contributing to environmental sustainability.
Materials You’ll Need
Before starting, gather the following materials:
- Fresh fennel seeds or small bulbs
- Recycled plastic bottles (1–2 liters)
- Scissors or craft knife
- Potting soil or compost
- Water
- String or twine for hanging (optional)
- Small pebbles or gravel (optional for drainage)
By using recycled bottles, you’re turning single-use plastics into functional gardening containers, making your garden eco-friendly and cost-effective.
Step 1: Prepare Your Plastic Bottles
Proper preparation of the bottles is key to a successful fennel garden:
- Wash the bottles thoroughly to remove any residues.
- Cut the bottle horizontally or vertically to create a planting container.
- Poke a few small holes in the bottom for drainage, ensuring the roots don’t sit in stagnant water.
- Optional: Add a layer of pebbles or gravel at the bottom to further improve drainage.
Smooth the edges after cutting to prevent injury while handling the bottles.
Step 2: Select and Prepare Fennel Seeds or Bulbs
You can start fennel in two ways: from seeds or small bulbs.
From Seeds:
- Soak seeds in water overnight to speed up germination.
- Plant seeds about ¼ inch deep in the soil-filled bottle.
- Keep soil moist but not waterlogged until sprouts appear.
From Bulbs:
- Select small, healthy bulbs with some green fronds attached.
- Trim any damaged parts and keep the roots intact.
- Plant bulbs directly in soil, ensuring the roots are covered and the top of the bulb is exposed.
Healthy seeds and bulbs are essential for strong, aromatic fennel plants.
Step 3: Planting Fennel in Plastic Bottles
Now that your bottles and fennel material are ready, it’s time to plant:
- Fill the prepared bottle with potting soil or compost.
- Create a small hole in the soil for your seeds or bulbs.
- Place the seeds or bulbs in the hole and cover lightly with soil.
- Water gently, ensuring the soil is moist but not soggy.
If you are growing multiple fennel bulbs, leave 6–8 inches of space between them to allow room for growth.
Step 4: Choose a Suitable Location
Fennel thrives in bright sunlight, so choose a sunny window sill, balcony, or terrace for your bottle garden. Ideal conditions include:
- At least 6 hours of sunlight daily
- Moderate temperatures (fennel grows best in 15–25°C)
- Protection from harsh winds or heavy rain if outdoors
Hanging the bottles vertically is an excellent way to save space, especially in small kitchens or apartments. Use string or twine to secure the bottles safely.
Step 5: Watering and Care
Proper watering is crucial for healthy fennel growth:
- Keep the soil consistently moist but not waterlogged. Overwatering may rot the bulbs.
- If using a water-based system (hydroponics), ensure the roots are submerged but the fronds remain dry.
- Fertilize occasionally with organic compost or liquid fertilizer to promote strong bulb development.
Additionally, rotate the bottles occasionally if your sunlight source is uneven, ensuring all plants grow evenly.
Step 6: Mulching and Supporting Fennel
Mulching the soil helps retain moisture and regulate temperature. Use straw, dry leaves, or small wood chips to cover the soil surface lightly.
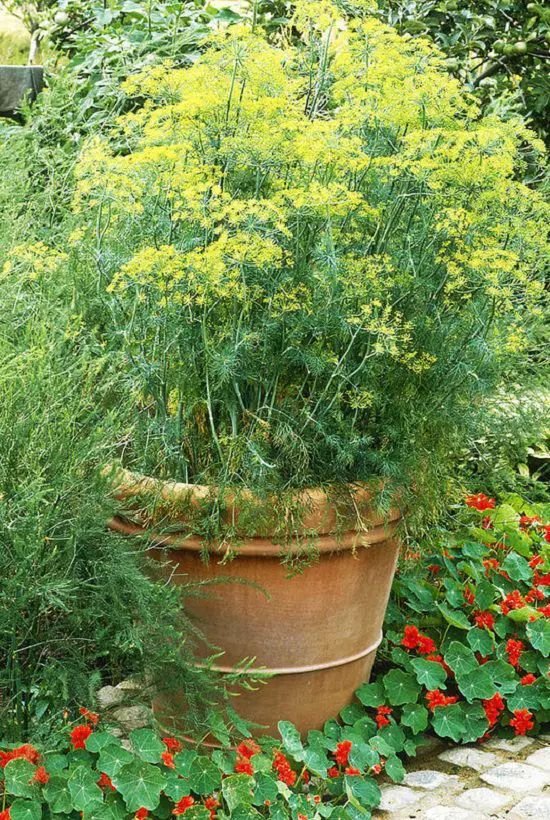
Fennel can grow tall, so you may need to provide support for the bulbs and fronds. Small sticks or skewers can be used as stakes to prevent the plants from tipping over in hanging bottles.
Step 7: Harvesting Fennel
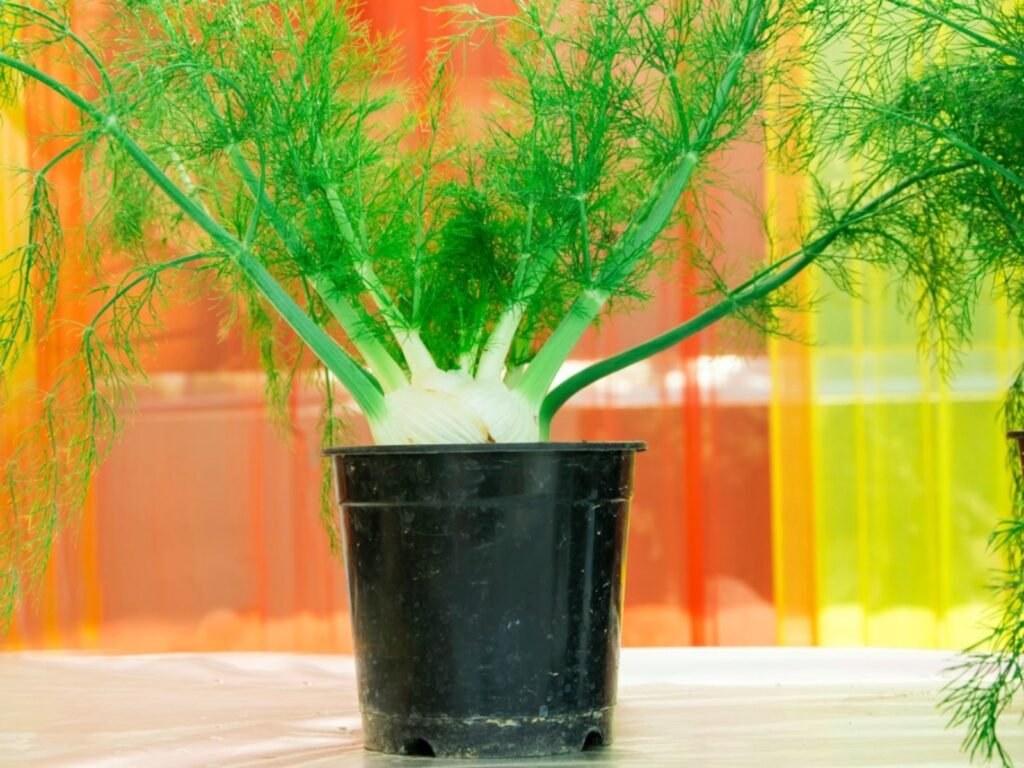
Fennel is usually ready to harvest in 8–12 weeks, depending on growing conditions and planting method. Look for bulbs that are firm, plump, and about the size of a tennis ball.
How to Harvest:
- Gently pull the bulb from the soil if it’s soil-grown.
- Trim the fronds as needed for garnishing or cooking.
- If you’re growing continuously, leave some fronds on the plant to allow regrowth.
Regular harvesting encourages new growth, allowing you to enjoy a continuous supply of fresh fennel.
Tips for Maximum Growth
- Rotate Plants: Ensure even sunlight exposure by rotating the bottles weekly.
- Trim Regularly: Harvesting the outer fronds encourages fuller, bushier growth.
- Check for Pests: Keep an eye out for aphids or fungal issues and treat with natural solutions like neem oil.
- Spacing: Don’t overcrowd bottles. Each bulb should have enough room for roots to expand.
By following these tips, your fennel garden will remain healthy, productive, and visually appealing.
Benefits of Growing Fennel in Plastic Bottles
- Eco-Friendly: Reuse plastic waste instead of discarding it.
- Space-Saving: Ideal for small apartments, balconies, or kitchens.
- Cost-Effective: Avoid frequent grocery store purchases.
- Fresh and Nutritious: Access fresh fennel anytime for cooking.
- Educational: Great project for kids to learn about sustainable gardening.
This method combines creativity, sustainability, and convenience, making it perfect for modern home gardening.
Troubleshooting Common Issues
- Yellow Leaves: Could indicate overwatering, poor drainage, or insufficient sunlight. Adjust accordingly.
- Slow Growth: Ensure roots are not crowded and the plant receives adequate light.
- Brittle or Weak Bulbs: Fertilize occasionally and maintain consistent moisture.
With proper care, these challenges are easy to overcome, making fennel an ideal plant for beginners and experienced gardeners alike.
Conclusion
Growing fennel bulbs in recycled plastic bottles is a practical, eco-friendly, and rewarding way to cultivate fresh herbs at home. By using simple materials, such as bottles, soil, and seeds or small bulbs, anyone can create a thriving kitchen garden. The benefits go beyond just fresh produce—this method promotes sustainability, reduces waste, and adds beauty to your living space.
Whether you’re a seasoned gardener or trying home gardening for the first time, fennel is a perfect plant to start with. Follow these steps, give your plants the care they need, and enjoy the satisfaction of harvesting fresh, aromatic fennel from your very own recycled bottle garden.
Start today, and in just a few weeks, you’ll have a kitchen garden full of flavorful fennel bulbs ready to enhance your meals.