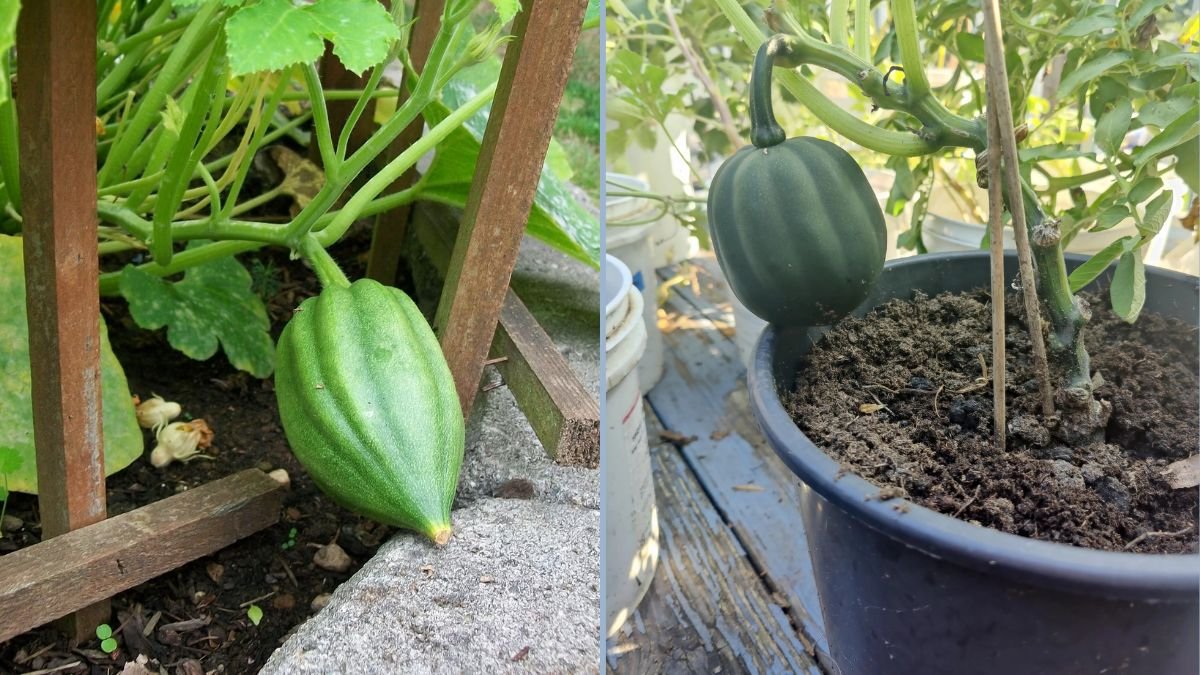
As the warm glow of late summer fades into September, gardeners everywhere begin to think about extending their harvests and making the most of their remaining growing season. One underrated, highly rewarding crop to focus on this time of year is acorn squash — a small, nutrient-rich winter squash that’s as beautiful as it is delicious.
But here’s the real secret to maximizing your yield and minimizing space: grow acorn squash vertically.
Growing acorn squash up a trellis or vertical support isn’t just a space-saving trick — it improves air circulation, reduces pests, and gives you cleaner, more uniform fruits. Whether you’re gardening in a backyard, balcony, or small urban plot, vertical gardening can transform your squash patch into a thriving green tower of productivity.
This guide will take you step-by-step through the process of growing acorn squash vertically, with special attention to planting, care, pruning, and harvesting during September’s transitional weather.
Why Grow Acorn Squash Vertically?

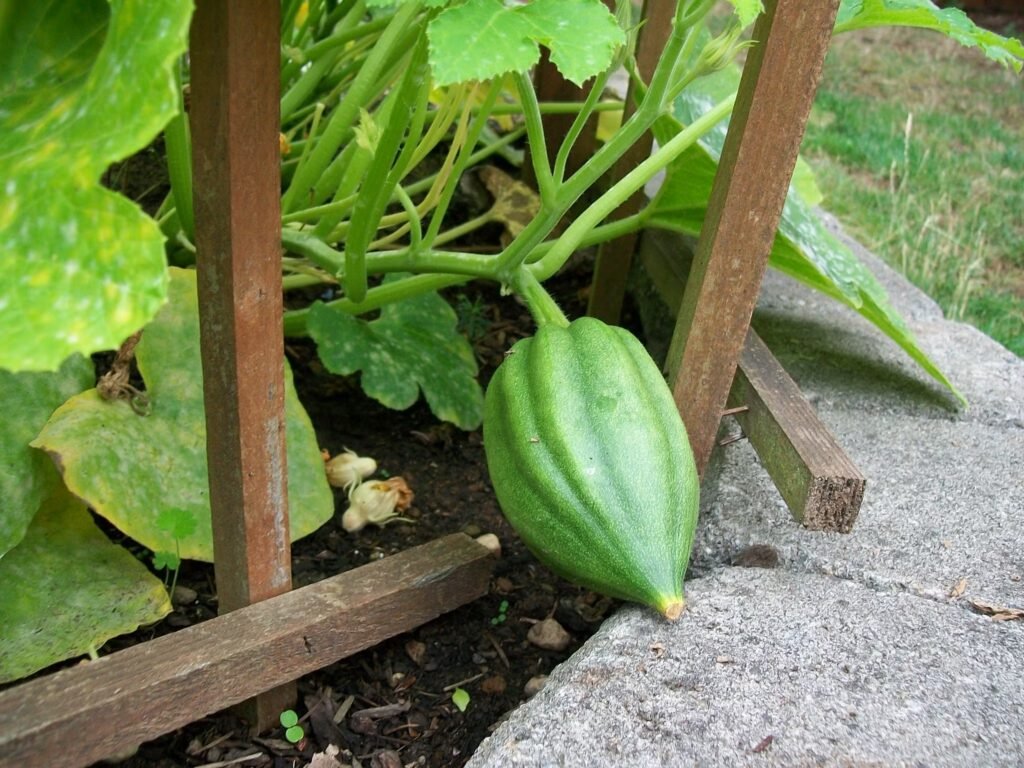
Acorn squash is traditionally grown sprawling across the ground, taking up lots of space. However, when trained upward, it rewards you with better yields, easier maintenance, and healthier plants.
Here’s why vertical growing is a game-changer:
- Saves Space: Traditional squash vines can spread 6–10 feet across your garden bed. Growing them upward frees valuable ground for other crops like lettuce or herbs.
- Improves Airflow: Vertical growth prevents mildew and fungal diseases by keeping leaves dry and well-ventilated.
- Prevents Rot and Pests: Lifting fruits off the soil keeps them clean and safe from slugs, beetles, and rot.
- Easier Harvesting: No more crawling between vines! Fruits hang at eye level, making harvesting a breeze.
- Aesthetic Appeal: A lush trellis loaded with dark green acorn squash adds vertical beauty to your fall garden.
Understanding Acorn Squash
Before we start building trellises, let’s understand this wonderful plant a little better.
- Scientific Name: Cucurbita pepo
- Type: Winter squash (harvested mature, with hard rind)
- Days to Maturity: 70–100 days, depending on the variety
- Growth Habit: Vine-type (though bush varieties exist)
- Climate: Prefers warm weather but can continue maturing into early autumn
Acorn squash is best planted in late spring or early summer, but if you’re growing in a warm region, early September can still give you time to harvest before the first frost. In cooler regions, late-season planting is perfect for harvesting tender young squash or for extending your garden’s productivity in greenhouses or covered beds.
Step 1: Choose the Right Variety
For vertical growth, vining acorn squash varieties work best. Look for compact or semi-vining types that respond well to training.
Recommended Varieties
- Table Queen: Classic dark green acorn squash with excellent flavor.
- Taybelle PM: Mildew-resistant and great for small spaces.
- Honey Bear: Award-winning, compact plant ideal for trellising.
- Thelma Sanders Sweet Potato Squash: A beautiful heirloom with creamy, sweet flesh and good climbing ability.
Step 2: Prepare the Soil
Acorn squash thrives in rich, loose, and well-drained soil. Since the plants will be climbing vertically, strong roots are crucial for stability and nutrient absorption.
Ideal Soil Conditions
- pH: 6.0–6.8 (slightly acidic)
- Soil Temperature: At least 65°F (18°C) for germination
- Preparation: Work 2–3 inches of compost or aged manure into the top 12 inches of soil. Add bone meal for root strength and kelp meal for fruit development.
If planting in containers, choose large pots (at least 20 gallons) and use a mix of compost, coco coir, and organic potting soil.
Step 3: Build a Strong Trellis
Since acorn squash fruits can weigh 1–3 pounds, your trellis must be sturdy enough to handle the weight.
Trellis Options
- A-Frame Trellis: Two panels forming an “A” shape — stable and easy to access from both sides.
- Vertical Fence or Mesh: Attach vines to a garden fence using soft ties or twine.
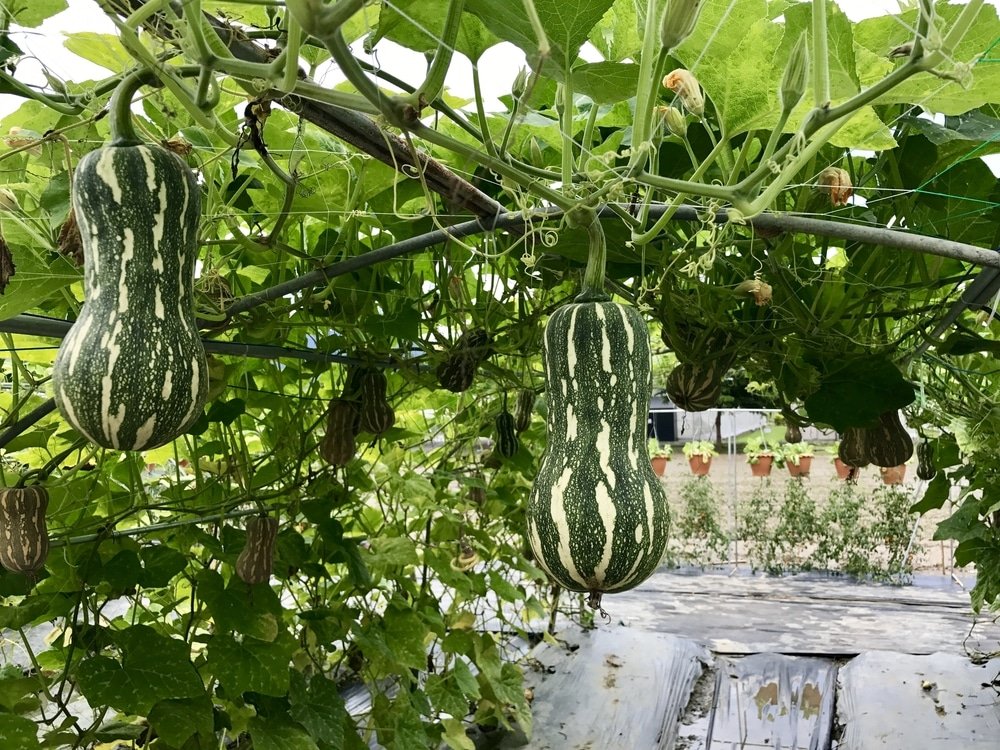
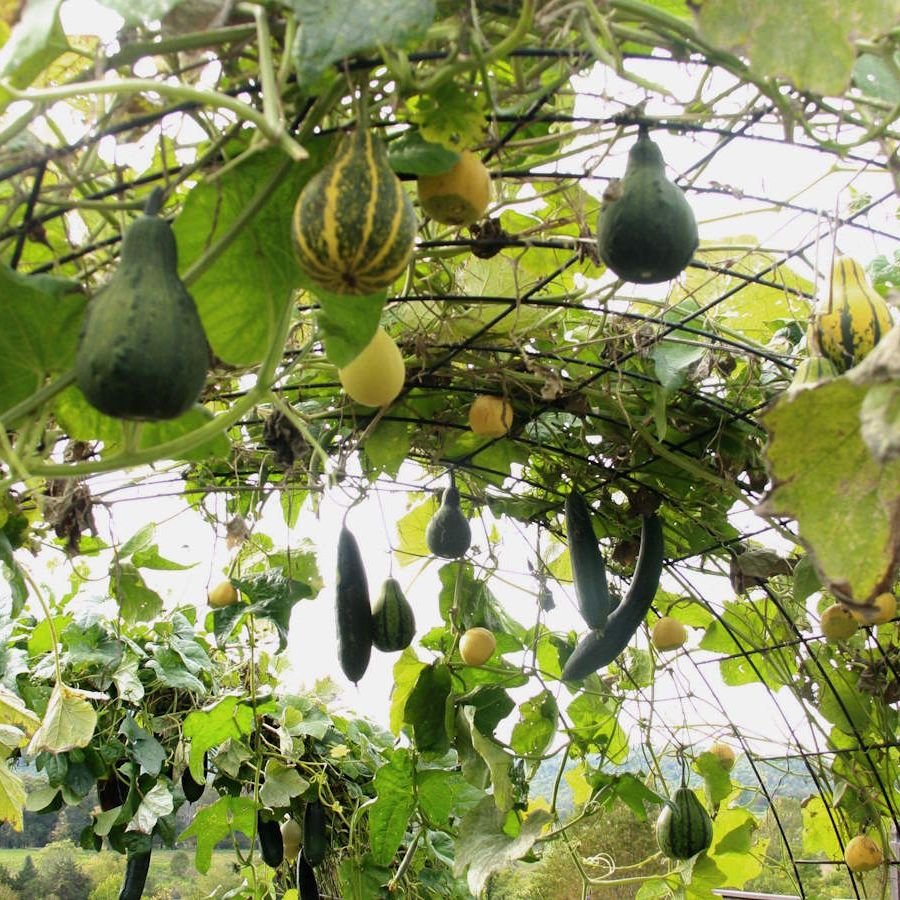
- Arched Tunnel: Perfect for walkways or garden entrances; vines naturally climb over the arch, and fruits hang down beautifully.
Use materials like bamboo, galvanized steel wire, cattle panels, or wooden frames. Reinforce the base so it doesn’t topple under weight.
Step 4: Planting Your Acorn Squash
In September, temperatures begin to cool, which is perfect for transplanting seedlings if your region still enjoys mild weather.
Planting Tips
- Spacing: 18–24 inches between plants if growing vertically.
- Depth: Plant seeds 1 inch deep; for transplants, bury to the base of the first true leaves.
- Mulching: Apply a thick layer of straw or compost mulch to retain moisture and suppress weeds.
For regions prone to early frost, plant under row covers or cold frames to extend the growing season.
Step 5: Training the Vines
Once your squash vines begin to grow (around 2–3 feet long), start training them up your trellis.
How to Train Acorn Squash Vertically
- Guide Early: Use soft ties or old cloth strips to gently attach vines to the trellis.
- Encourage Tendrils: Let natural tendrils wrap around supports — this helps strengthen attachment.
- Prune Wisely: Trim side shoots once the main vine reaches 5–6 feet long to focus energy on fruit development.
- Support Heavy Fruits: As fruits develop, use mesh bags, old T-shirts, or netting to create hammocks that cradle each squash and prevent the stems from snapping.
Training vertically also keeps the fruits symmetrical since they hang freely, rather than flattening against the ground.
Step 6: Watering and Feeding
Acorn squash loves consistent moisture but hates soggy roots.
Watering Routine
- Frequency: Deeply water 2–3 times per week, depending on weather.
- Method: Drip irrigation or a soaker hose is ideal — avoid wetting leaves to reduce mildew.
- Mulch: Maintain mulch throughout the season to regulate soil temperature and conserve moisture.
Feeding
Feed every 2–3 weeks with organic compost tea or a balanced 5-10-10 fertilizer. Once flowers appear, switch to potassium-rich feed to boost fruiting.
A monthly foliar spray of seaweed extract can help strengthen plants and improve disease resistance.
Step 7: Pollination
Since acorn squash relies on pollination for fruit set, vertical growth can slightly reduce bee activity near blossoms. You can assist nature through hand pollination.
How to Hand Pollinate
- Identify male flowers (on thin stems) and female flowers (with small squash at the base).
- In the morning, gently transfer pollen from the male flower’s stamen to the female flower’s stigma using a soft brush.
- Close the female flower lightly to keep pollination intact.
This ensures higher fruit set and earlier harvests.
Step 8: Managing Pests and Diseases
Vertical gardening naturally reduces pest pressure, but vigilance is still key.
Common Issues
- Powdery Mildew: Appears as white powder on leaves; prevent with neem oil or baking soda spray (1 tsp baking soda + 1 quart water).
- Squash Bugs & Aphids: Remove by hand or use neem oil weekly.
- Vine Borers: Use row covers early in the season and check stems regularly for holes.
Healthy soil, good air circulation, and steady watering will keep most issues at bay.
Step 9: Harvesting Your Acorn Squash
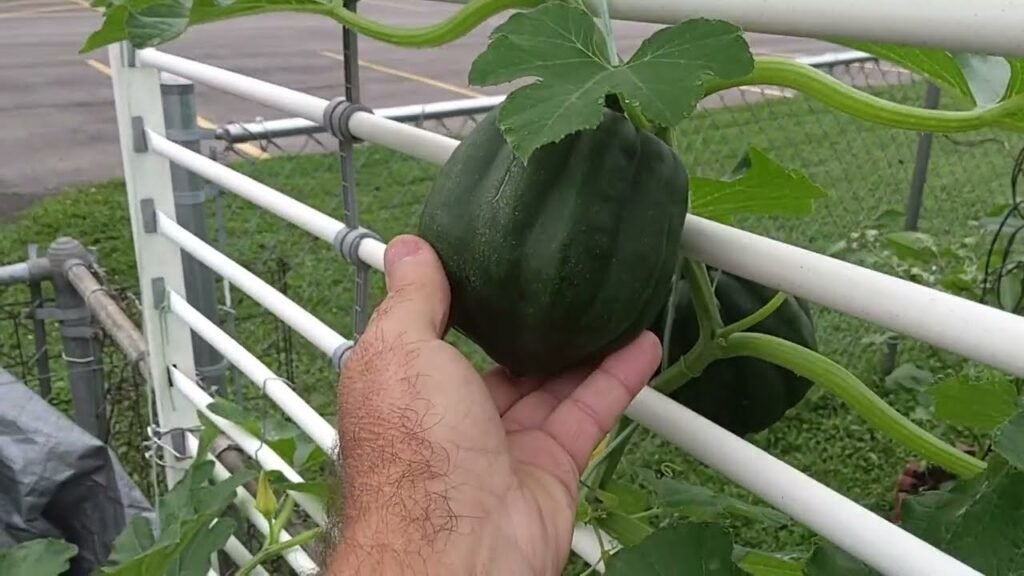
By late September or early October, you’ll start noticing that your acorn squash has deepened in color — usually dark green, sometimes with orange patches.
Signs of Readiness
- The rind is hard and cannot be punctured with your fingernail.
- The stem begins to dry and turn brown.
- The fruit has reached full size (4–6 inches in diameter).
Cut the squash from the vine using pruning shears, leaving at least 1 inch of stem attached. Handle gently to avoid bruising.
After harvesting, cure them in a warm, dry place (75–80°F) for 7–10 days to harden the skin, then store in a cool, dark spot — they’ll last 2–3 months easily.
Step 10: Enjoying Your Homegrown Acorn Squash
Acorn squash is one of the most versatile vegetables you can grow. Its slightly sweet, nutty flavor complements both savory and sweet dishes.
Simple Vegetarian Serving Ideas
- Roasted: Halve, scoop seeds, drizzle with olive oil, sprinkle salt, and roast until tender.
- Stuffed: Fill with quinoa, spinach, and chickpeas for a hearty meal.
- Soup: Blend roasted squash with coconut milk, garlic, and ginger for a creamy, vegan soup.
- Puree: Mash with herbs and use as a filling for pasta or sandwiches.
Every bite is a reminder of the work and love that went into your garden.
Final Thoughts
Growing acorn squash vertically in September is a rewarding way to make the most of your garden space while producing a delicious, long-lasting crop for the cooler months ahead. With a sturdy trellis, rich soil, and consistent care, even small gardens can yield a generous harvest of these nutrient-packed winter squashes.
So don’t let limited space or the changing season hold you back — train your vines upward, let them bask in the September sun, and enjoy the beauty and bounty of your vertical garden.
Title Ideas (SEO Optimized)
- “How to Grow Acorn Squash Vertically: A September Gardening Guide for Big Harvests”
- “Vertical Gardening with Acorn Squash: Smart Space-Saving Tips for Fall Gardeners”
- “Grow Acorn Squash Up, Not Out: The September Guide to Vertical Success”