If you’re looking for one of the simplest and most satisfying crops to grow at home, pea shoots are the perfect choice. These tender, sweet greens are not only delicious and nutritious, but they’re also incredibly easy and fast to grow — even if you have no gardening experience. Whether you’re growing on a sunny windowsill, a balcony, or in your backyard, you can enjoy fresh pea shoots in just 10–14 days.
In this complete guide, we’ll walk you through everything you need to know — from choosing the right peas to harvesting your first lush crop. Let’s get growing!
🌿 What Are Pea Shoots?
Pea shoots are the young, edible leaves and tendrils of pea plants. They have a sweet, delicate flavor that tastes like fresh peas, with a tender-crisp texture that makes them perfect for salads, stir-fries, and smoothies.
You can grow them from regular dried peas — the same ones you might find in the pantry — or from pea seeds sold for sprouting or microgreens. The best part? You don’t need a garden or special equipment. A tray, some soil (or even paper towels), and a bright spot are enough to get started.
🧺 What You’ll Need
Before planting, gather your materials. You probably have most of these already:
- Pea seeds: Choose dried green peas or “soup peas” (like marrowfat peas). You can also use snow pea or sugar snap varieties for extra flavor.
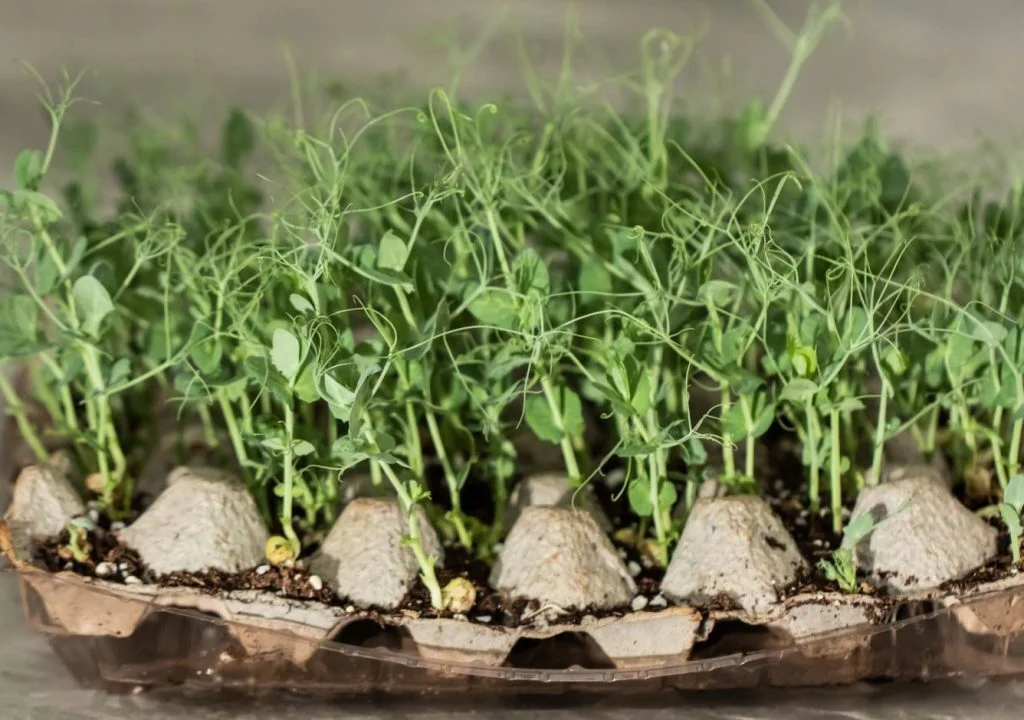
- A shallow tray or container: Around 1–2 inches deep is perfect. Recycled produce containers or baking trays work great.
- Growing medium: Use potting soil, seed-starting mix, or even coconut coir. Some people grow pea shoots hydroponically on damp paper towels.
- Water spray bottle: For gentle watering.
- Sunlight or grow light: Pea shoots love light, but they don’t need direct sun all day.
- Optional: A lid, plastic wrap, or another tray to cover your seeds for the first few days.
🌾 Step 1: Soak Your Peas
Pea seeds have a hard outer shell that benefits from soaking.
- Measure your seeds — about ½ cup will fill a standard tray.
- Place them in a bowl and cover with water (at least twice the volume of peas).
- Let them soak for 8–12 hours or overnight.
- Drain and rinse them before planting.
Soaking helps the seeds absorb water and germinate faster, usually within a day or two.
🪴 Step 2: Prepare Your Tray
- Fill your tray with about 1 inch of damp soil or growing medium.
- Smooth it out gently but don’t compact it too tightly.
- Spread your soaked peas evenly across the surface — it’s okay if they’re close together or even touching.
- Lightly press them into the soil and cover with a thin layer (about ¼ inch) of soil.
- Mist with water until evenly moist, but not soggy.
Cover the tray with a lid or another tray for the first 2–3 days to help maintain humidity and encourage sprouting.
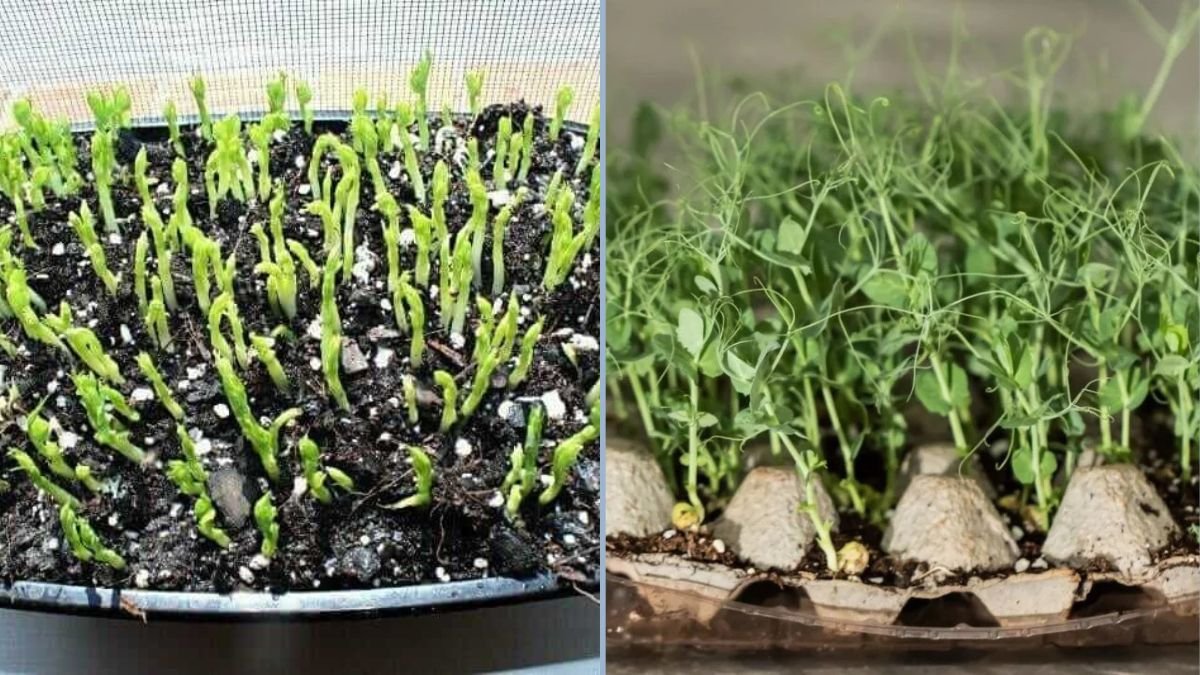
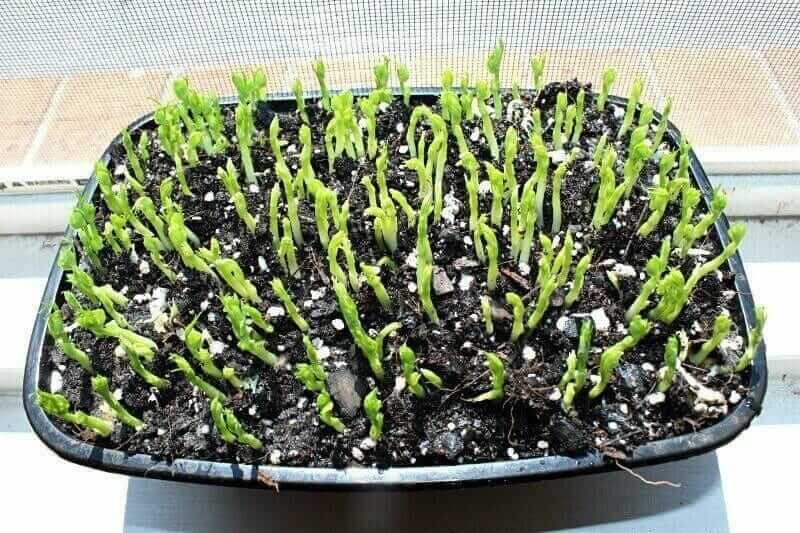
🌞 Step 3: Germination and Early Growth
Keep your covered tray in a warm, dark place (like a kitchen counter or cupboard) for 2–3 days. During this time, the peas will swell and begin to sprout small white roots.
Check daily and mist with water if the soil looks dry. When the shoots start pushing up the cover, it’s time to uncover them and move the tray to a bright spot — like a sunny window or under a grow light.
🌱 Step 4: Growing Your Pea Shoots
Once they’re in the light, your pea shoots will green up and grow quickly. Here’s how to care for them:
- Light: Give them at least 6 hours of light per day. If you’re growing indoors in winter, use an LED grow light.
- Water: Keep the soil evenly moist by misting or gently watering once daily. Avoid overwatering — soggy soil can cause mold.
- Airflow: Good air circulation helps prevent fungus. If you notice condensation, remove the cover or use a small fan nearby.
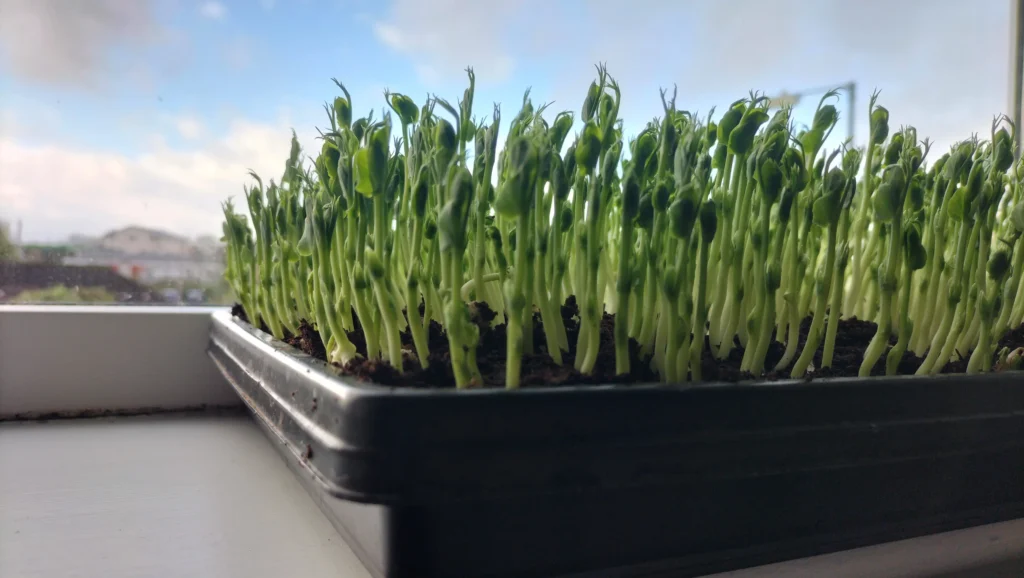
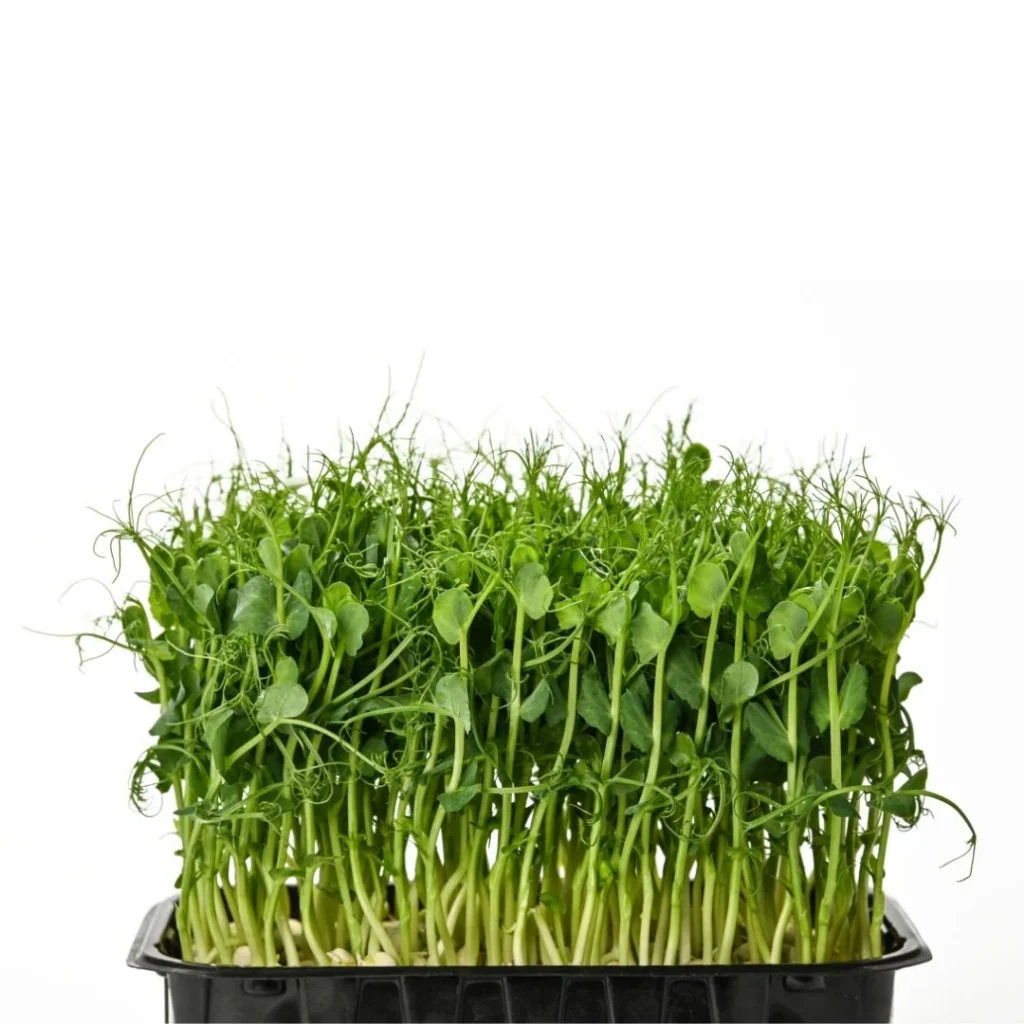
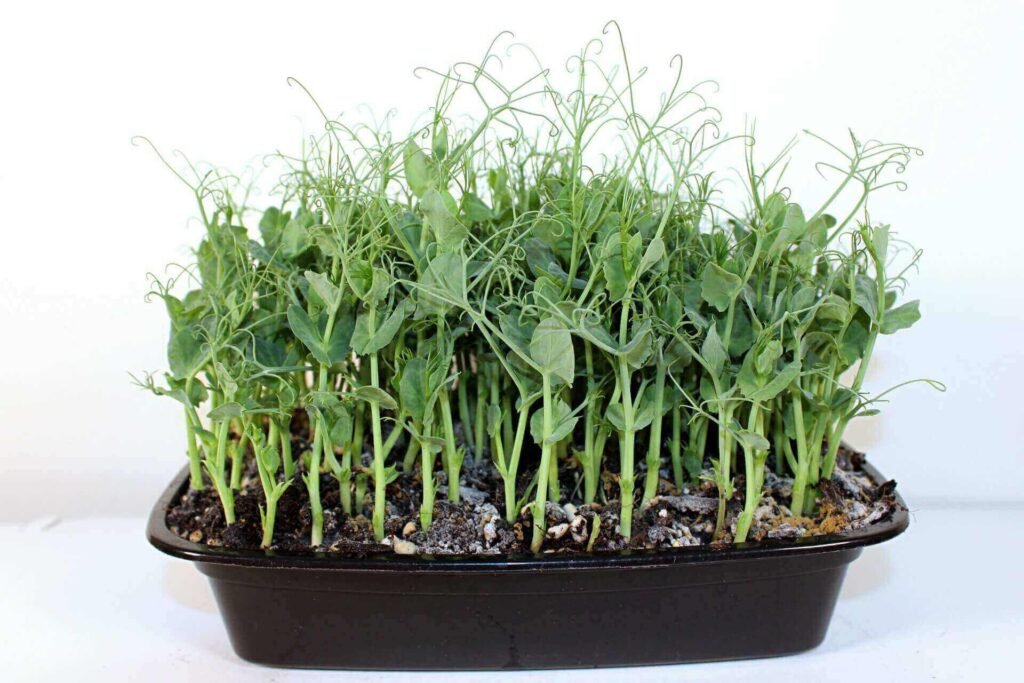
Within 7–10 days, your tray should be filled with lush, vibrant green shoots about 3–5 inches tall — ready to harvest!
✂️ Step 5: Harvesting Pea Shoots
The best time to harvest pea shoots is when they’re 4–6 inches tall and before the leaves become too mature. To harvest:
- Use clean scissors or a sharp knife.
- Cut the shoots just above the first leaf node (about an inch above the soil).
- Rinse gently and pat dry before eating.
If you leave the bottom inch of the shoots intact, you might even get a second harvest a week or two later. Just keep the tray watered and in light.
🥗 How to Use Pea Shoots
Pea shoots are a versatile ingredient — they taste like peas but with a fresh, grassy crunch. Here are some delicious ways to enjoy them:
- In salads: Mix them with spinach, arugula, or microgreens.
- In sandwiches or wraps: Use them instead of lettuce for a sweet crunch.
- In stir-fries: Toss in at the last minute for a quick, fresh addition.
- In smoothies or juices: Add for an extra dose of green nutrition.
- As garnish: Top soups, grain bowls, or avocado toast.
Because they’re tender and delicate, it’s best to eat them raw or lightly cooked.
🌼 Regrowing and Sustainability
After harvesting, you can often regrow pea shoots from the same tray once or twice more. The second batch might be smaller, but it’s still tasty and worth the effort.
When the shoots stop producing, simply compost the old roots and soil and start a fresh batch. Since pea shoots grow so quickly, you can plant new trays every week for a continuous supply of greens.
💪 Health Benefits of Pea Shoots
Don’t let their small size fool you — pea shoots are nutritional powerhouses. Here’s what they offer:
- Rich in vitamins: A, C, and K for immune support and healthy skin.
- Packed with minerals: Including iron, potassium, and magnesium.
- High in antioxidants: Help protect your body from oxidative stress.
- Low in calories, high in fiber: Great for digestion and weight management.
They’re also protein-rich for a green, making them excellent for vegetarian and vegan diets.
🌤️ Troubleshooting Common Problems
Growing pea shoots is simple, but here are a few issues you might encounter — and how to fix them:
1. Mold or Fuzzy Growth
- Cause: Too much moisture or poor airflow.
- Fix: Reduce watering, increase air circulation, and remove covers earlier.
2. Slow Germination
- Cause: Cold environment or old seeds.
- Fix: Keep tray in a warmer spot (65–75°F) and use fresh peas.
3. Yellow or Pale Shoots
- Cause: Not enough light.
- Fix: Move to a sunnier window or use a grow light.
4. Wilting or Drying Out
- Cause: Underwatering or strong direct sunlight.
- Fix: Mist daily and move to bright indirect light.
🌾 Why You’ll Love Growing Pea Shoots
Growing pea shoots is one of those rare gardening projects that’s simple, satisfying, and rewarding. Here’s why people love it:
✅ Fast results: From seed to harvest in under two weeks.
✅ No garden needed: Perfect for apartments or small spaces.
✅ Low-cost: You can grow dozens of trays from one bag of dried peas.
✅ Nutritious and delicious: Fresh, crunchy, and full of flavor.
✅ Great for kids and beginners: Instant results and fun to watch grow.
Whether you’re a seasoned gardener or a complete beginner, pea shoots are a gateway crop that brings the joy of homegrown food to your plate — anytime of year.
🌱 Final Thoughts
Growing pea shoots is one of the easiest and most productive indoor gardening projects you can try. With just a handful of peas, a shallow tray, and a bit of patience, you’ll have fresh greens bursting with flavor and nutrients in less than two weeks.
So next time you’re in the kitchen, instead of tossing dried peas into soup, soak them, plant them, and grow something green!
You’ll be amazed at how simple it is — and once you’ve had your first harvest, you’ll never want to buy expensive microgreens again.
Ready to start? Grab a handful of peas, a tray, and a little soil — and in just days, you’ll be snipping your way to fresh, sweet, homegrown pea shoots!