If you’re looking for a fast, easy, and nutritious way to grow fresh greens at home, microgreens are a perfect choice. Packed with flavor, vitamins, and minerals, microgreens are a versatile ingredient that can elevate any dish. Even better, you can have ready-to-eat greens in just 10 days — no backyard garden required!
Whether you’re a seasoned gardener or a complete beginner, this guide will show you how to grow microgreens step by step, from choosing seeds to harvesting your first tray.
🌿 What Are Microgreens?
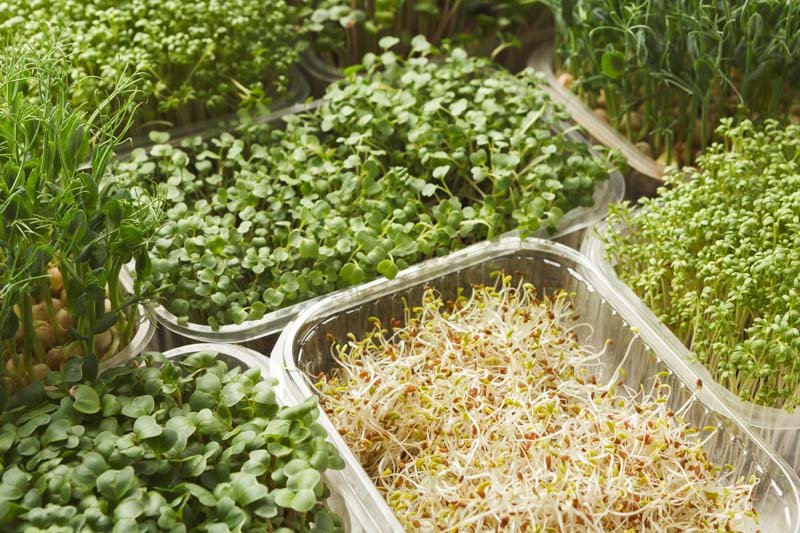
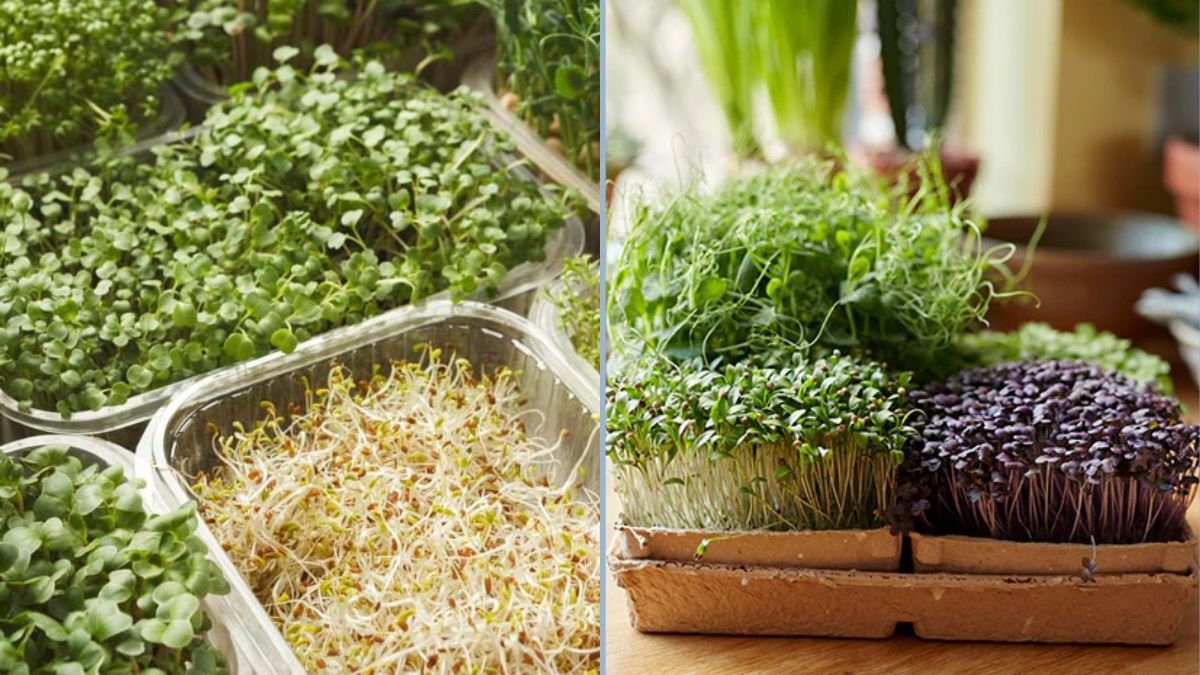
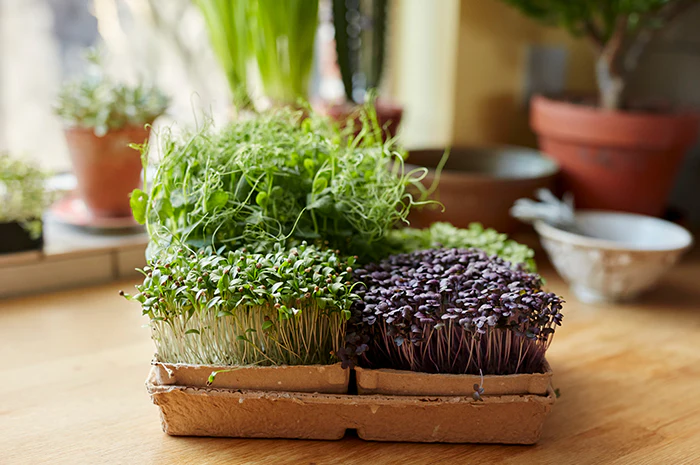
Microgreens are young vegetable greens harvested at the seedling stage, typically 1–3 inches tall. Unlike sprouts, which grow in water, microgreens are grown in soil or a growing medium, giving them a richer flavor and a denser nutrient profile.
Popular varieties include:
- Radish microgreens – spicy and crunchy
- Broccoli microgreens – mild and earthy
- Sunflower microgreens – nutty and robust
- Pea shoots – sweet and tender
- Basil, cilantro, and arugula – perfect for garnishes
Microgreens are nutrient powerhouses: studies show they can contain 4–40 times more vitamins and antioxidants than their mature counterparts.
🧺 What You’ll Need
Growing microgreens at home is simple and inexpensive. Here’s what you’ll need:
- Microgreen seeds: Choose seeds labeled for microgreens, as they are pesticide-free and optimized for quick growth.
- Shallow tray or container: About 1–2 inches deep. Recycled baking trays or seed trays work fine.
- Growing medium: Potting soil, coconut coir, or seed-starting mix.
- Water spray bottle: To gently water seedlings without disturbing them.
- Sunlight or grow light: Microgreens need bright, indirect light for optimal growth.
- Optional: Dome or cover to maintain humidity during germination.
🪴 Step 1: Prepare Your Seeds
Some seeds benefit from soaking, especially larger ones like peas, sunflower, or beans. Soak for 6–12 hours, then drain thoroughly. This helps them germinate faster and ensures uniform growth.
For smaller seeds like radish or broccoli, you can skip soaking — just sprinkle them directly onto your growing medium.
🪴 Step 2: Prepare the Tray

- Fill your tray with 1–2 inches of damp growing medium.
- Smooth the surface lightly without compressing it.
- Sprinkle seeds evenly across the tray. You can plant them densely, as microgreens don’t need a lot of space.
- Press the seeds gently into the soil and cover lightly with a thin layer of soil (optional, depending on seed type).
- Mist the surface to make sure seeds are evenly moist.
Cover the tray with a dome, plastic wrap, or another tray for the first 2–3 days to retain humidity during germination.
🌞 Step 3: Germination
Place your covered tray in a warm, dark area for 2–3 days. During this time:
- Seeds will begin to sprout tiny roots and shoots.
- Mist daily to keep the soil moist but not soggy.
After 2–3 days, once the seedlings appear, remove the cover and move the tray to a bright window or under a grow light. Microgreens thrive with 12–16 hours of light per day, so artificial lighting is perfect if natural sunlight is limited.
🌱 Step 4: Growing Microgreens
Once the seedlings are exposed to light:
- Light: Keep them in bright, indirect sunlight or under a grow light.
- Water: Mist once or twice daily to keep the soil evenly moist, but avoid waterlogging.
- Airflow: Ensure good air circulation to prevent mold. A small fan nearby can help.
Within 7–10 days, your tray will be filled with lush, tender greens ready for harvesting.
✂️ Step 5: Harvesting Microgreens
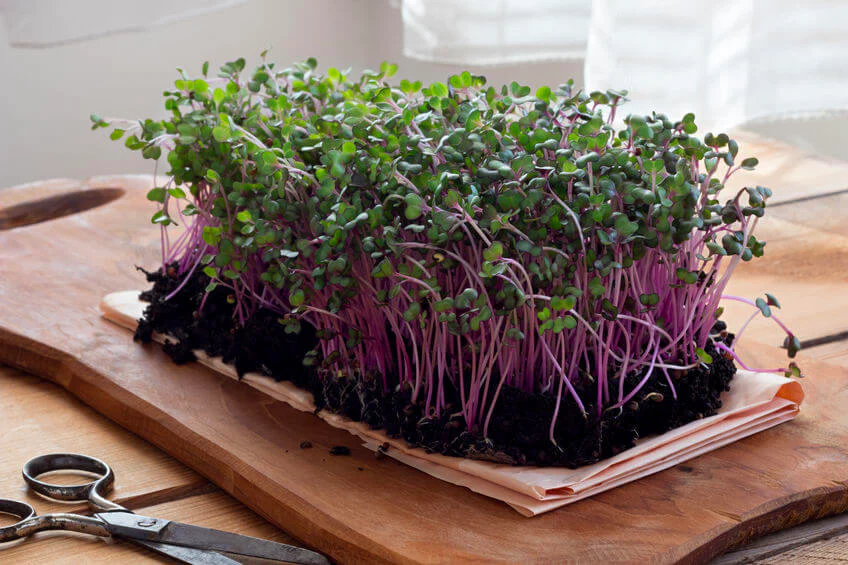
The ideal time to harvest microgreens is when they are 1–3 inches tall and have their first set of true leaves (cotyledons).
- Use clean scissors or a sharp knife.
- Cut the microgreens just above the soil level.
- Rinse gently if needed and pat dry.
Microgreens are best eaten fresh, as they lose nutrients quickly after harvest. Use them to top salads, sandwiches, soups, or smoothies for a nutrient boost.
🥗 Creative Ways to Enjoy Microgreens
Microgreens are not just pretty garnish — they’re packed with flavor and nutrition. Here are some ways to enjoy them:
- Salads: Add a mix of microgreens to your favorite salad for crunch and flavor.
- Smoothies: Blend them into green smoothies for extra vitamins.
- Sandwiches & Wraps: Replace lettuce with spicy or mild microgreens.
- Soups & Bowls: Sprinkle on top of soups, grain bowls, or noodles.
- Garnish: Use them to decorate and flavor avocado toast, omelets, or pasta dishes.
💪 Health Benefits of Microgreens
Microgreens are tiny but mighty in nutrition:
- Rich in vitamins: Vitamins C, E, and K for immunity and bone health.
- High in antioxidants: Protects cells from oxidative stress.
- Mineral-rich: Contains potassium, iron, and magnesium.
- Low in calories: Great for weight management.
- Plant compounds: Some microgreens contain compounds linked to anti-cancer properties, like sulforaphane in broccoli microgreens.
Adding microgreens to your diet is a simple way to boost daily nutrient intake without drastically changing meals.
🌤️ Troubleshooting Common Problems
Even though microgreens are easy to grow, a few issues can occur:
1. Mold Growth
- Cause: Overwatering or poor ventilation.
- Fix: Reduce moisture, remove covers, and ensure airflow.
2. Slow or Uneven Germination
- Cause: Old seeds or cold environment.
- Fix: Keep soil warm (65–75°F) and use fresh seeds.
3. Leggy Microgreens
- Cause: Insufficient light.
- Fix: Move to a brighter spot or use a grow light.
4. Yellowing Leaves
- Cause: Overwatering or nutrient deficiency.
- Fix: Water less frequently and ensure good drainage.
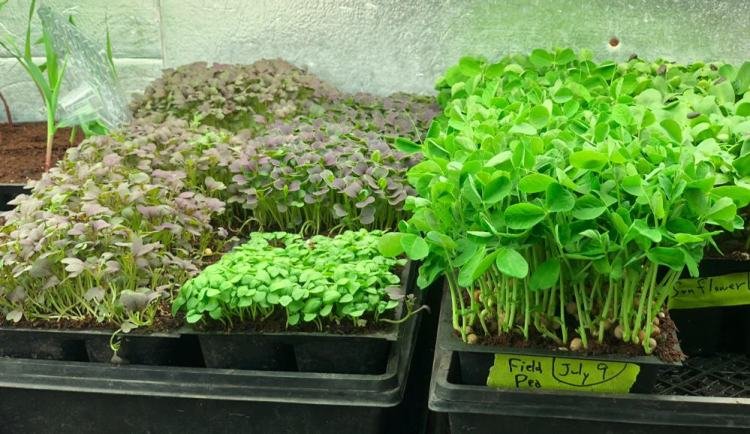
🌾 Tips for Continuous Harvest
Microgreens are fast-growing, which makes it easy to maintain a continuous supply:
- Stagger plantings: Plant a new tray every 3–4 days.
- Use multiple trays: Rotate trays to always have ready-to-eat greens.
- Save seeds: Keep some seeds dry for your next planting cycle.
With these strategies, you can enjoy fresh microgreens year-round, even in small apartments.
🌱 Why Microgreens Are Perfect for Beginners
Microgreens are the ideal crop for beginners because:
- Fast results: Ready in just 10 days.
- Low space requirement: Perfect for windowsills, balconies, or small kitchens.
- Minimal cost: Seeds and trays are inexpensive.
- Educational: Fun for kids and adults to watch growth.
- Nutrient-packed: Highly nutritious greens in a small package.
Even if you’ve never gardened before, you can start growing microgreens today and enjoy fresh, homegrown greens in less than two weeks.
🌿 Final Thoughts
Growing microgreens is simple, fast, and incredibly rewarding. With just a tray, some seeds, and a little care, you can enjoy fresh, nutrient-rich greens in 10 days or less. They’re perfect for anyone looking to eat healthier, save money, and enjoy gardening at home.
So don’t wait — grab some seeds, set up a tray, and watch your microgreens grow from tiny seedlings to ready-to-eat greens in just a matter of days. You’ll be amazed at how easy it is to grow your own superfood at home.