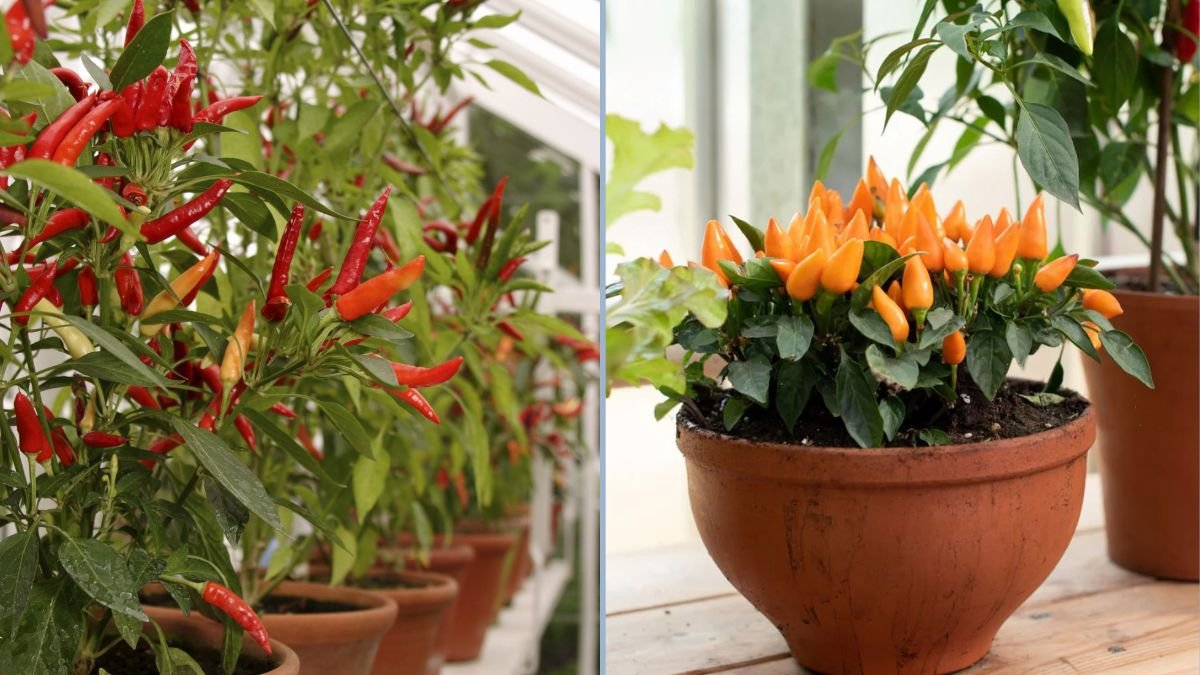
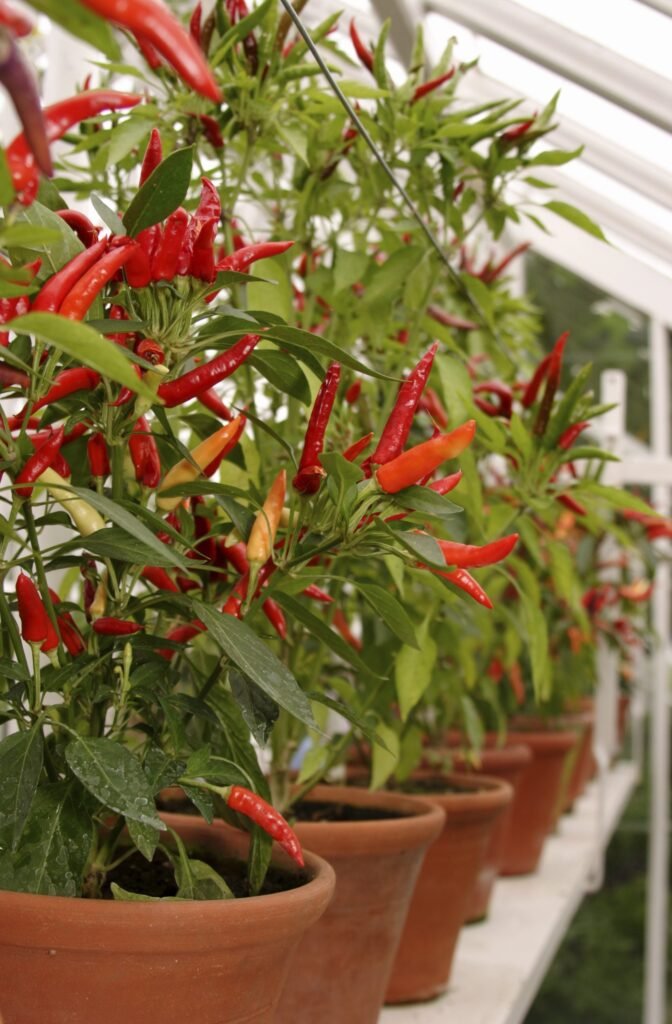
Growing hot Thai chili peppers in containers is a fantastic way to enjoy fiery heat and abundant harvests — even without a garden. Compact, colorful, and incredibly productive, Thai chilies are perfect for balcony growers, urban gardeners, or anyone wanting to spice up their meals.
If you’re inspired by the video “Growing Hot Thai Chili Peppers in Container – in 4K,” here’s a full-length, step-by-step guide from seed to harvest — designed to help you grow strong, healthy, and ultra-hot Thai chili plants in pots or containers.
Why Thai Chili Peppers Are Ideal for Containers

Hot Thai chilies — often known as “bird’s eye chilies” — are small, fiery peppers that thrive in warm climates. These compact plants usually stay between 12 and 24 inches tall, which makes them ideal for growing in containers.
They’re tough, adaptable, and highly productive. Even a single plant can produce dozens — sometimes hundreds — of slender pods throughout the season. And since their heat level ranges from 50,000 to 100,000 Scoville Heat Units (SHU), just a few peppers can bring serious intensity to any dish.
Container growing also offers flexibility — you can move your plants for better sunlight, protect them from rain or cold, and control soil conditions much more easily than in the ground.
1. Choose the Right Container and Soil
Start by choosing a container with excellent drainage. Thai peppers don’t like “wet feet,” so make sure your pot has several holes at the bottom.
A container that holds at least 5–7 gallons (19–26 liters) of soil is perfect for one mature plant. The larger the container, the more root space your plant will have — which often means more chilies.
For soil, use a high-quality potting mix rather than plain garden dirt. The best mix should be loose, airy, and rich in organic matter. Combine compost, perlite (for drainage), and coco coir or peat moss for water retention.
Pro tip: Add a small amount of slow-release fertilizer or worm castings at planting time to boost early growth.
2. Start Seeds or Use Transplants
If starting from seed, begin 8–10 weeks before the last expected frost. Thai chili seeds need warmth to sprout, ideally around 27–30°C (80–86°F).
Plant seeds about ¼ inch deep in seed trays or small pots. Keep the soil moist (not soaked) and use a heat mat if possible. Germination can take 10–20 days, depending on temperature.
Once seedlings develop a few true leaves, transplant them into individual pots. When they’re sturdy and outdoor temperatures are consistently above 15°C (60°F), you can move them to their permanent containers.
If using store-bought seedlings, look for healthy, compact plants with deep green leaves and no signs of pests.
3. Sunlight and Placement

Thai chili peppers love sunlight — the more, the better. Place your containers where they’ll receive at least 6–8 hours of direct sun daily.
On patios or balconies, rotate the pots occasionally to ensure even light exposure. In very hot regions, a bit of afternoon shade helps prevent leaf scorch.
If you live in a cooler area, dark-colored containers can help keep the root zone warm. Just avoid exposing them to extreme heat that might dry the soil too quickly.
4. Watering and Feeding for Peak Performance
Container-grown peppers dry out faster than in-ground plants, so consistent watering is key.
- Water thoroughly when the top inch of soil feels dry.
- Always water deeply until some drains from the bottom of the pot.
- Avoid letting the soil stay soggy, which can lead to root rot.
During hot weather, daily watering may be needed; in cooler or humid conditions, every 2–3 days might suffice.
For feeding, start with a balanced fertilizer (like 10-10-10) during the vegetative stage. Once the plants start flowering, switch to a bloom or fruit fertilizer higher in potassium and phosphorus. Too much nitrogen will give you lush green plants with fewer peppers.
5. Pruning and Supporting the Plant
Thai chilies are naturally bushy, but light pruning helps air circulation and encourages branching.
- Pinch off early flowers during the seedling stage so the plant puts energy into root growth.
- Remove any lower leaves that touch the soil to prevent disease.
- If branches become heavy with fruit, use a small stake or bamboo stick for support.
Pruning isn’t strictly necessary, but it can improve yield and reduce pest problems.
6. Flowering, Pollination, and Fruit Development
Thai chili flowers are small and white, and they’ll appear in clusters. Outdoors, bees and wind take care of pollination. But if you’re growing indoors or in a sheltered balcony, you can assist by gently shaking the plant or using a small brush to move pollen between flowers.
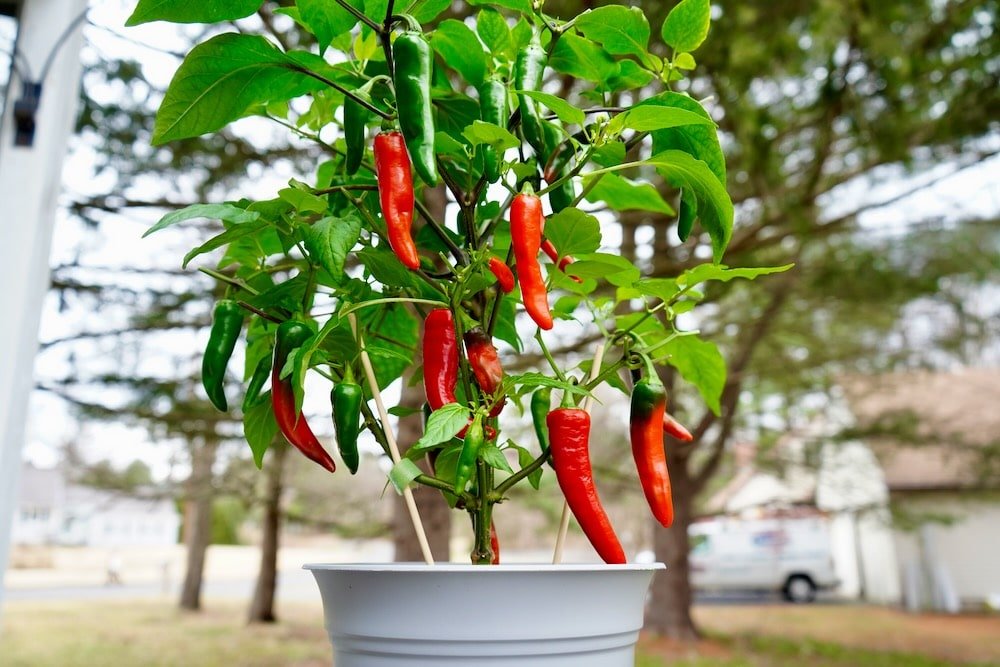
After pollination, tiny green pods will start forming. These chilies grow upright, pointing toward the sky — one of the signature traits of Thai varieties.
7. Temperature and Climate Tips
Thai chilies thrive in warm conditions. Daytime temperatures between 25–30°C (77–86°F) are ideal. They tolerate heat well, but cold can stunt or kill them.
If nighttime temperatures dip below 15°C (60°F), bring containers indoors or wrap them in protective cloth. Keep humidity moderate and ensure good airflow around the plants to prevent fungal diseases.
8. Harvesting Thai Chilies
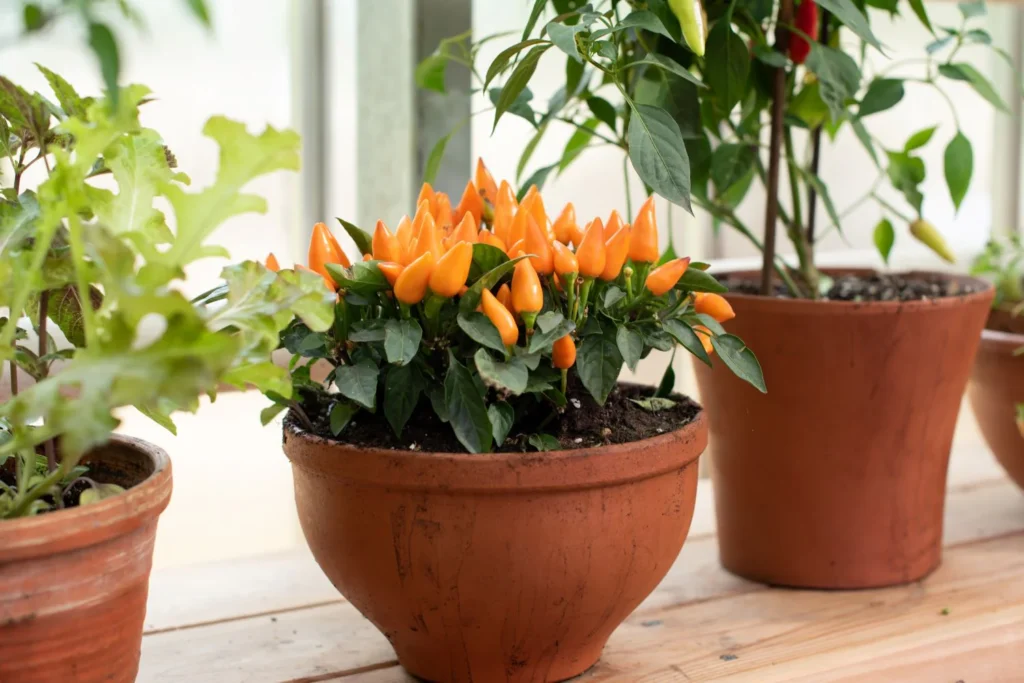
Harvest when the chilies reach full color — typically bright red, though some varieties ripen to orange or yellow. You can also pick them green if you prefer a milder heat.
Use scissors or pruning shears to cut the peppers cleanly from the stem, rather than pulling, which can damage branches.
Regular harvesting encourages new growth and more fruit production. Each plant can produce for several months under the right conditions.
9. Common Problems and How to Prevent Them
Even healthy Thai pepper plants can run into trouble. Here’s how to prevent the most common issues:
- Overwatering: Yellowing leaves and droopy plants are early signs. Let the soil dry slightly between waterings.
- Underwatering: Wilted or curled leaves mean your plant is thirsty.
- Pests: Watch for aphids, spider mites, and whiteflies. Spray with neem oil or insecticidal soap if needed.
- Nutrient deficiency: Pale leaves can indicate low nitrogen early on or too much watering washing nutrients away. Feed regularly but moderately.
- Temperature stress: Avoid sudden cold drafts or moving plants during windy days.
Healthy soil, good drainage, and consistent care are your best defenses.
10. Container Growing Advantages
Growing Thai chili peppers in containers offers several benefits:
- Mobility: You can move plants to chase sunlight or protect them from rain or cold.
- Control: You manage soil quality, moisture, and nutrients directly.
- Space-saving: Perfect for balconies, rooftops, and patios.
- Cleanliness: Less weeding, easier pest control, and simpler harvests.
Plus, container gardens look beautiful — a row of lush green chili plants covered in fiery red pods is as decorative as it is delicious.
11. Storing and Using Your Harvest
Once harvested, you can use Thai chilies fresh, dried, or preserved.
- Fresh: Chop into stir-fries, soups, or sauces for an instant kick.
- Dried: String them into ristras or dry them in the sun or a dehydrator, then grind into powder.
- Pickled or infused: Store in vinegar or oil for spicy condiments.
Drying or preserving lets you enjoy your harvest year-round — and homemade Thai chili powder beats store-bought every time.
12. Final Thoughts: From Seed to Spice
Growing Thai chili peppers in containers is one of the most rewarding gardening projects you can undertake. These resilient plants don’t demand much — just warmth, sunlight, and steady care — yet they give back in abundance.
Here’s the essence of success:
- Use the right soil and a roomy container.
- Give plenty of light and consistent watering.
- Feed properly during fruiting.
- Harvest regularly for continuous production.
With these steps, even a small balcony can become a thriving mini pepper farm. Whether you love cooking spicy Thai curries, hot sauces, or just enjoy the beauty of colorful chili plants, container-grown Thai peppers will bring heat, flavor, and excitement to your home garden.