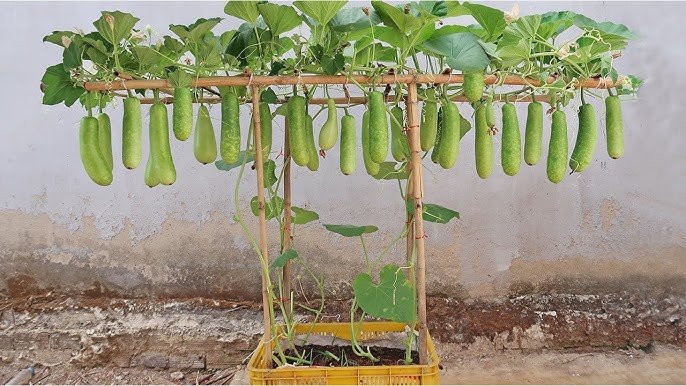
If you’ve been wanting to grow your own vine vegetables but have limited space—like a small terrace, balcony, or rooftop—this method for growing bottle gourd (lauki or doodhi) in plastic containers could be a total game-changer. In this post, you’ll learn why this method works so well, how to start seeds successfully, and how to manage the plants for high yields.
Why Growing Bottle Gourd in Plastic Containers Works
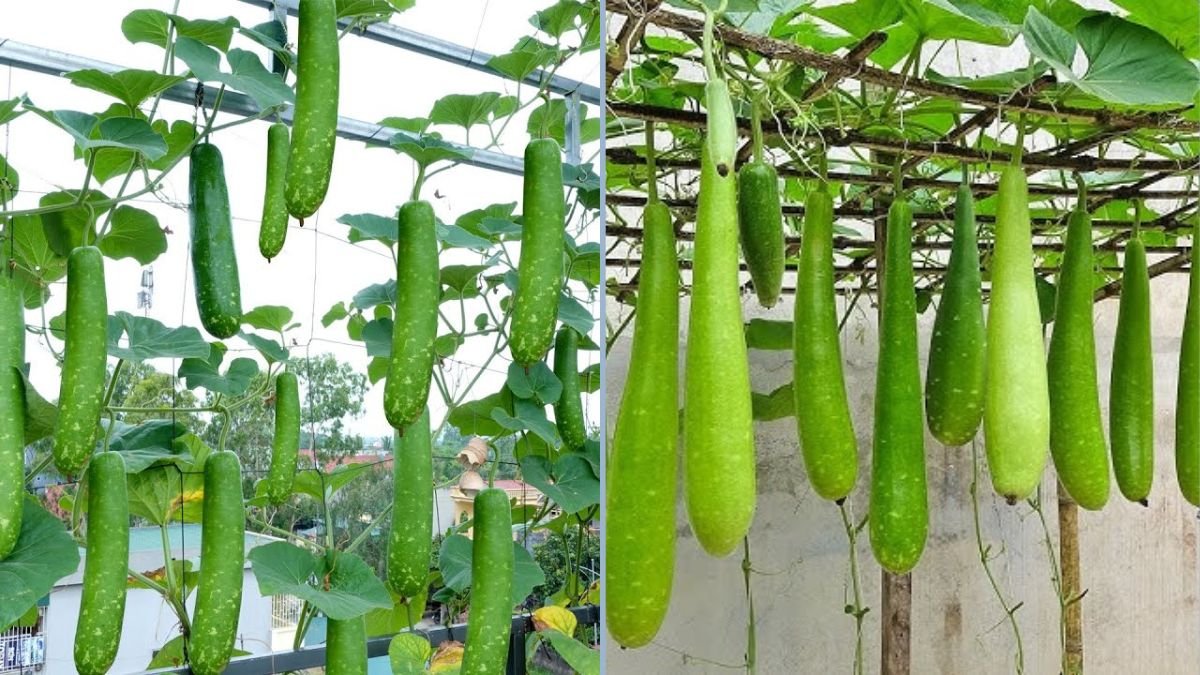
Bottle gourd might sound like a crop for big gardens, but it’s actually one of the easiest and most adaptable vegetables you can grow in containers. The plant belongs to the same family as cucumbers and pumpkins and can climb beautifully with the right support.
Here’s why plastic container growing is such a smart idea:
- Space-efficient: The plant grows vertically, making it ideal for balconies and terraces.
- Controlled root environment: You can create the perfect soil blend and maintain moisture levels easily.
- Urban-friendly: Plastic containers make it easy to move plants for better sunlight or to avoid heavy rain.
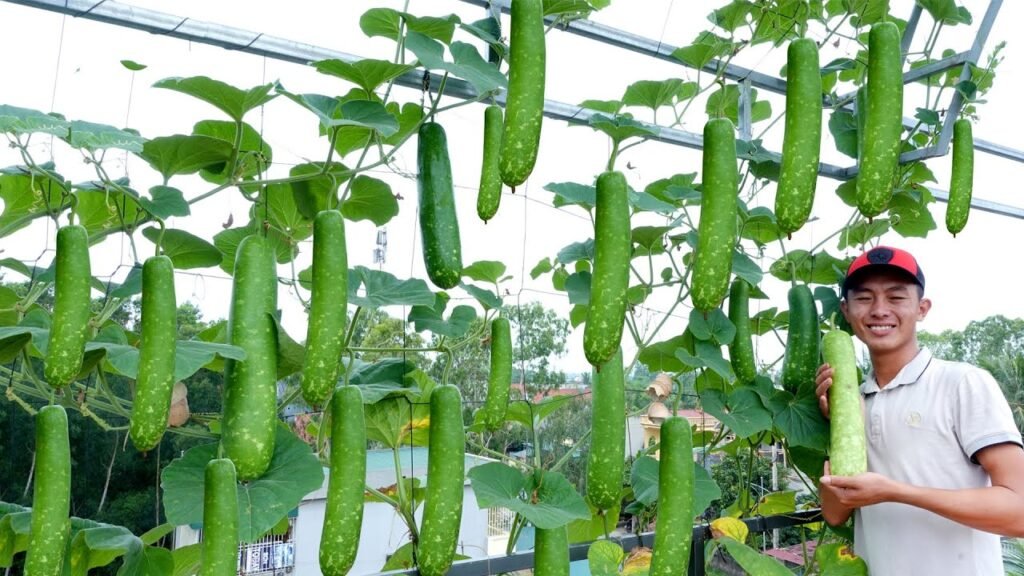
- High productivity: Proper soil depth and nutrients mean a single vine can produce several large gourds.
Even if you don’t have garden soil, you can still enjoy the experience of growing your own bottle gourds using this simple container method.
What You’ll Need

1. Choose the Right Container
Select a large plastic container or drum at least 14–18 inches deep and wide for one plant. Bottle gourd has deep roots and grows vigorously, so it needs plenty of space. Make sure your container has drainage holes at the bottom to prevent waterlogging.
2. Prepare the Soil Mix
Bottle gourd loves loose, well-drained, and fertile soil. Create a mix using:
- 40% good-quality garden soil or potting mix
- 40% compost or well-rotted cow dung/vermicompost
- 20% sand or cocopeat for aeration
Add a handful of organic fertilizer or bone meal to improve nutrient levels.
3. Build a Support or Trellis
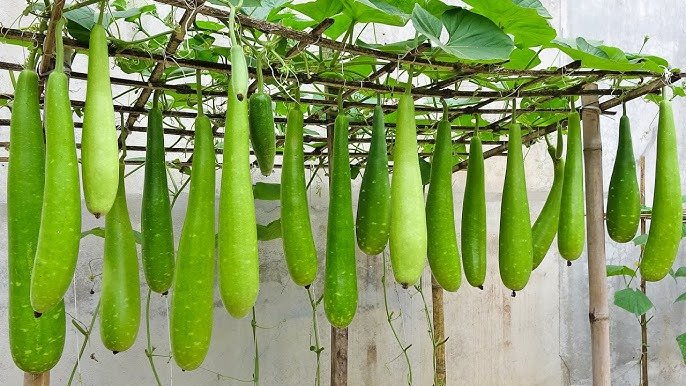
The vine grows long and heavy, so it needs support. Use bamboo sticks, wires, or any vertical frame to create a trellis. You can also train the vine over a pergola, railing, or wall grill. Keeping the fruits off the ground prevents rotting and pest attacks.
4. Choose and Sow the Seeds
Pick healthy, mature bottle gourd seeds. For better germination, soak the seeds in water overnight or wrap them in a moist cloth for 12–18 hours before sowing.
Plant 2–3 seeds in the container about 1 inch deep. Once the seedlings emerge, keep the healthiest one and remove the rest.
Step-by-Step Guide: From Seed to Harvest
Step 1: Sowing and Germination
- Fill the container with your prepared soil mix, leaving 2 inches at the top.
- Sow the seeds and water gently.
- Keep the container in a warm, sunny place with at least 6–8 hours of sunlight daily.
- Seeds usually germinate in 7–10 days.
Step 2: Seedling Care
Once seedlings sprout, water them lightly every day or when the soil feels dry. Avoid overwatering. Add a thin layer of compost around the plant base every two weeks to boost growth.
Step 3: Training the Vine
When the vine starts to grow long, guide it gently toward the trellis. Tie it loosely with soft cloth strips or garden ties to support its climb. Prune off excess side shoots so the plant focuses its energy on producing flowers and fruits.
Step 4: Flowering and Pollination
Bottle gourd plants produce male and female flowers. The male flowers appear first, followed by female ones that have a tiny gourd-shaped swelling behind the petals.
If natural pollinators like bees are limited in your area, you can hand-pollinate. Simply pick a fresh male flower, remove its petals, and touch the pollen-covered center to the stigma of the female flower. This ensures successful fruit set.
Step 5: Fertilizing
Once the vine starts flowering, add a mix of compost and organic fertilizer every 15–20 days. You can also use diluted liquid compost tea or seaweed extract to promote strong growth and flowering.
Step 6: Watering
Keep the soil consistently moist but not soggy. Container-grown plants tend to dry out faster, especially in full sun, so daily watering may be necessary during hot weather.
Step 7: Pest and Disease Management
Watch for aphids, fruit flies, or powdery mildew. You can spray neem oil mixed with mild soap and water once a week as an organic preventive measure. Keep the area clean and remove dead leaves to reduce disease risk.
Step 8: Harvesting
Bottle gourds are ready for harvest when they are firm, light green, and tender—usually 2–3 months after sowing. Cut the fruit with a sharp knife, leaving a small stem attached. Regular harvesting encourages the plant to produce more fruits.
Pro Tips for Bigger, Healthier Yields
- Use a deep container: Shallow pots restrict root growth and reduce yield.
- Ensure full sunlight: Bottle gourd thrives in 6–8 hours of sun. Insufficient light causes weak vines and fewer fruits.
- Mulch the soil: A layer of dry leaves or straw helps retain moisture and prevents overheating of the roots.
- Feed regularly: Add compost every 15 days to keep the plant nutrient-rich and productive.
- Prune old leaves: Remove dry or infected leaves to improve airflow and reduce fungal growth.
- Support the fruits: If they grow large, use cloth slings to prevent the stem from breaking.
- Harvest frequently: Picking fruits at the right stage boosts continuous production.
Common Problems and Solutions
1. Flowers but no fruit
This usually happens due to poor pollination or lack of nutrients. Try hand-pollinating and applying compost tea or liquid fertilizer.
2. Leaves turning yellow
Overwatering or poor drainage can cause root rot. Make sure your container has holes and water only when the top inch of soil is dry.
3. Fruit dropping prematurely
This can result from irregular watering or temperature stress. Keep moisture consistent and avoid letting the soil dry out completely.
4. Powdery mildew on leaves
Spray a mixture of one teaspoon baking soda in a liter of water weekly to prevent fungal spread.
5. Insect damage on young fruits
Cover the fruits with old mesh fabric or use neem oil spray every few days.
Benefits of Growing Bottle Gourd in Plastic Containers
- Fresh and organic produce: You know exactly what goes into your food.
- Easy to maintain: Perfect for beginners and urban gardeners.
- Portable garden: You can move containers to better sunlight or indoors during storms.
- Aesthetic appeal: Bottle gourd vines create a beautiful green canopy, offering shade and privacy.
- Saves space: Great for people with small homes or apartments.
This method also allows better pest control and soil management, meaning healthier plants and higher yields without needing a large plot of land.
Final Thoughts
Growing bottle gourd in plastic containers is one of the most efficient and satisfying ways to produce your own vegetables at home. With just a few simple materials—a container, some compost, a trellis, and seeds—you can create a mini vegetable garden that keeps rewarding you for months.
Remember to keep the soil fertile, prune regularly, and harvest often. Whether you’re gardening on a terrace, balcony, or backyard, this method gives you control over growing conditions and ensures a steady supply of fresh, healthy gourds.
Once you master this approach, you can easily adapt it for other climbing vegetables like ridge gourd, bitter gourd, or cucumber.
So grab that old plastic drum, prepare your potting mix, and start your bottle gourd adventure today. You’ll be amazed at how much one healthy vine can produce—even in the smallest of spaces.