Coconuts are often associated with tropical beaches, sunny weather, and delicious drinks. But did you know that you can grow your own coconut tree right at home, even in a small space, using a simple plastic bottle?
Growing coconut in plastic bottles is an innovative, space-saving method perfect for home gardeners who don’t have access to large plots of land. With minimal resources, patience, and care, you can sprout a coconut seed, nurture it, and watch a tiny palm emerge — all in a container you likely already have at home.
In this post, we’ll walk you through how to grow a coconut in plastic bottles step by step, along with tips on soil, water, sunlight, and nurturing your coconut until it grows into a strong, healthy tree.
1. Why Grow Coconut in Plastic Bottles?
Growing a coconut tree in plastic bottles has several advantages:
- Space-Saving: Perfect for balconies, patios, or small backyards.
- Eco-Friendly: Recycling plastic bottles reduces waste and gives them a new purpose.
- Controlled Environment: You can manage soil, water, and sunlight more easily in a container.
- Educational: A fun project for children and adults to learn about plant growth.
While coconut trees naturally grow in tropical soils and require space, starting them in plastic bottles allows you to germinate seeds indoors or in small urban gardens before transplanting them outside.
2. Choosing the Right Coconut Seed
To grow a coconut tree, you need a healthy, mature coconut — ideally one that is:
- Fresh: Recently harvested, with intact husk and no cracks.
- Brown and Dry: Mature coconuts produce better sprouts than green ones.
- Floating Test: Place the coconut in water. If it floats, it’s likely viable; if it sinks immediately, it may be old or damaged.
Select a coconut with a thick husk and a healthy kernel inside. This will ensure a higher germination rate.
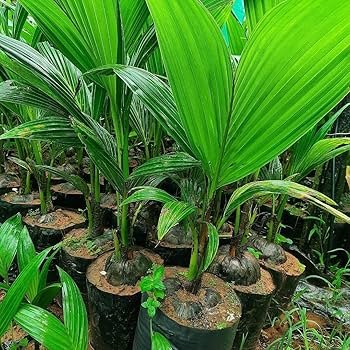
3. Preparing the Plastic Bottle
Plastic bottles serve as excellent containers for coconut germination. Here’s how to prepare one:
- Choose the Bottle: A 2-liter bottle works best, but larger bottles can be used for bigger seeds.
- Cut the Bottle: Cut the top portion (about one-third) off. This creates an opening for the coconut to sit while roots grow downward.
- Make Drainage Holes: If the bottle will hold soil and water, drill small holes at the bottom to prevent waterlogging.
- Optional Tray Setup: Place the bottle in a tray to catch excess water and keep the area clean.
The bottle should allow the coconut to rest partially on the opening, with the root-facing side hanging into water or moist soil.
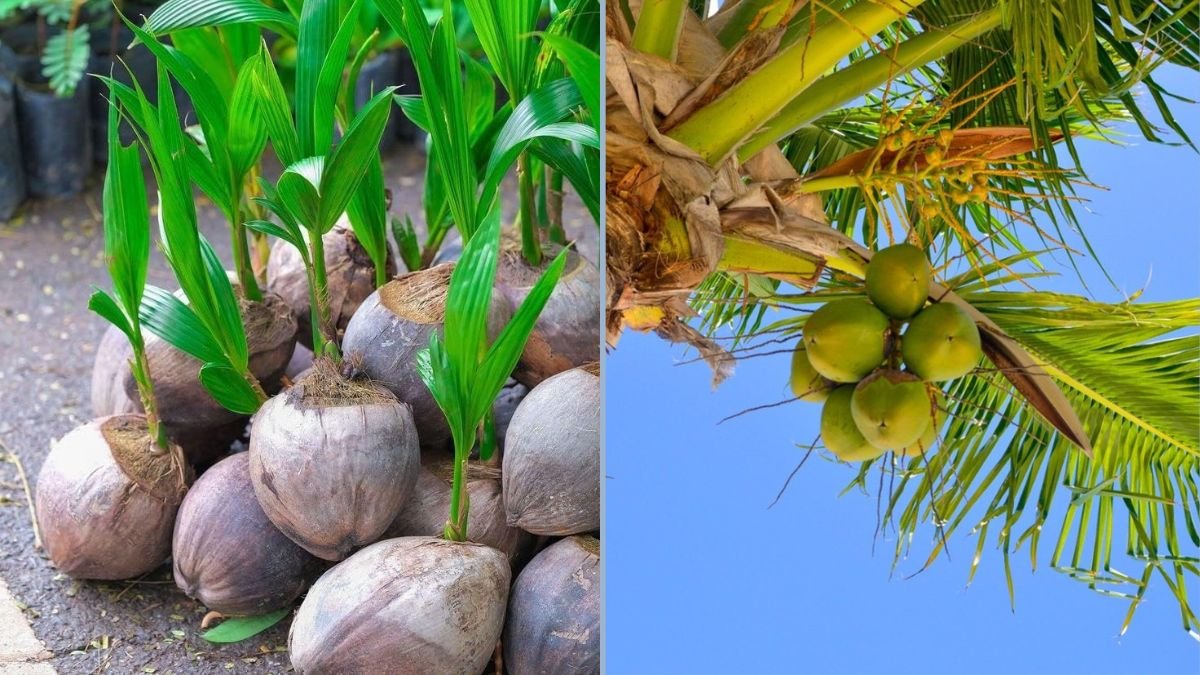
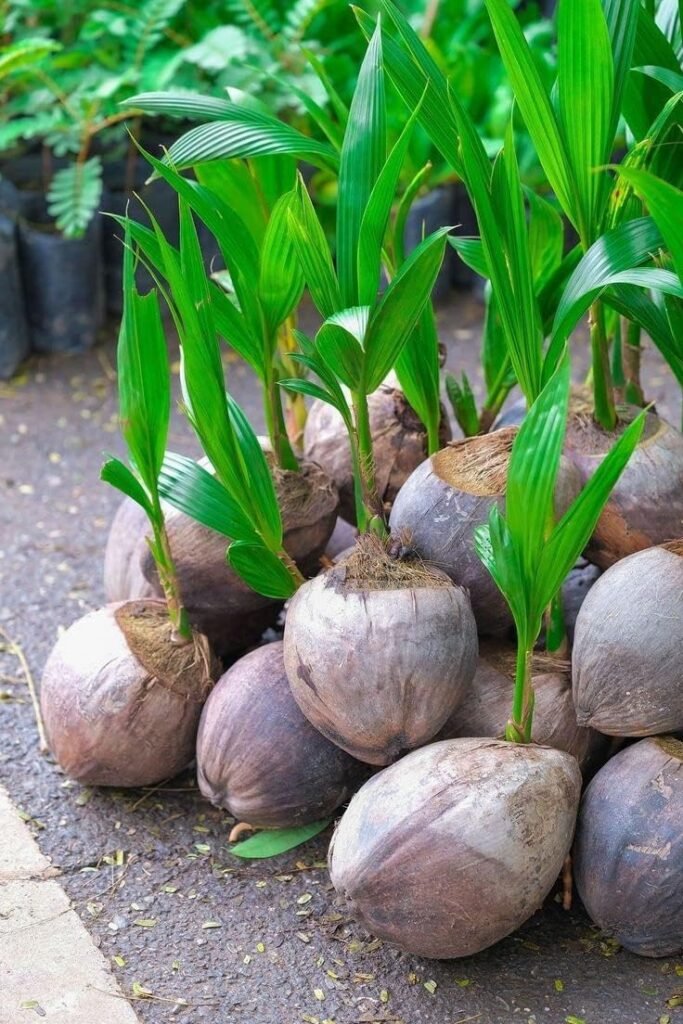
4. Sprouting the Coconut Seed
Coconut germination is slow but exciting. You can sprout the seed in water or soil, depending on your preference.
Method 1: Water Sprouting
- Place the coconut in the bottle opening, bottom down.
- Fill the bottle with water so the base of the coconut touches it.
- Keep the bottle in a warm, sunny area.
- Change the water every 2–3 days to prevent bacteria or mold.
In 2–3 months, the coconut will begin to sprout roots from the husk and eventually a shoot from the top.
Method 2: Soil Sprouting
- Fill the bottle with loose, well-draining soil (loam mixed with sand is ideal).
- Plant the coconut with the pointed end facing up, covering only the lower half in soil.
- Water lightly and keep the soil moist but not soggy.
- Place the bottle in a warm, sunny location.
Soil sprouting may take slightly longer than water sprouting, but it encourages stronger roots early on.
5. Caring for the Coconut Seedling
Once the coconut sprouts, proper care is essential for healthy growth.
Watering
- Keep the soil moist at all times. Coconut seedlings need consistent moisture but dislike waterlogging.
- For water-based sprouting, ensure the roots remain partially submerged, refilling as needed.
Sunlight
- Coconut seedlings thrive in full sunlight. Place the bottle in a south-facing window or outdoors in warm climates.
- Avoid exposing young sprouts to harsh, direct sunlight for long periods, as they can scorch.
Temperature
- Ideal temperature for coconut germination: 27–32°C (80–90°F).
- Protect seedlings from cold drafts or temperatures below 20°C (68°F), which can slow growth.
6. Fertilizing Your Coconut Plant
Fertilization helps coconut seedlings grow strong roots and sturdy stems.
- Use a balanced liquid fertilizer diluted to half strength once every 2–3 weeks.
- Organic options: Compost tea, fish emulsion, or diluted cow manure water.
- Avoid over-fertilizing — too much nitrogen can harm roots and leaves.
Adding a layer of compost or mulch on top of the soil also helps retain moisture and provides slow-release nutrients.
7. Pruning and Maintenance
Coconut plants generally don’t need extensive pruning in their early years. Focus on:
- Removing dry or yellow leaves to prevent pests.
- Supporting the stem if it starts to lean. Use a bamboo stick or small stake.
- Ensuring proper drainage and avoiding root rot.
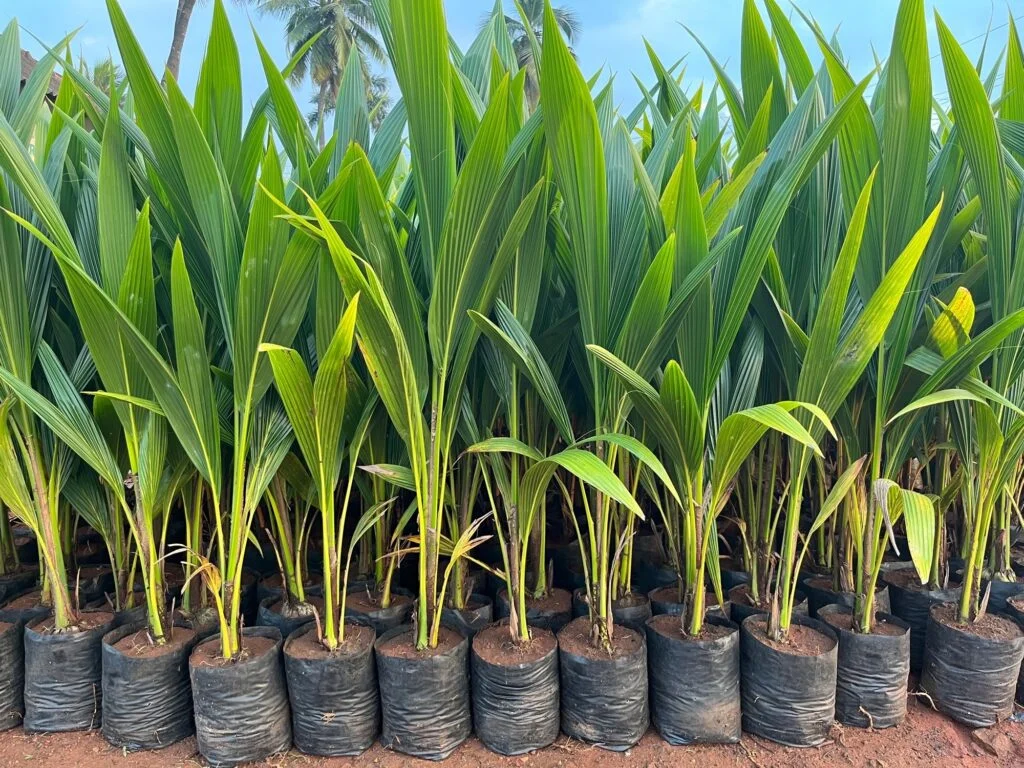
As the plant grows taller, pruning becomes important for maintaining shape, especially if you eventually transplant it outdoors.
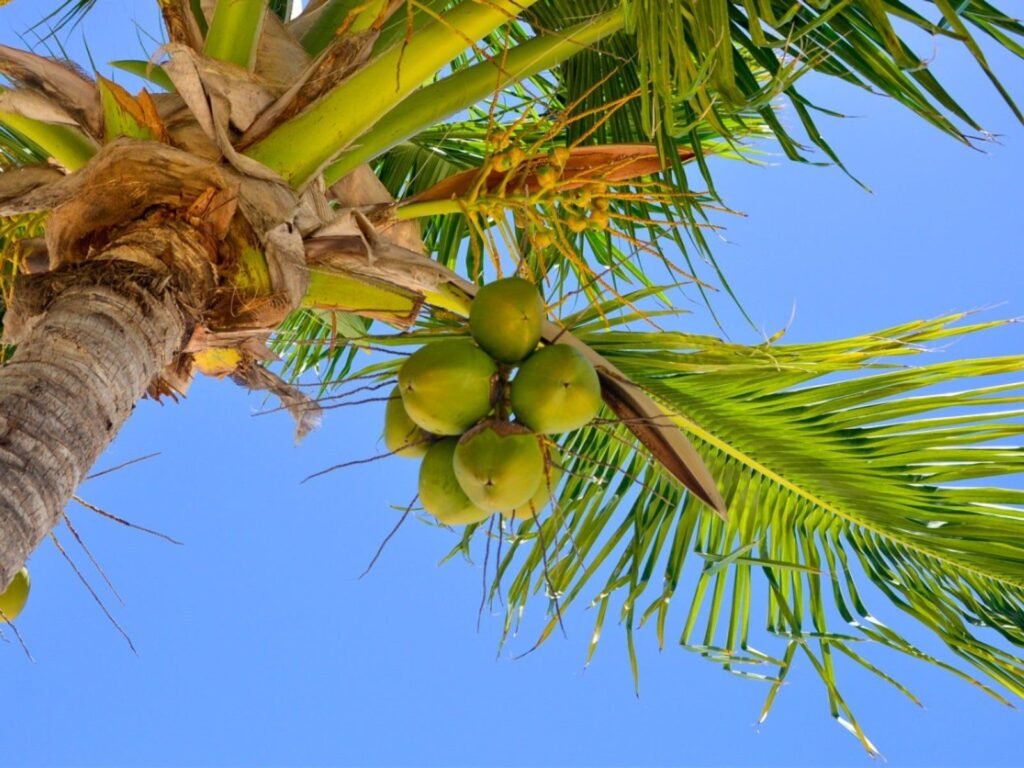
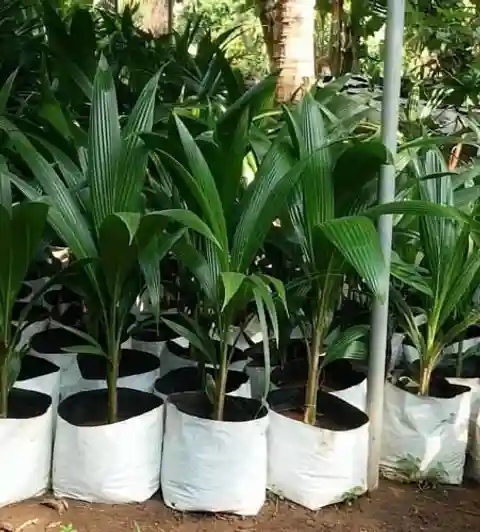
8. Transplanting Coconut Seedlings
Once your coconut seedling develops 3–4 healthy leaves and a strong root system (usually after 6–12 months), you can transplant it outdoors or into a larger container.
Steps for Transplanting
- Choose a sunny location with well-draining soil.
- Dig a hole twice as wide and deep as the bottle.
- Carefully remove the coconut and roots from the bottle.
- Place it in the hole and backfill with soil, keeping the seed slightly above ground level.
- Water thoroughly and add mulch to retain moisture.
Coconuts thrive in tropical and subtropical climates. In colder regions, continue growing the plant in a large container indoors, moving it outside during warm months.
9. Common Problems and Solutions
Even in controlled bottle environments, coconut seedlings can face challenges:
- Yellowing leaves: Usually from overwatering or lack of nutrients. Adjust watering and add mild fertilizer.
- Root rot: Caused by stagnant water. Ensure proper drainage and avoid excessive watering.
- Slow growth: Insufficient sunlight or temperature too low. Move the bottle to a warmer, brighter location.
- Pests (mealybugs or aphids): Wipe leaves with a damp cloth or use mild organic insecticidal spray.
Monitoring your coconut regularly ensures healthy development and a thriving plant.
10. Long-Term Care and Benefits
Coconut trees are slow but rewarding growers. Once transplanted outdoors, a healthy coconut tree can grow up to 30 feet tall and live for decades, producing coconuts for years to come.
Benefits of Growing Your Own Coconut
- Fresh, homegrown coconuts for water and milk.
- Ornamental value with lush green fronds.
- Educational and eco-friendly gardening project.
- Indoor air purification when kept in pots.
Even if fruit production takes several years, coconut plants add beauty, greenery, and tropical charm to any space.
Conclusion
Growing a coconut tree in plastic bottles is a creative, practical, and rewarding method for home gardeners. With just a few simple materials, patience, and consistent care, you can sprout a coconut, nurture a healthy seedling, and eventually transplant it into your garden or a larger pot.
From preparing the coconut seed and bottle, sprouting roots and shoots, to fertilizing, pruning, and transplanting, every step brings the joy of watching nature unfold.
Whether you’re looking to grow your own coconuts, beautify your balcony, or enjoy an engaging gardening project, this method offers an easy, eco-friendly way to cultivate tropical magic in your home.
Start today, and soon, your very own coconut palm will bring a touch of paradise into your life.