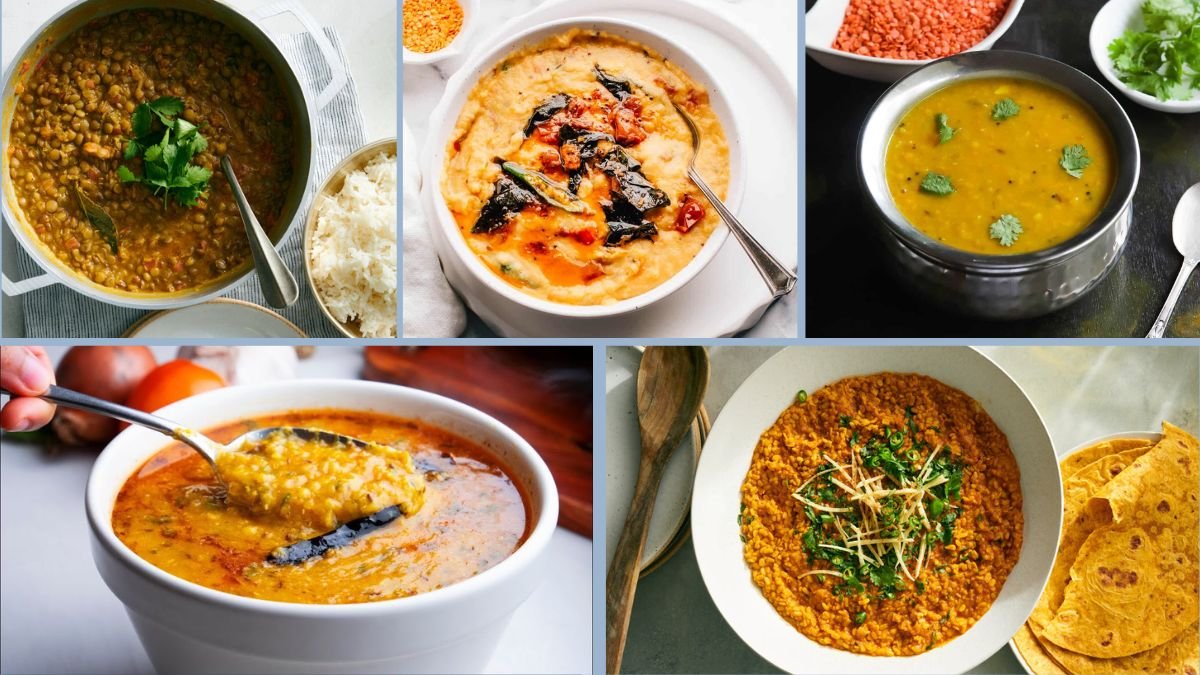
Masoor dal, or red lentils, is one of the quickest, easiest, and most nourishing legumes you can cook — making it the perfect choice for busy weekday lunches. Whether you’re a student, a working professional, or a homemaker, having a reliable, healthy, and plant-based lunch recipe in your toolkit can transform your day.
Masoor dal is rich in protein, fiber, iron, and essential nutrients, cooks faster than most other dals, and doesn’t require any soaking — which makes it ideal for last-minute meals. This 7-step guide will walk you through how to prepare perfect masoor dal that’s comforting, delicious, and completely vegetarian (no non-veg ingredients or cream required).
Why Masoor Dal is a Smart Lunch Choice
Before diving into the steps, here’s why masoor dal is an excellent component of a healthy, balanced lunch:
Nutritional Benefits:
- High in protein – great for vegetarians and vegans.
- Rich in dietary fiber – supports digestion and gut health.
- Low glycemic index – helps manage blood sugar levels.
- Quick cooking time – ideal for quick meals without compromising nutrition.
Masoor dal also pairs well with rice, roti, millet, or quinoa — making it a highly versatile option.
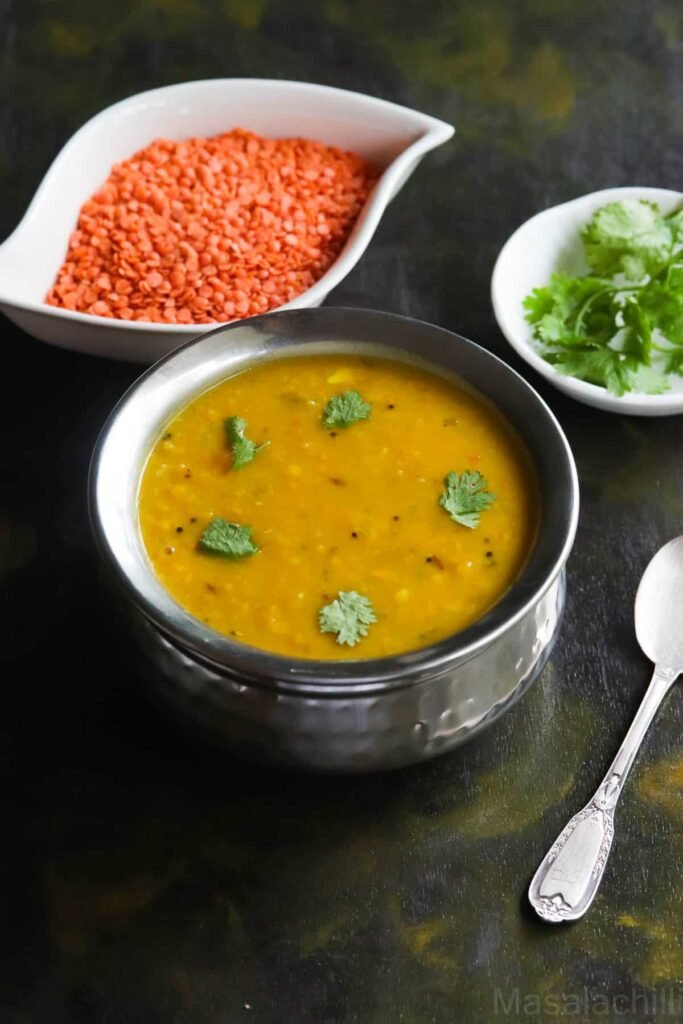
Step 1: Rinse and Prep the Dal
Unlike other lentils like rajma or chana dal, masoor dal doesn’t need to be soaked. But washing it properly is crucial for removing dirt, impurities, and excess starch.
How to Do It:
- Measure 1 cup of masoor dal (serves 3–4 people).
- Place the dal in a bowl and rinse thoroughly under running water 2–3 times.
- Drain the water and set the cleaned dal aside.
Optional: Some people like to soak the dal for 10–15 minutes to speed up cooking even more, but this is not required.
Step 2: Cook the Dal Until Soft and Creamy
Masoor dal cooks quickly, so you can make it on the stovetop, in a pressure cooker, or in an Instant Pot.
Cooking Options:
A. Stovetop Method:
- In a pot, add the rinsed dal with 2½ to 3 cups of water.
- Add a pinch of turmeric and 1/2 teaspoon salt.
- Bring to a boil, then lower the heat and simmer for 20–25 minutes until the dal is soft and almost mushy.
- Stir occasionally to avoid sticking.
B. Pressure Cooker:
- Add dal and 2½ cups of water with turmeric and salt.
- Pressure cook on medium heat for 2–3 whistles.
- Let the pressure release naturally.
C. Instant Pot:
- Add ingredients to the pot and set to Pressure Cook – High – 5 minutes.
- Allow natural pressure release for best texture.
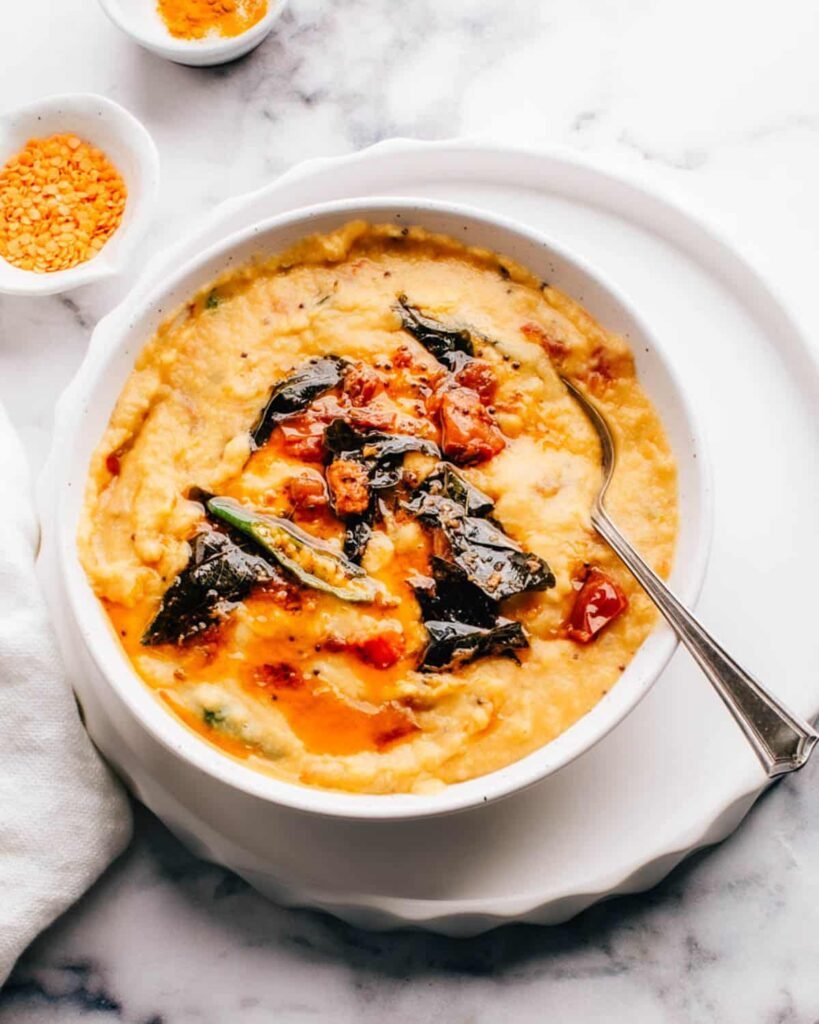
The dal should be soft and slightly thick — perfect for mixing with rice or scooping with rotis.
Step 3: Prepare the Tempering (Tadka)
Tadka, or tempering, is what gives Indian dals their unique flavor. You’ll sauté spices and aromatics in oil and then mix them into the cooked dal.
Tempering Ingredients:
- 1–2 tablespoons oil (or ghee for a richer, still vegetarian version)
- 1 teaspoon cumin seeds
- 1 teaspoon mustard seeds (optional)
- A pinch of asafoetida (hing) – avoid if gluten-free
- 1 small onion, finely chopped
- 1–2 garlic cloves, minced
- 1 green chili, slit or chopped (optional)
- 1 tomato, finely chopped
- Spices: ½ tsp turmeric, ½ tsp red chili powder, 1 tsp coriander powder
How to Prepare:
- Heat the oil in a small pan.
- Add cumin seeds and mustard seeds. Let them splutter.
- Add asafoetida and green chilies.
- Add onions and sauté until golden brown.
- Add garlic and cook until aromatic.
- Add tomatoes and cook until soft.
- Add the powdered spices and cook until the oil separates slightly.
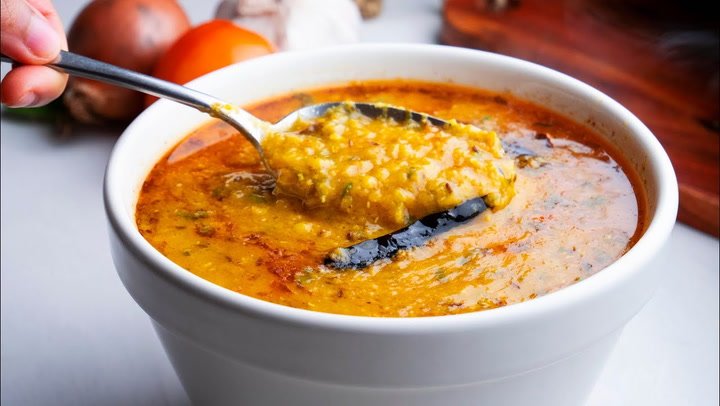
Step 4: Mix Tadka into the Cooked Dal
This is where the magic happens — the warm, spiced tadka blends with the creamy dal to create a flavorful dish.
How to Combine:
- Pour the entire tadka mixture into the pot of cooked dal.
- Stir well and simmer the combined mixture for 5–10 minutes on low heat.
- Adjust salt and water as needed to reach your desired consistency — thicker for rotis, thinner for rice.
Optional Add-ins:
- A pinch of garam masala for warmth
- A squeeze of lemon juice for brightness
- Fresh grated ginger for a zing
Step 5: Garnish and Enhance with Fresh Herbs
Garnishing adds both flavor and visual appeal.
Best Garnishes:
- Fresh coriander leaves, chopped
- Lemon wedges on the side
- A spoon of homemade vegan ghee or just a light drizzle of olive oil (optional)
Let the dal sit for 5 minutes before serving to allow flavors to deepen.
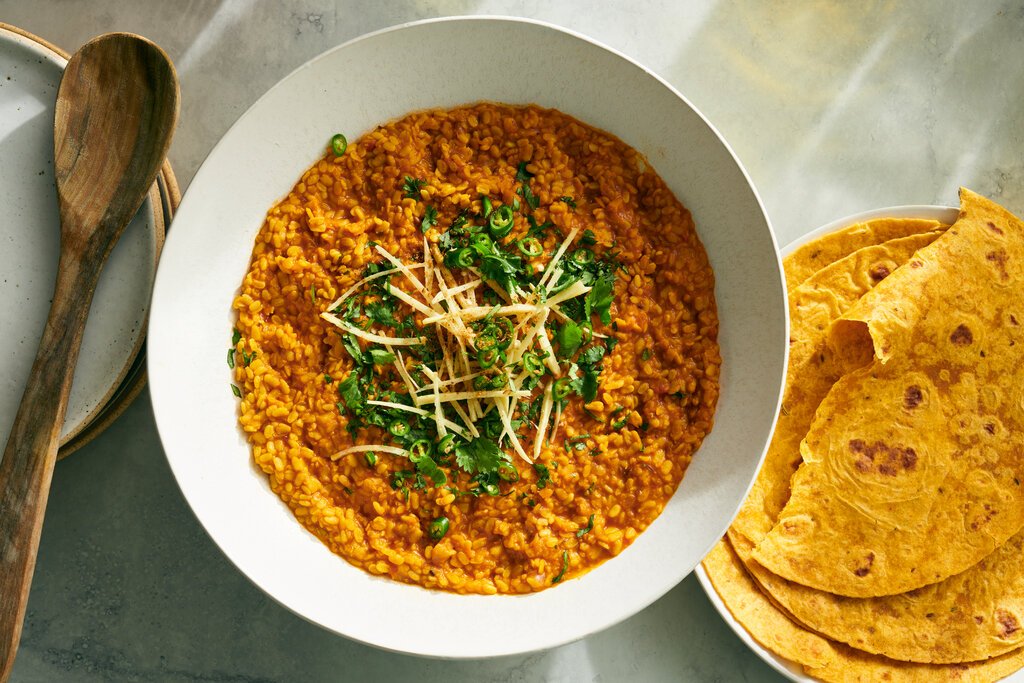
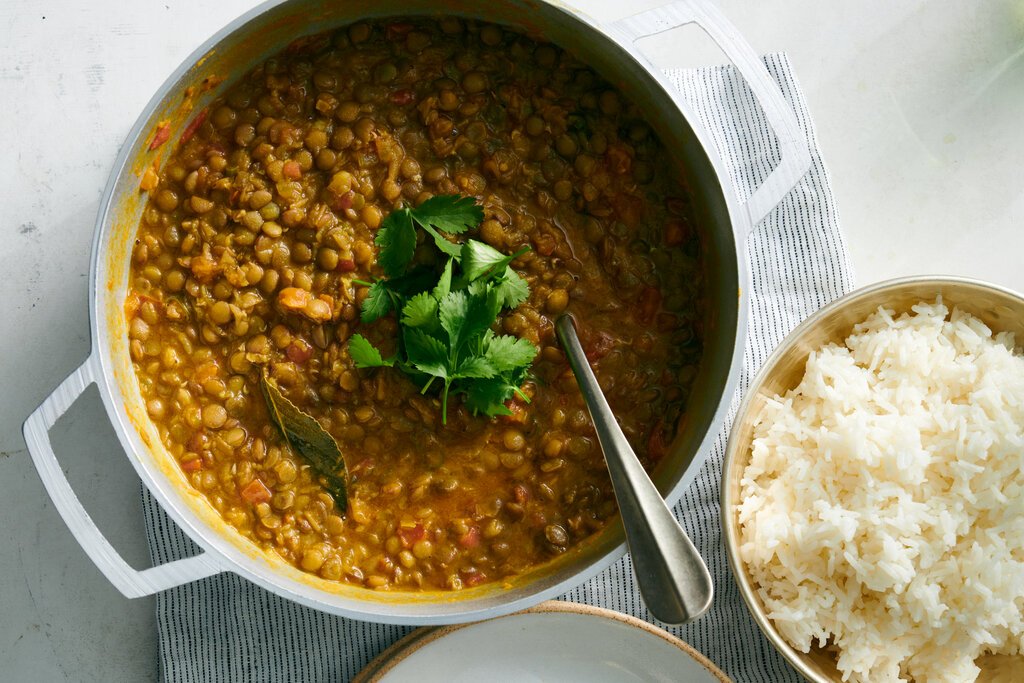
Step 6: Pair It Right for a Quick, Balanced Lunch
The beauty of masoor dal is that it pairs well with many Indian staples, making it ideal for complete, balanced lunches.
Serving Suggestions:
- Masoor Dal + Steamed Rice
- Classic combo, quick and filling
- Add papad and pickle for crunch and zing
- Masoor Dal + Phulkas or Rotis
- Light yet satisfying
- Pair with a side of sautéed vegetables
- Masoor Dal + Quinoa or Millets
- High-protein, gluten-free lunch
- Great for fitness-focused meals
- Masoor Dal Bowl
- Add cooked dal to a bowl of brown rice, sautéed veggies, cucumber, and a drizzle of lemon juice for a fusion-style Buddha bowl
Step 7: Store, Reheat, and Meal Prep Efficiently
Masoor dal is perfect for meal prepping — it keeps well in the fridge and reheats beautifully.
Storage:
- Store in an airtight container for up to 3 days in the fridge.
- For longer storage, freeze in single-serve portions for up to 2 weeks.
Reheating:
- Add a splash of water and reheat in a pan or microwave.
- Stir while heating to restore smooth texture.
Meal Prep Tip:
Cook a large batch of plain dal. Keep the tadka separate and only mix when serving — this helps preserve freshness and allows you to customize the flavors each day.
Health Benefits of Masoor Dal
Masoor dal is often underestimated, but it packs a powerful nutritional punch.
1. High Protein Content
- 1 cup of cooked masoor dal provides 18g+ of plant-based protein.
2. Excellent Source of Iron
- Especially important for vegetarians and those prone to iron deficiency.
3. Rich in Fiber
- Supports digestion and promotes a feeling of fullness.
4. Heart-Healthy
- Naturally low in fat and high in potassium.
5. Budget-Friendly & Sustainable
- Affordable source of nutrition for students, families, and anyone meal prepping on a budget.
Conclusion: Fast, Nutritious, and Comforting
Masoor dal is a timeless Indian dish that meets modern-day demands: it’s quick to prepare, easy to digest, nutrient-rich, and entirely vegetarian. With this 7-step guide, you now have everything you need to cook soft, flavorful masoor dal for lunches — whether you’re short on time or just want a clean, healthy meal.
In a world filled with instant noodles and processed convenience foods, masoor dal stands tall as a true fast food — only healthier, tastier, and rooted in tradition.