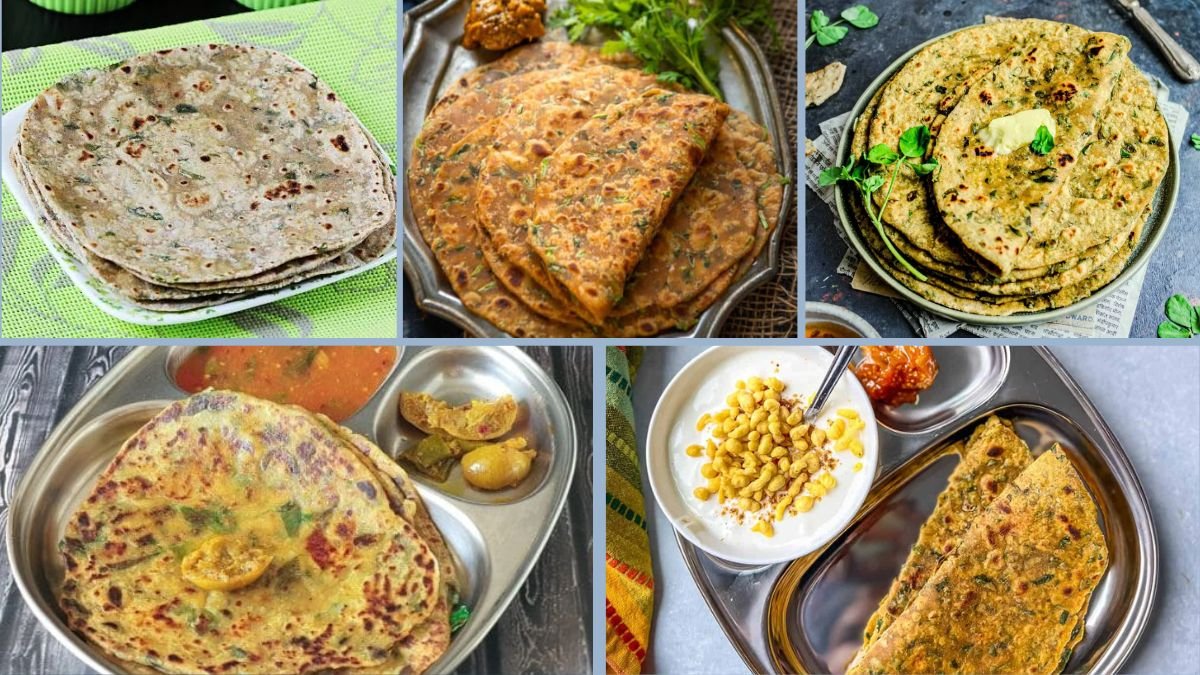
Parathas hold a special place in Indian cuisine. From breakfast tables to lunchboxes, they are versatile, filling, and endlessly adaptable. Among the many variations, Methi Paratha (fenugreek flatbread) stands out as a wholesome, earthy, and nutritious choice.
Methi leaves (fenugreek greens) are packed with vitamins, fiber, and antioxidants. When kneaded into wheat flour and rolled into parathas, they not only lend a unique aroma but also boost the nutritional profile of the meal. Whether enjoyed with yogurt, pickle, or curry, methi parathas are a perfect combination of taste and health.
In this article, we’ll walk through six easy steps to prepare wholesome methi parathas at home.
Step 1: Choosing Fresh Methi Leaves
The first step to delicious parathas begins with selecting fresh ingredients.
How to Select Methi:
- Look for bright green leaves with no yellowing or wilting.
- Avoid bunches with tough stems, as tender leaves give better flavor.
- Organic methi, if available, enhances both nutrition and taste.
Cleaning and Prepping:
- Pluck methi leaves from stems and discard thick stalks.
- Wash thoroughly in cold water 2–3 times to remove dirt and grit.
- Drain well and pat dry with a kitchen towel.
- Finely chop the leaves before adding to the dough.
Pro Tip: Drying methi before chopping is important. Excess water can make the dough sticky.
Step 2: Preparing the Dough
The dough is the backbone of a good paratha. Balanced spices and soft kneading ensure pliable, flavorful parathas.
Ingredients for Dough (Serves 3–4):
- Whole wheat flour (atta): 2 cups
- Chopped fresh methi leaves: 1 to 1 ½ cups
- Green chili (finely chopped): 1 (optional)
- Ginger (grated): 1 teaspoon
- Yogurt: 2 tablespoons (adds softness)
- Carom seeds (ajwain): ½ teaspoon (aids digestion)
- Turmeric powder: ½ teaspoon
- Red chili powder: ½ teaspoon
- Salt: to taste
- Oil or ghee: 1 teaspoon (for dough)
- Water: as required to knead
Method:
- In a wide bowl, mix flour, methi leaves, spices, ginger, chili, and salt.
- Add yogurt and a drizzle of oil.
- Gradually add water and knead into a soft, smooth dough.
- Cover with a damp cloth and rest for 15–20 minutes.
Pro Tip: Resting allows gluten to relax, making rolling easier and parathas softer.
Step 3: Rolling the Parathas
Rolling requires patience and gentle handling to achieve evenly cooked parathas.
- Divide dough into equal-sized balls (about the size of a lemon).
- Dust with dry flour and roll into a circle (5–6 inches).
- For layered paratha, apply a few drops of oil on the rolled dough, fold into half, then fold again into a triangle, and roll lightly.
- Ensure thickness is even—neither too thin (tears easily) nor too thick (stays undercooked inside).
Pro Tip: If dough sticks to the rolling pin, dust lightly with dry flour.
Step 4: Cooking on the Tava (Griddle)
Cooking methi parathas correctly brings out their flavor and texture.
- Heat a tava or flat griddle until medium-hot.
- Place rolled paratha on the tava. Cook until small bubbles appear.
- Flip and drizzle a few drops of oil or ghee around the edges.
- Press gently with a spatula to ensure even cooking.
- Flip again and cook until both sides have golden-brown spots.
Pro Tip: For a healthier version, use very little oil and cook on a cast-iron tava, which enhances iron content.
Step 5: Serving and Pairing Options

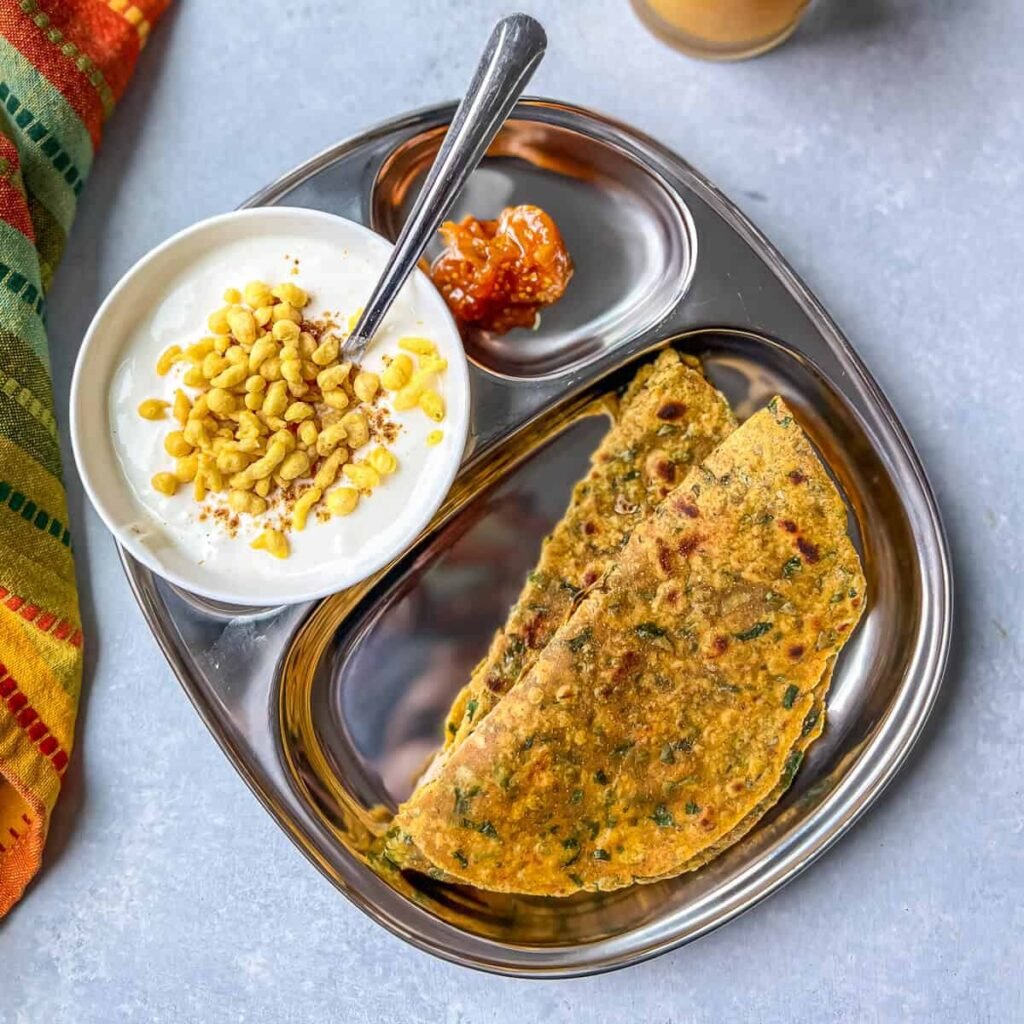
Methi parathas are versatile and pair beautifully with many accompaniments.
Classic Pairings:
- Fresh yogurt or curd
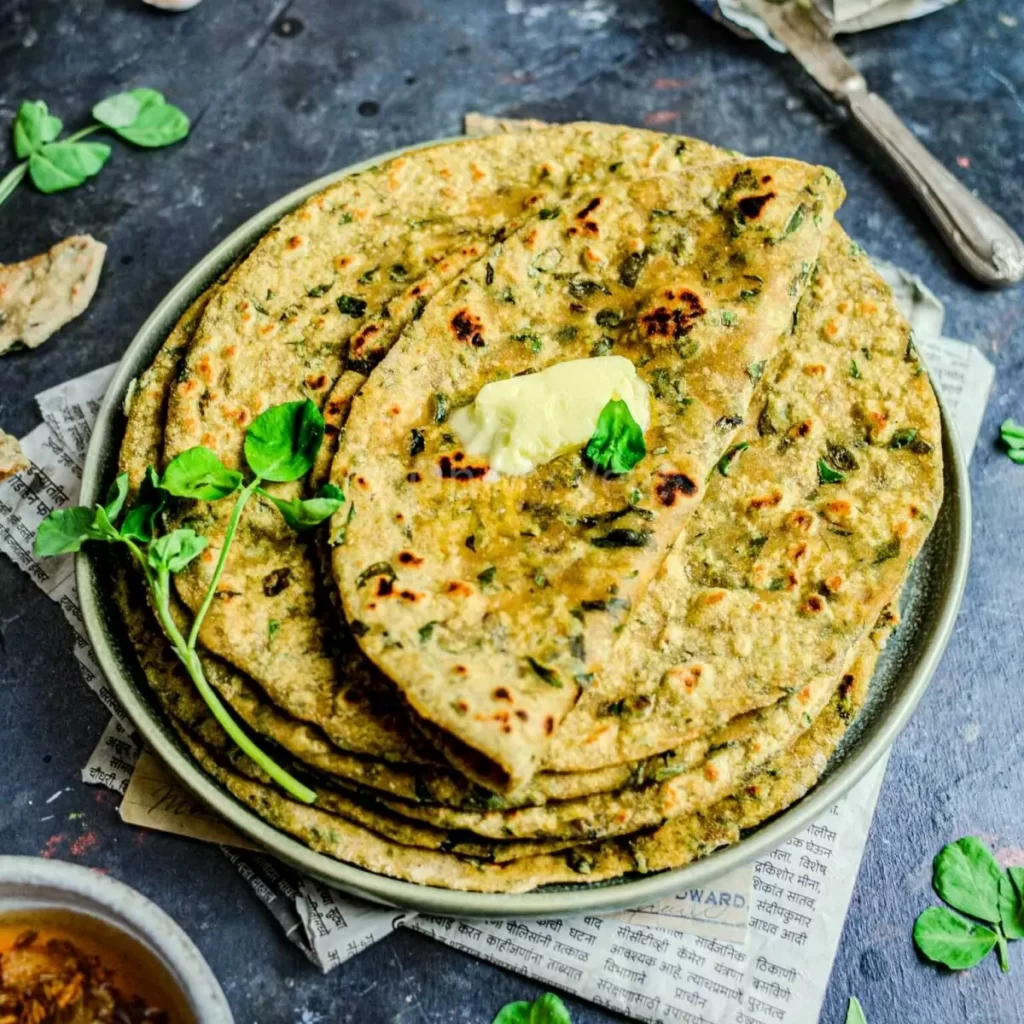
- Mango or lemon pickle
- A dollop of homemade butter
Wholesome Meal Options:
- Serve with dal (lentil curry) and salad for a balanced lunch.
- Pair with aloo sabzi (potato curry) for a traditional breakfast.
- Combine with green chutney for a light evening snack.
Pro Tip: For tiffin boxes, wrap parathas in foil or parchment to keep them soft for hours.
Step 6: Making Healthier Variations
Methi paratha is already nutritious, but small tweaks can make it even healthier.
Options to Try:
- Multigrain Dough: Mix whole wheat with oats flour, ragi (finger millet), or besan (gram flour) for added fiber and protein.
- No-oil Paratha: Roast without oil on a nonstick pan for a diet-friendly version.
- Stuffed Version: Add grated paneer, boiled potatoes, or tofu along with methi for a filling twist.
- Seasonal Greens Mix: Combine methi with spinach or bathua (chenopodium) in winter for a powerhouse of nutrients.
Pro Tip: Always serve stuffed or multigrain versions hot to retain softness.
Nutritional Benefits of Methi Paratha
Methi parathas are not just tasty but also highly nourishing:
- Fenugreek Leaves: Rich in iron, calcium, and fiber; help regulate blood sugar and improve digestion.
- Whole Wheat Flour: Provides complex carbs and keeps you full longer.
- Spices (turmeric, ajwain, chili): Aid digestion, boost immunity, and enhance flavor naturally.
- Low Oil Cooking: Makes the dish lighter without losing authenticity.
This makes methi paratha suitable for children, adults, and even diabetic or weight-conscious diets when cooked with minimal oil.
Common Mistakes to Avoid
- Using wet methi: Causes sticky dough that’s hard to roll. Always dry leaves first.
- Skipping resting time: Leads to hard parathas. Rested dough cooks softer.
- Rolling unevenly: Results in raw spots or burnt patches. Keep thickness uniform.
- Excess oil: Makes parathas greasy and heavy; a few drops are enough.
- Undercooking: Always cook until golden spots appear for best taste.
Conclusion
Methi paratha is a shining example of how Indian cooking blends nutrition with flavor. By following this 6-step process—choosing fresh methi, preparing the dough, rolling carefully, cooking on tava, pairing smartly, and exploring healthy variations—you can prepare wholesome methi parathas with ease.
This dish is versatile enough to be enjoyed for breakfast, lunch, dinner, or as a travel snack. It brings together the earthy bitterness of methi, the nutty sweetness of whole wheat, and the warmth of Indian spices—all in a soft, golden flatbread.
So the next time you’re craving something both comforting and nourishing, skip packaged bread and try making methi parathas at home. With minimal effort, you’ll have a dish that satisfies the stomach, delights the senses, and nourishes the body.