In today’s world, growing your own food has become an appealing option for health-conscious and eco-friendly households. Starting a kitchen garden using only seeds allows gardeners to cultivate fresh, chemical-free vegetables and herbs from scratch, ensuring complete control over quality and sustainability.
Unlike transplanting seedlings, starting from seeds offers a rewarding, cost-effective, and versatile approach. It allows you to select varieties suited to your taste, space, and climate. Moreover, it encourages a deeper understanding of plant growth cycles, soil management, and organic gardening practices.
This article explores step-by-step strategies for creating a thriving kitchen garden from seeds, including seed selection, soil preparation, containers, planting techniques, watering, pest management, and harvesting, all while maintaining a completely vegetarian approach.
Why Start a Kitchen Garden from Seeds?

Starting from seeds offers several advantages over buying seedlings:
- Variety Selection: You can grow rare or heirloom varieties not available as seedlings.
- Cost-Effective: Seeds are inexpensive compared to nursery plants.
- Stronger Plants: Seed-grown plants develop deeper root systems and adapt better to your garden conditions.
- Educational Experience: Teaches patience, observation, and gardening skills.
- Sustainability: Reduces reliance on commercially grown, often chemically treated plants.
Starting from seeds gives gardeners complete autonomy over their kitchen garden while promoting eco-conscious, vegetarian gardening practices.
Step 1: Selecting Seeds
The first step in a seed-based kitchen garden is choosing high-quality seeds.
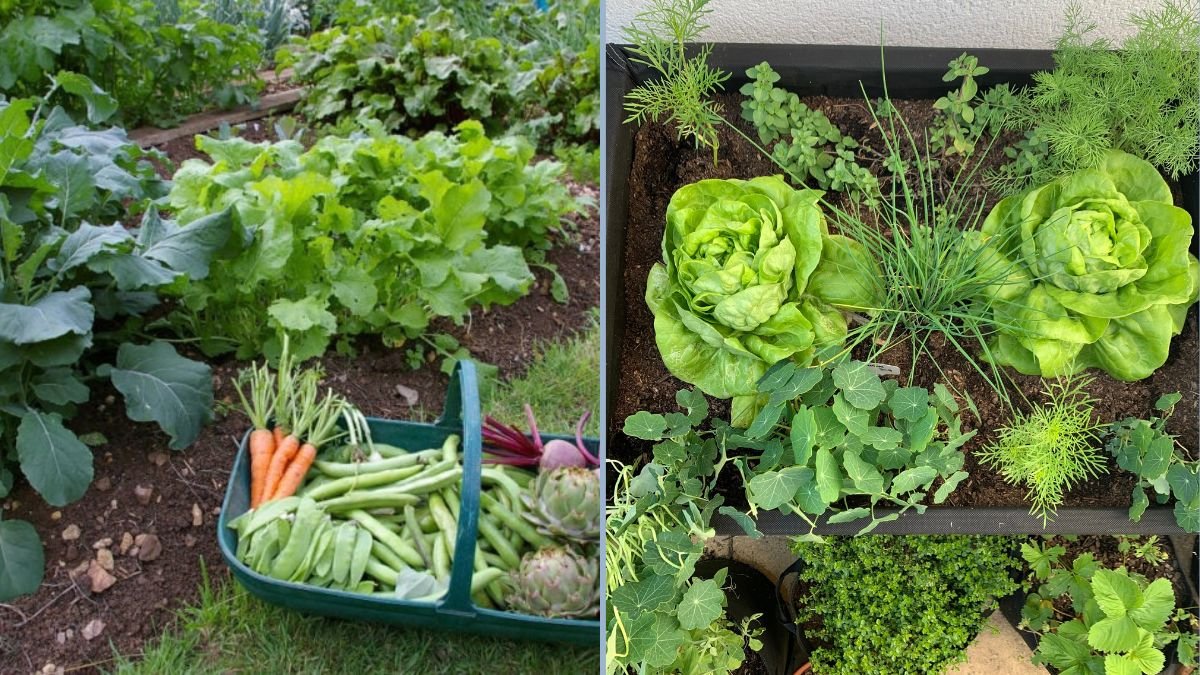
Popular Kitchen Garden Vegetables and Herbs:
- Leafy Greens: Spinach, lettuce, kale, and Swiss chard.
- Fruit Vegetables: Tomatoes, peppers, and eggplants.
- Root Vegetables: Radishes, carrots, and beets.
- Herbs: Basil, coriander, parsley, thyme, and mint.
- Legumes: Peas and beans, which also enrich the soil naturally.
Seed Tips:
- Use organic, untreated seeds to maintain chemical-free growth.
- Check germination rates on the seed packets.
- Select varieties suitable for your region and growing season.
- Store seeds in a cool, dry place to preserve viability.
By carefully selecting seeds, you lay the foundation for a healthy, productive kitchen garden.
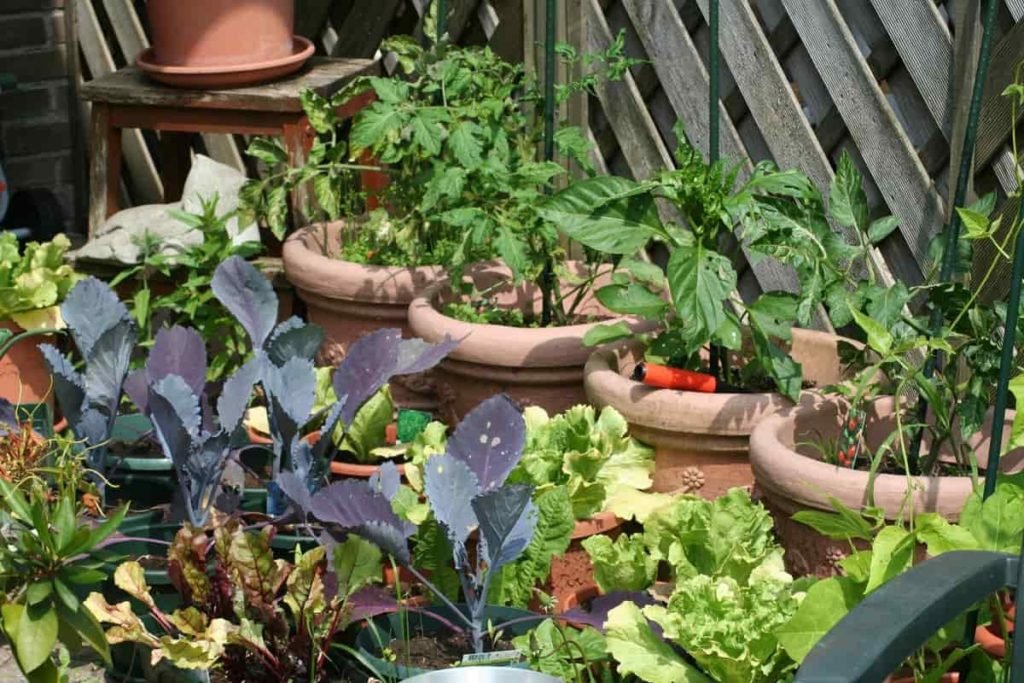
Step 2: Choosing Containers
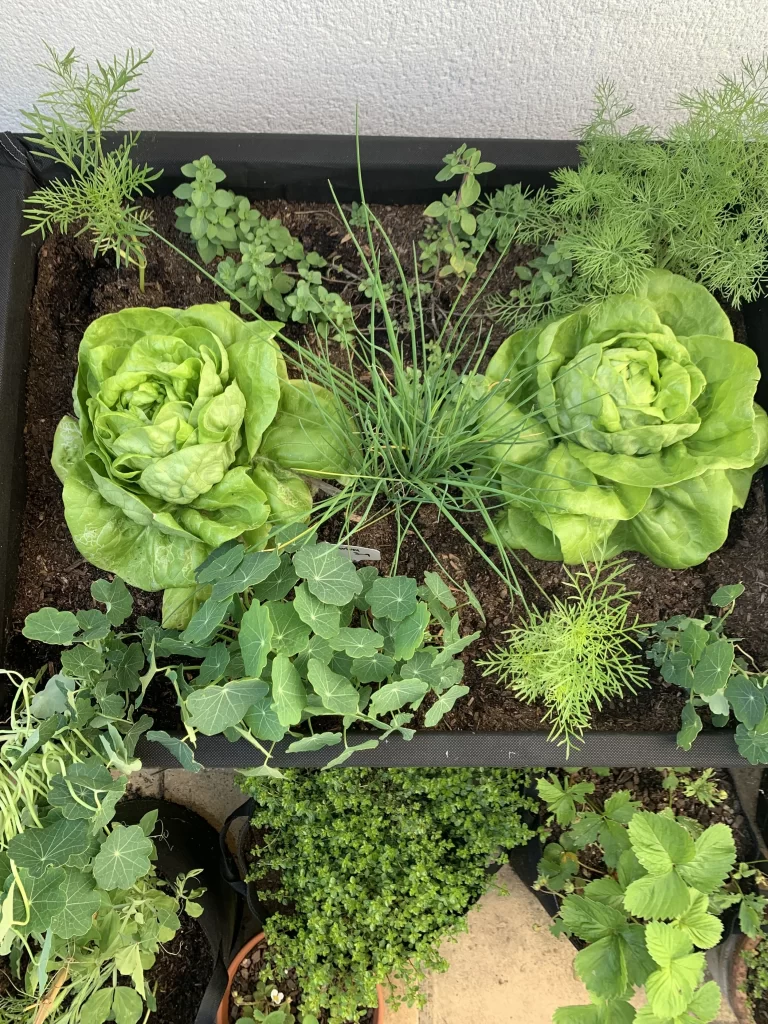
Containers play a critical role in seed germination and early growth, especially for indoor or small-space kitchens.
Container Guidelines:
- Shallow Trays: Ideal for starting seeds like lettuce, spinach, and herbs.
- Deep Pots: Necessary for root vegetables like carrots and beets.
- Recycled Containers: Old trays, cups, or boxes with drainage holes can be repurposed.
- Hanging or Vertical Planters: Maximize space for small vegetables or trailing herbs.
Tips for Containers:
- Ensure proper drainage to avoid waterlogging.
- Use lightweight containers if placing on balconies or windowsills.
- Group similar plants with the same water and light requirements.
Containers allow gardeners to create an organized, efficient, and visually appealing kitchen garden.
Step 3: Soil Preparation
Healthy soil is the foundation of seed germination and plant growth. Seeds require nutrient-rich, well-draining, and loose soil.
Recommended Soil Mix:
- 40% Compost: Provides nutrients and supports beneficial microbes.
- 40% Cocopeat or Potting Mix: Retains moisture and improves aeration.
- 20% Perlite or Sand: Enhances drainage and prevents soil compaction.
Soil Tips:
- Avoid garden soil directly, as it may contain pathogens or pests.
- Moisten the soil lightly before sowing seeds.
- Keep the soil loose to allow roots to penetrate easily.
A balanced, fertile soil mix ensures strong seedlings and healthy plant development.
Step 4: Sowing Seeds
Proper sowing ensures maximum germination and healthy seedlings.
Sowing Guidelines:
- Seed Depth: Plant seeds at a depth equal to 2–3 times their size.
- Spacing: Avoid overcrowding to allow adequate airflow and reduce disease risk.
- Moisture: Lightly water the soil after sowing to maintain dampness.
- Labeling: Mark containers with seed names and sowing dates for easy tracking.
Germination Tips:
- Cover seed trays with a thin layer of soil or a transparent lid to retain moisture.
- Place trays in a warm, bright location, avoiding direct harsh sunlight.
- Keep soil consistently moist using a spray bottle or gentle watering can.
Careful sowing ensures uniform growth and strong seedlings ready for transplanting.
Step 5: Providing Light
Light is essential for healthy seedling growth. Most kitchen garden vegetables need 6–8 hours of light per day.
Light Options:
- Natural Sunlight: Place containers on a south- or east-facing windowsill.
- Grow Lights: LED or fluorescent lights can supplement natural light, especially in winter.
- Rotation: Rotate trays periodically for even light exposure.
Sufficient light prevents seedlings from becoming leggy and promotes strong, green growth.
Step 6: Watering and Moisture Management
Watering is critical in the early stages of seed growth.
Watering Guidelines:
- Keep soil consistently moist but not waterlogged.
- Use a fine mist or spray bottle to prevent seed displacement.
- Water early in the day to allow excess moisture to evaporate.
Humidity Tips:
- Cover seed trays with a clear lid to retain moisture during germination.
- Remove the cover once seedlings emerge to prevent fungal growth.
Proper watering ensures successful germination and reduces the risk of mold or damping-off disease.
Step 7: Fertilization
Seedlings initially rely on nutrients stored in the seed. Once true leaves appear, organic fertilization supports growth.
Fertilizer Options:
- Compost Tea: Diluted liquid compost provides balanced nutrients.
- Vermicompost Water: A gentle, nitrogen-rich solution for leafy growth.
- Seaweed Extract: Improves root development and enhances plant resilience.
Apply fertilizers sparingly, as young seedlings are sensitive to overfeeding.
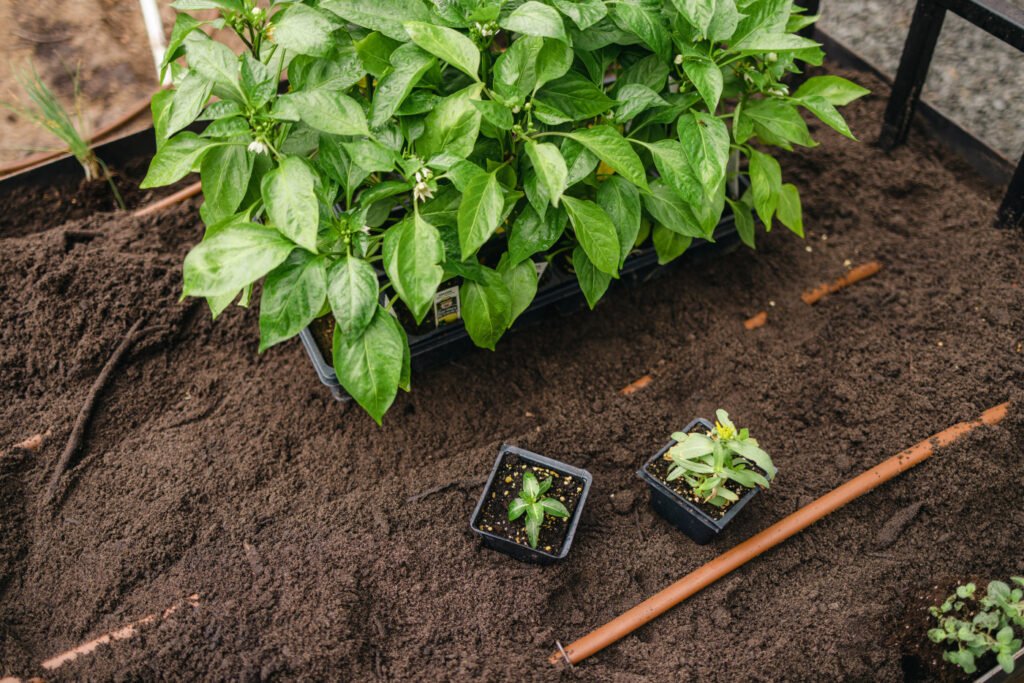
Step 8: Transplanting Seedlings
Once seedlings develop 2–4 true leaves, they are ready for transplanting into larger containers or garden beds.
Transplanting Tips:
- Harden off seedlings by gradually exposing them to outdoor conditions if planting outside.
- Handle seedlings gently, holding them by leaves rather than stems to avoid damage.
- Plant at the same depth they were growing in the seed tray.
- Water immediately after transplanting to reduce transplant shock.
Transplanting ensures continued healthy growth and prepares plants for full maturity.
Step 9: Pest and Disease Management
Even small kitchen gardens may face pests or fungal issues. Using organic, vegetarian-friendly methods keeps plants safe for consumption.
Common Solutions:
- Neem Oil Spray: Repels common pests like aphids.
- Garlic or Chili Spray: Natural insect deterrent.
- Proper Airflow: Reduces fungal infections in densely planted areas.
- Regular Monitoring: Remove diseased leaves promptly to prevent spread.
Maintaining clean soil, healthy plants, and natural deterrents ensures a pest-free kitchen garden.
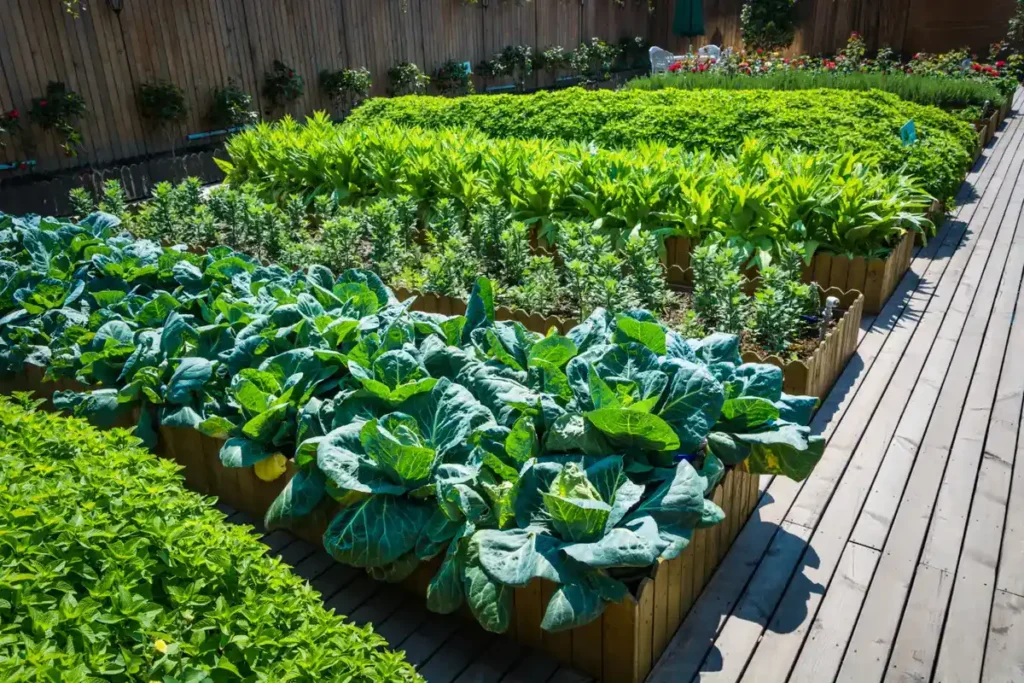
Step 10: Harvesting and Maintenance
Timely harvesting encourages continuous production and optimal plant health.
Harvest Guidelines:
- Leafy Greens: Pick outer leaves first to allow ongoing growth.
- Herbs: Snip small amounts regularly to encourage bushier plants.
- Fruit Vegetables: Harvest when fully mature; regular picking promotes more flowering.
Maintenance Tips:
- Water regularly and check soil moisture.
- Replenish soil nutrients with compost or vermicompost.
- Rotate crops seasonally to maintain soil fertility.
- Remove spent plants to prepare containers for new sowing.
Consistent care ensures a productive, sustainable kitchen garden year-round.
Creative Kitchen Garden Ideas
- Vertical Gardens: Stack trays or use wall-mounted pockets to maximize space.
- Companion Planting: Plant herbs near vegetables to repel pests and enhance growth.
- Themed Containers: Create “salad pots” with lettuce, spinach, and herbs.
- Succession Planting: Sow new seeds every 2–3 weeks for continuous harvest.
- Aesthetic Touches: Decorate pots and trays to make the garden visually appealing.
A kitchen garden can be both functional and a vibrant addition to your living space.
Conclusion
Starting a kitchen garden using only seeds is a rewarding, sustainable, and cost-effective way to grow fresh, organic vegetables and herbs. From seed selection and soil preparation to sowing, watering, fertilization, and harvesting, every step builds gardening skills and fosters a connection with nature.
With careful planning, proper containers, and organic practices, even small kitchens, balconies, or windowsills can become thriving, productive gardens. Seed-based gardening provides fresh, chemical-free produce, encourages self-sufficiency, and promotes eco-conscious living.
Ultimately, growing a kitchen garden from seeds transforms ordinary spaces into green, productive, and nourishing environments, contributing to health, sustainability, and the joy of gardening. Every seed sown represents a step toward a greener, healthier, and more self-reliant lifestyle.