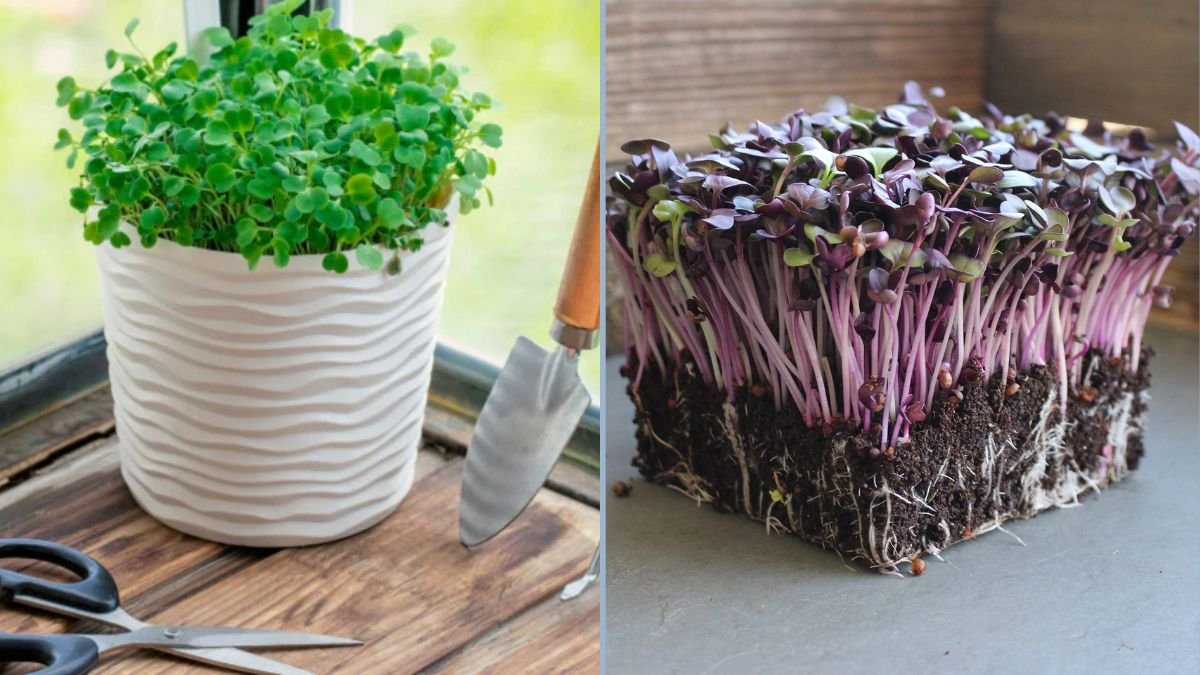
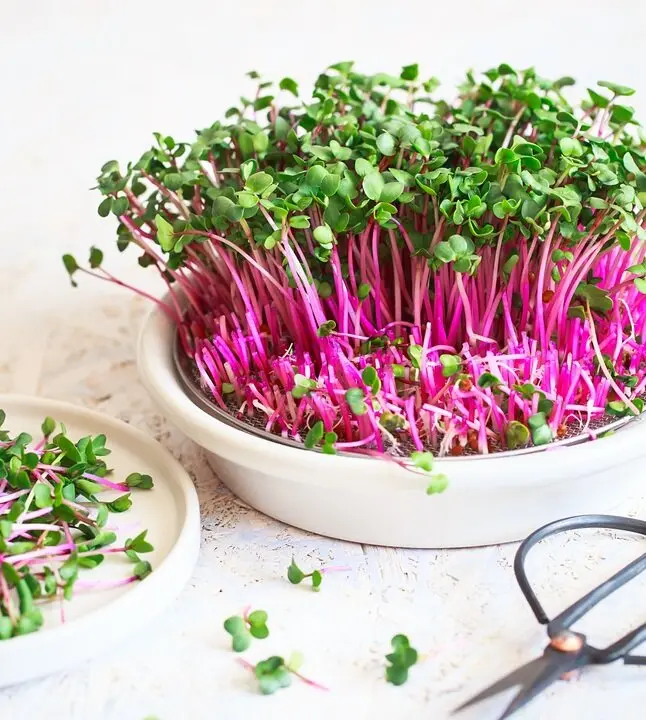
In recent years, microgreens have emerged as a popular addition to modern kitchens, valued for their high nutrient content, vibrant colors, and fresh flavors. These tiny, tender seedlings of vegetables and herbs are harvested just after the first true leaves develop, usually within 7–21 days of sowing.
Growing microgreens indoors year-round offers a convenient way to enjoy fresh greens regardless of season, climate, or outdoor space. Unlike traditional gardening, microgreens require minimal space, are fast-growing, and can thrive on windowsills, countertops, or under small grow lights.
This article provides a comprehensive guide for beginners and home gardeners on cultivating microgreens indoors, including selection of seeds, containers, soil, light, watering, harvesting, and troubleshooting — all in a completely vegetarian, chemical-free approach.
Why Grow Microgreens Indoors?
Indoor microgreen cultivation has several advantages:
- Year-Round Growth: Controlled conditions allow production throughout the year.
- High Nutritional Value: Microgreens often contain 4–40 times more vitamins and antioxidants than mature plants.
- Space-Efficient: Suitable for small apartments, kitchens, or offices.
- Fast Growth Cycle: Harvest in just 1–3 weeks, providing rapid access to fresh produce.
- Minimal Equipment Needed: Simple trays, soil, or even hydroponic mats are sufficient.
- Eco-Friendly: Reduces the need for packaged greens, lowering plastic waste and carbon footprint.
Growing microgreens indoors encourages healthy eating habits while promoting sustainable, vegetarian gardening practices.
Step 1: Selecting the Right Seeds
The success of microgreens begins with high-quality seeds. Almost any vegetable, herb, or leafy green can be grown, but some are particularly suitable for indoor cultivation:
Popular Microgreens for Beginners:
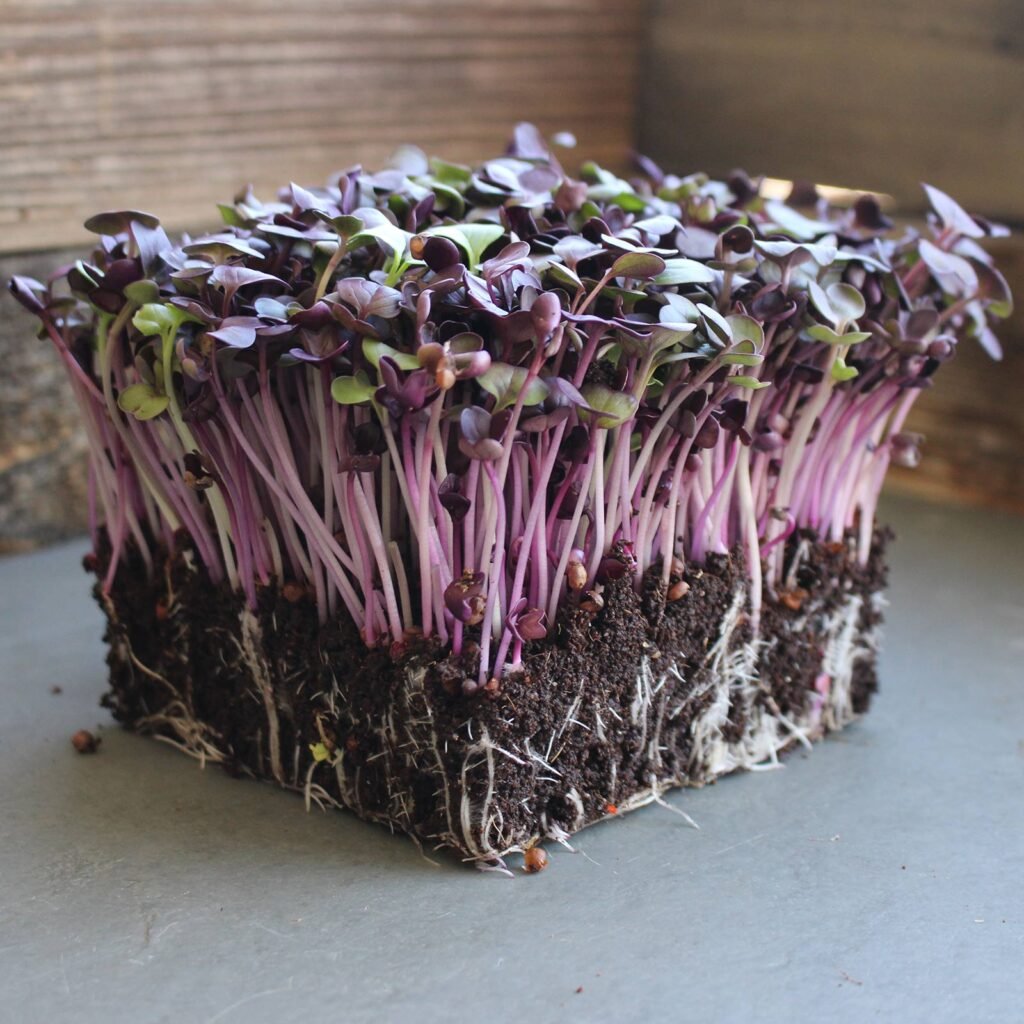
- Radish: Fast-growing, spicy flavor, high in vitamin C.
- Sunflower: Nutty flavor, rich in protein and vitamin E.
- Broccoli: Mild taste, rich in antioxidants and sulforaphane.
- Pea Shoots: Sweet flavor, high in vitamin C and folate.
- Basil: Fragrant, versatile for cooking and garnishing.
- Cilantro: Aromatic, suitable for salads and garnishes.
- Kale: Slightly peppery, nutrient-dense, and easy to grow.
Seed Tips:
- Use organic, untreated seeds for edible microgreens.
- Avoid seeds treated with chemicals, pesticides, or coatings.
- Check the germination rate on the seed packet; higher germination ensures a fuller tray.
Step 2: Choosing Containers
Microgreens can be grown in a variety of shallow containers, trays, or even recycled household items.
Container Guidelines:
- Depth: 1–3 inches, sufficient for root growth.
- Drainage: Ensure proper drainage to prevent waterlogging; holes at the bottom or a layer of coarse material help.
- Material: Plastic, wood, or metal trays; eco-friendly options include recycled food containers or biodegradable trays.
For small spaces, stackable trays are ideal to maximize vertical growth under artificial light.
Step 3: Selecting a Growing Medium
Microgreens require a light, well-draining growing medium to encourage healthy root development. Options include:
- Potting Soil: Sterile, peat-based mixes work well for most varieties.
- Cocopeat or Coir: Lightweight and retains moisture effectively.
- Seed-Starting Mix: Fine texture allows easy germination.
- Hydroponic Mats: Felt or hemp mats can grow microgreens without soil.
Tips for Growing Medium:
- Avoid garden soil, as it may contain pathogens.
- Moisten medium lightly before sowing; it should be damp but not waterlogged.
- A uniform, shallow layer (0.5–1 inch) supports even germination.
Step 4: Sowing Seeds
Sowing microgreens properly ensures dense, healthy growth:
- Even Distribution: Scatter seeds evenly across the surface to avoid overcrowding.
- Seed Density: Different plants require varying seed amounts — e.g., radish and broccoli can be sown thickly, while sunflower and pea shoots require more spacing.
- Covering Seeds: Lightly sprinkle a thin layer of medium or press seeds gently to ensure contact with the soil. Some microgreens, like basil, can remain on the surface without covering.
- Initial Darkness: Cover trays with another tray or lid for 2–3 days to encourage sprouting.
Proper sowing maximizes germination and promotes uniform, lush growth.
Step 5: Providing Light
Light is essential for healthy, green microgreens. Indoor microgreens require 12–16 hours of light daily for optimal growth.
Light Options:
- Natural Sunlight: Place trays near south-facing or east-facing windows.
- LED Grow Lights: Adjustable-spectrum lights allow year-round indoor cultivation.
- Fluorescent Lights: Economical and effective for small setups.
Light Tips:
- Keep lights 6–12 inches above plants to prevent legginess.
- Rotate trays periodically to ensure even exposure.
- Avoid direct harsh sunlight for delicate microgreens like basil or cilantro.
Step 6: Watering Microgreens
Watering is critical to prevent mold while keeping microgreens hydrated:
- Frequency: Spray or mist daily with a fine water sprayer.
- Method: Avoid overwatering; water the soil rather than leaves.
- Drainage: Ensure trays have proper drainage to prevent stagnant water.
Maintaining moderate moisture keeps microgreens tender and flavorful.
Step 7: Temperature and Humidity
Microgreens thrive in moderate indoor conditions:
- Temperature: 18–24°C (65–75°F) is ideal for most varieties.
- Humidity: Moderate humidity (~50–70%) promotes germination.
- Avoid high humidity, which may lead to fungal growth.
Indoor microgreens are highly adaptable, allowing year-round cultivation regardless of external weather conditions.
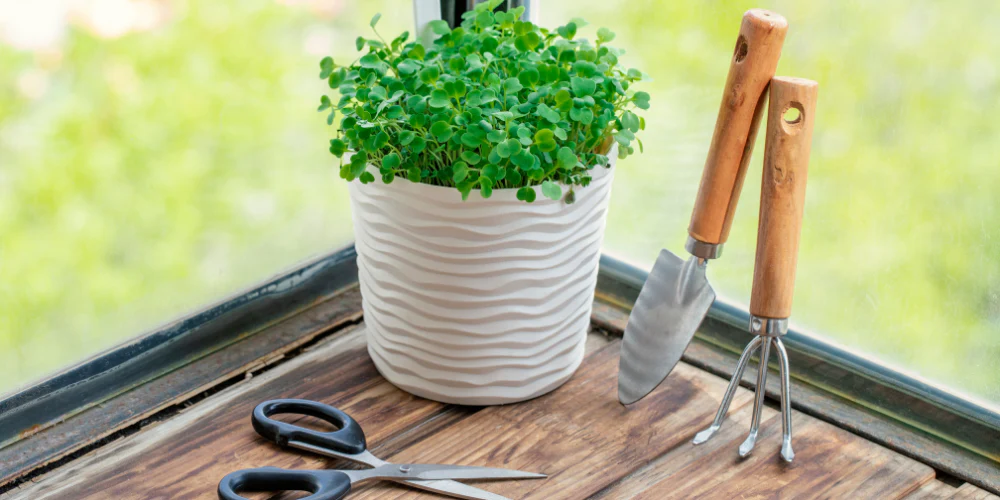
Step 8: Harvesting Microgreens
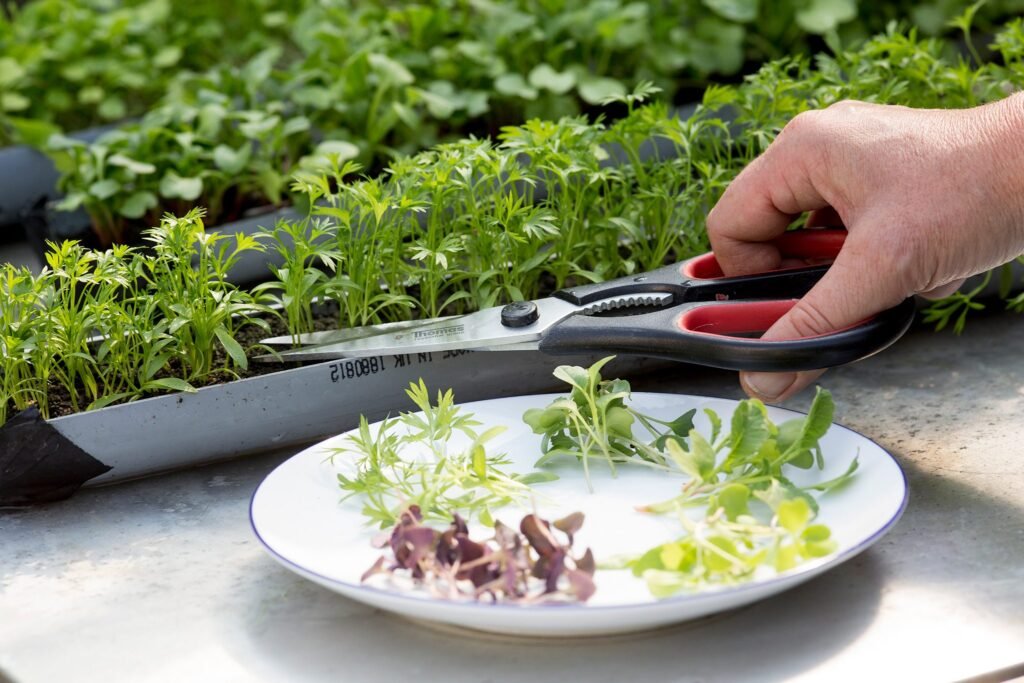
Microgreens are typically ready for harvest 7–21 days after sowing, depending on the variety:
Harvest Tips:
- Cut just above the soil line using clean scissors.
- Harvest when first true leaves appear — small, tender leaves are most flavorful.
- Wash lightly with clean water before consumption.
Regular harvesting encourages continuous production if you stagger sowing across multiple trays.
Step 9: Nutrient Boosters (Optional)
Although microgreens require minimal feeding, occasional organic boosters can enhance growth:
- Compost Tea: Diluted compost water provides natural nutrients.
- Seaweed Extract: Improves root development and stress tolerance.
- Vermicompost Water: A gentle source of nitrogen and trace minerals.
Avoid chemical fertilizers to maintain safe, vegetarian microgreens suitable for consumption.
Step 10: Troubleshooting Common Issues
Indoor microgreens can face minor challenges:
| Problem | Cause | Solution |
|---|---|---|
| Mold growth | Overwatering or poor airflow | Reduce water, increase air circulation, and thin dense growth |
| Leggy seedlings | Insufficient light | Move closer to light source or use grow lights |
| Yellow leaves | Nutrient deficiency | Apply organic compost tea or vermicompost |
| Slow germination | Old or low-quality seeds | Use fresh, organic seeds and maintain proper moisture |
Monitoring moisture, light, and airflow ensures healthy, vibrant microgreens year-round.
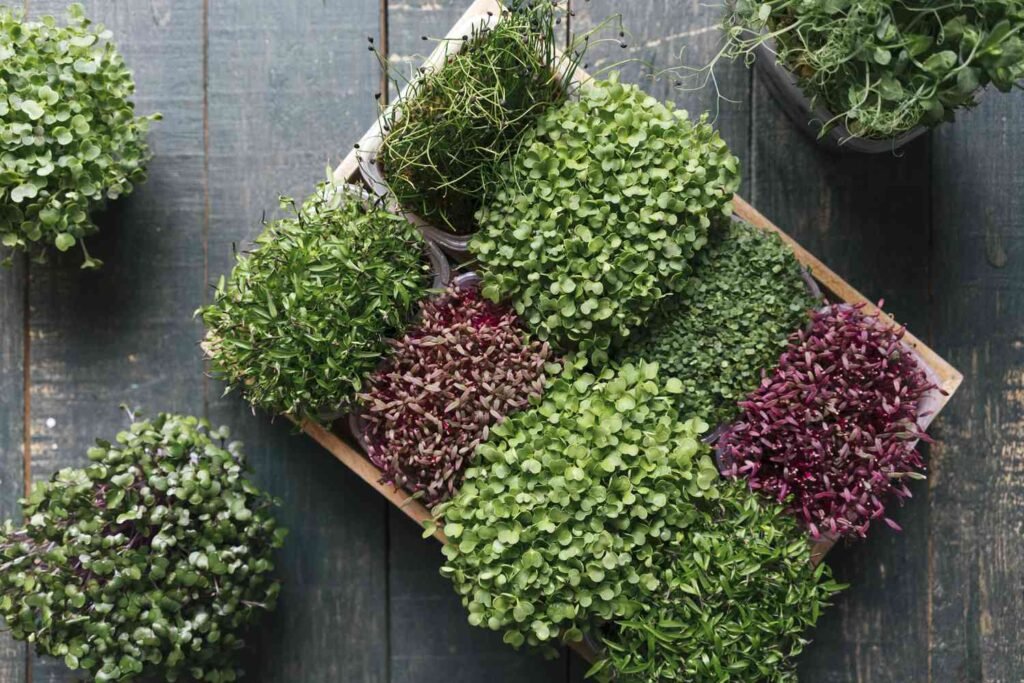
Creative Ideas for Indoor Microgreens
- Salad Mixes: Combine radish, kale, and pea shoots for colorful, nutrient-dense salads.
- Garnishes: Use basil or cilantro microgreens to enhance soups and sandwiches.
- Smoothies: Add a handful of microgreens for a vitamin boost.
- Stackable Trays: Grow multiple varieties in a small footprint using vertical arrangements.
- Recycled Containers: Use old trays, seedling flats, or shallow boxes for cost-effective indoor gardening.
Indoor microgreens not only nourish the body but also brighten living spaces with lush greenery.
Conclusion
Growing microgreens indoors year-round is a simple, space-efficient, and sustainable method of cultivating fresh, nutrient-rich vegetables. With minimal equipment, a small area, and proper care, anyone can enjoy continuous harvests of vibrant microgreens.
From radish and sunflower to kale and basil, these tiny greens offer exceptional nutrition, superior flavor, and versatility in the kitchen. By focusing on organic, vegetarian-friendly practices, home gardeners can produce safe, chemical-free microgreens while contributing to sustainability and eco-conscious living.
Whether for salads, garnishes, smoothies, or snacks, indoor microgreens represent an exciting intersection of convenience, nutrition, and environmental responsibility. With attention to light, moisture, and nutrient balance, microgreens can thrive year-round, transforming small indoor spaces into thriving, edible gardens.